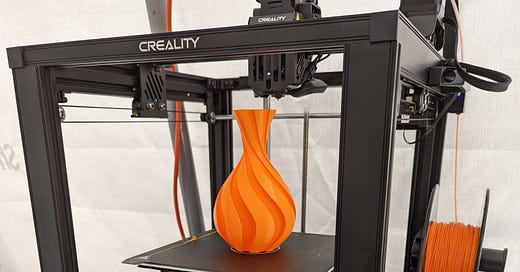
In the interest of providing you some content while I hammer out the design of the Project Yamhill front panel PCB, here’s a brief record of my initial thoughts about a new Creality Ender-5 S1 FDM 3D printer that I purchased. As I had mentioned in a previous post, my old Ender-3 was proving to be a bit too fiddly to consistently print well in PETG, not to mention that in order to get decent quality in a PETG print, you have to print pretty slowly, which meant painfully slow on the Ender-3. In order to be able to print enough of these to sell, I’m going to have to acquire faster printers, and multiples of them.
I had already been shopping around for 3D printers, but what pushed me over the edge on this particular printer was the sale that Creality was running, that basically gave you a Sonic Pad for free with purchase of an Ender-5 S1. I had already heard of the Sonic Pad because of its ability to allow Creality printers to run the Klipper firmware, which allows for faster and better prints than can be made with the on-board STM32 microcontroller loaded with Marlin firmware. The Sonic Pad also allows you to remotely print and remotely control and monitor every aspect of the printer, which is something that I became heavily dependent on with a Raspberry Pi Octoprint installation that I added to my old Ender-3.
Ender-5 S1/Sonic Pad Unboxing and Initial Thoughts
The printer was nicely packed and required a bit of assembly, but nothing too crazy, maybe 30 minutes worth of work. The assembly instructions were pretty good; certainly better than those that came with my Ender-3. I had no problem getting the printer up and running and loading a spool of PLA into the extruder. Bed leveling was also fairly easy compared to the stock Ender-3. You have to do a rough bed level with the knobs that the bed is mounted to, but after that you can use the auto bed leveling function to get a perfect level. After struggling with manual bed leveling on the Ender-3, and then investing in a CR Touch add-on kit for it, I decided I will definitely never again get a printer without auto bed level (I imagine only the cheapest new FDM printers will lack auto bed level going forward).
Navigating the Ender-5’s UI was straightforward. I had no issues figuring out how to print a calibration object provided by Creality on the SD card. The first prints were near flawless, and it only took me a bit of tweaking in Cura to slice my own prints in PLA that were also very nice. You can see a vase in the photo above that came out very close to perfection. Using the Sonic Pad, along with the provided web interface, and the Moonraker plugin for Cura makes printing a breeze, and the Sonic Pad does seem to help with printing speed, especially with PLA prints. I can print PLA objects typically between two to four times faster than I could with the Ender-3. That makes it well worth the upgrade cost for the time savings.
Those of you who are experienced 3D printer users know that PLA very forgiving but that filament like PETG is a bit harder to work with. In the case of the Ender-5 S1, there is no exception. The printer certainly has the specs to handing the material well (with the direct drive extruder and cubic frame for stability), but I’ve been struggling a bit to get the settings for PETG dialed in correctly. I’ve printed plenty of temperature and retraction towers for PETG, which come out looking nice, but when I print out the Project Yamhill backplane, there’s a lot of stringing. I thought that maybe my filament was damp, but even when switching to a fresh roll of PETG right out of the vacuum bag, I had the same issues. So I’m slowly tweaking parameters to try to get ride of the stringing. The rest of the print looks pretty good at this point.
Overall, I’m fairly happy with the printer. I don’t regret the purchase and it definitely will save me time and money in the long run.
Project Yamhill Front Panel Progress
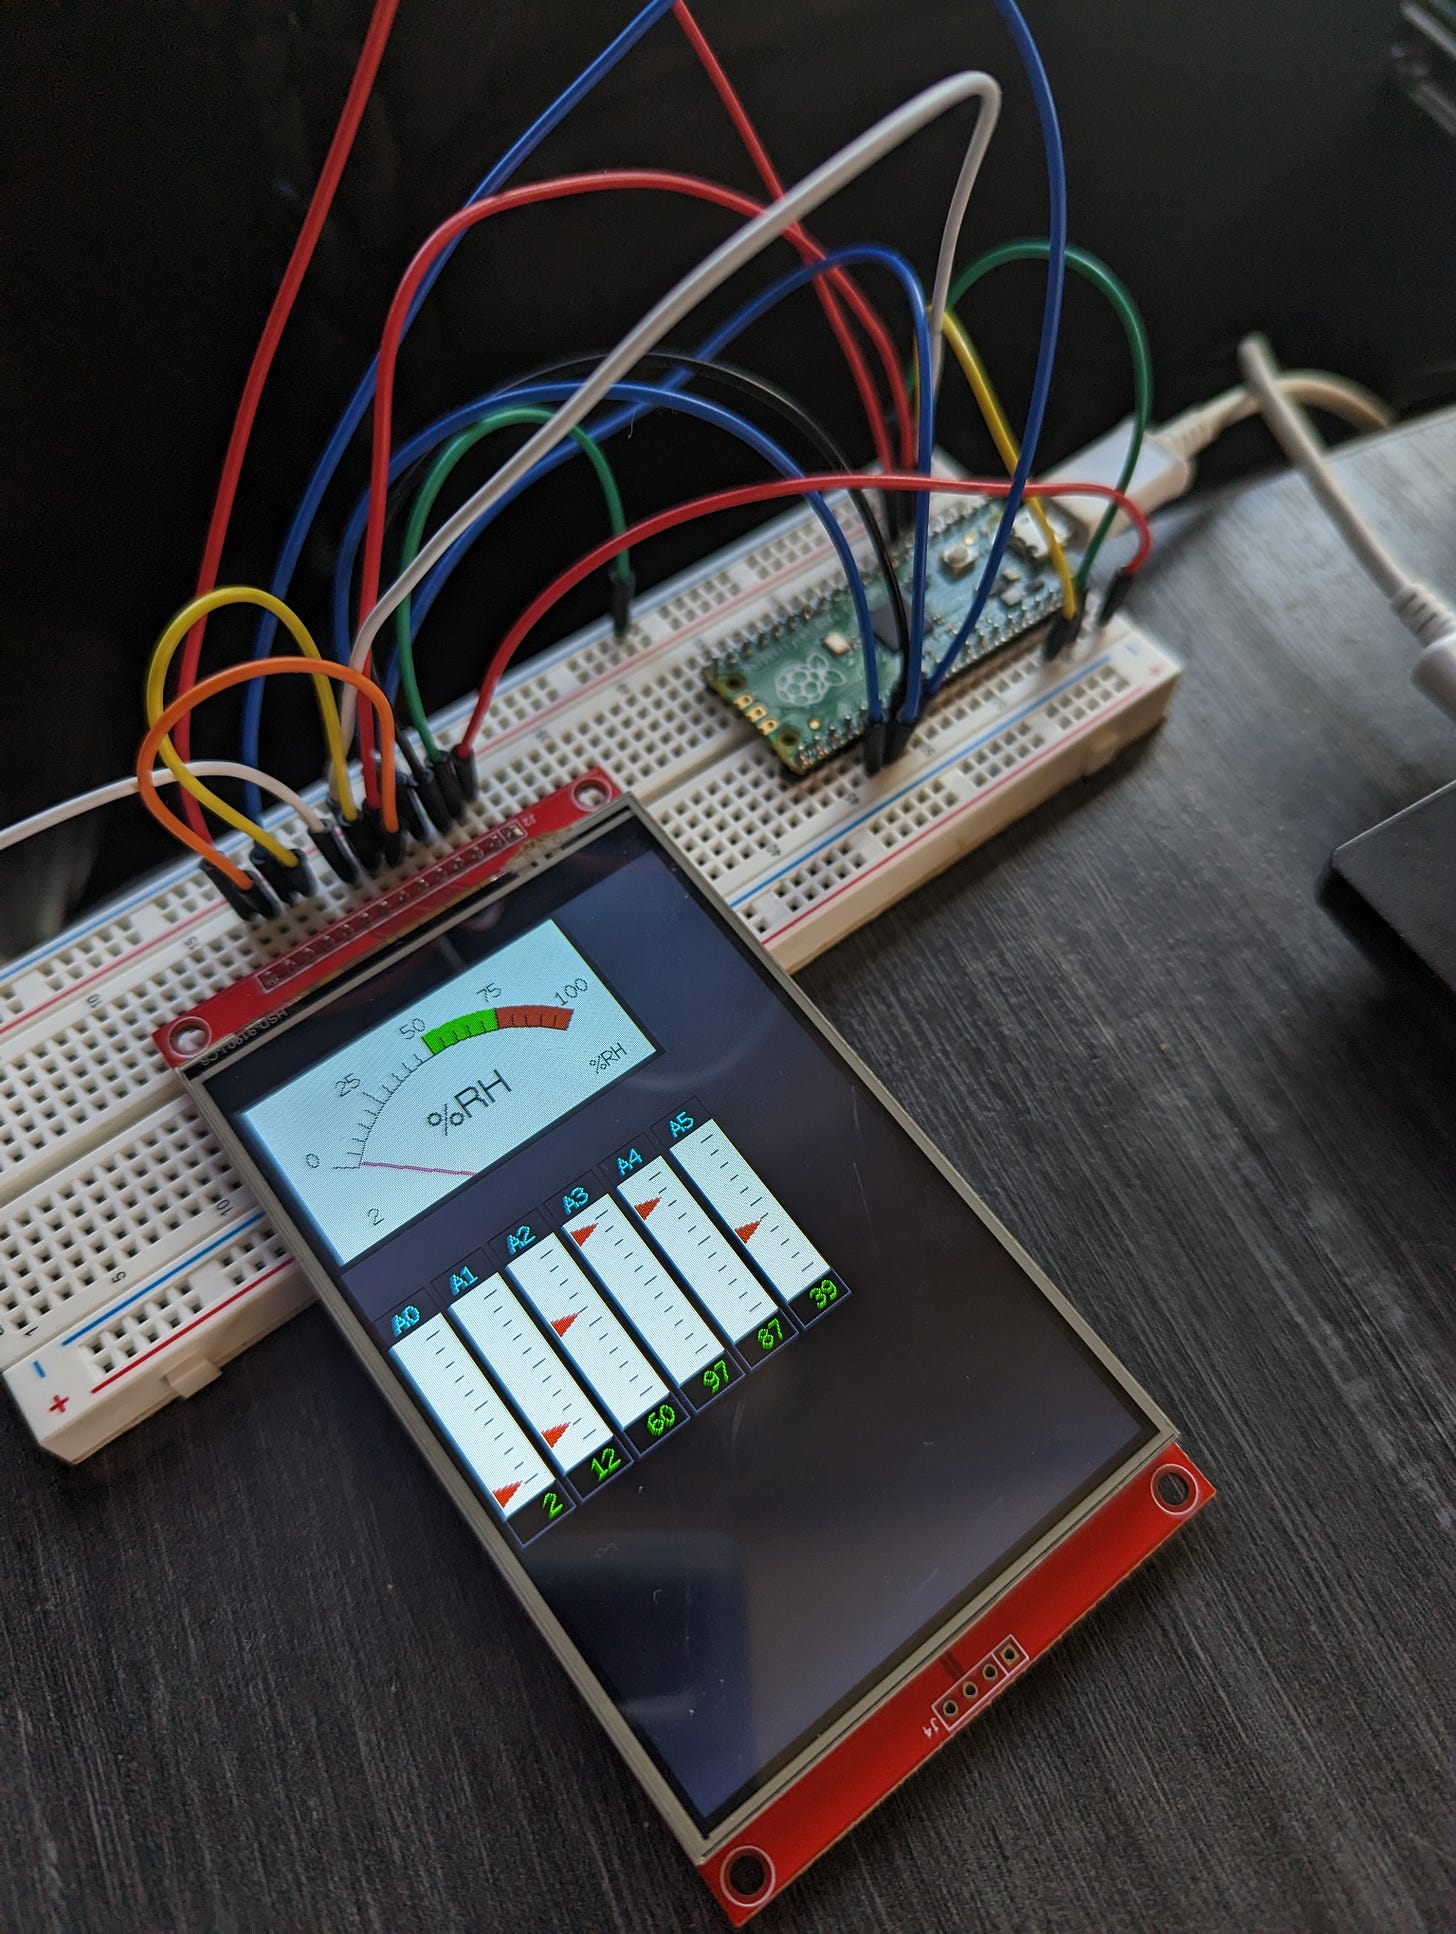
Since I’ve been spending a fair amount of time working on tweaking settings on the Ender-5 S1, I haven’t been able to devote a ton of time to front panel development, although I definitely have made some progress. An order of Raspberry Pi Pico boards came in from DigiKey and I was able to install the various toolchains (GNU C, MicroPython, and Arduino) and get a feel for how to compile and run programs. A few days ago, I finally received the 4.0-inch TFT LCD module that is going to be the display, and was able to wire it up on the breadboard and get demo programs from the TFT_eSPI Arduino library running nicely.
The Pico has a powerful processor (at least in microcontroller terms), and can drive a display with this many pixels easily. I was also able to get the touchscreen functions working correctly with just one additional pin used on the Pico, which will be most helpful, since I won’t have a ton of extra GPIO pins available for physical pushbuttons.
Most of the microcontroller stuff and the Si5351C oscillator circuit has been laid out in the schematic editor. I’ve decided to add the audio amplifier circuitry to the front panel PCB, since most projects will use it. So I’m currently looking at AF amp chips and noodling over designs. Most likely the on-board AF amp will have three stages: a op-amp preamp, muting and volume control, and then a dedicated AF power amp IC for the final stage that can drive both a mono speaker and headphones.
Up Next
I’m definitely eager to get the front panel done, since it’s the most complex part of the design and so much of the project depends on it. With any luck, I’ll have a preliminary front panel PCB to share with you.


