
Snowbound
A good weekend to be stuck

There are a lot of photos attached to this post and it will most likely exceed the email length limit. Please click through to read on substack.com to see the entire post. Thanks!
As Project Yamhill nears actual physical implementation, it’s time to start building some more real-time, two-way communication. If you’d like to participate in Project Yamhill chat, please click on the link below. Thank you!
Let's Chat

Now that I’m getting close to having some real boards ready for testing, it felt like it was time to launch the Etherkit/Applied Etherics chat server. I don’t use social media any more, but chat services are a great way to interact in real-time, something which can’t be done on Substack. This will become critical once people other than myself start atte…
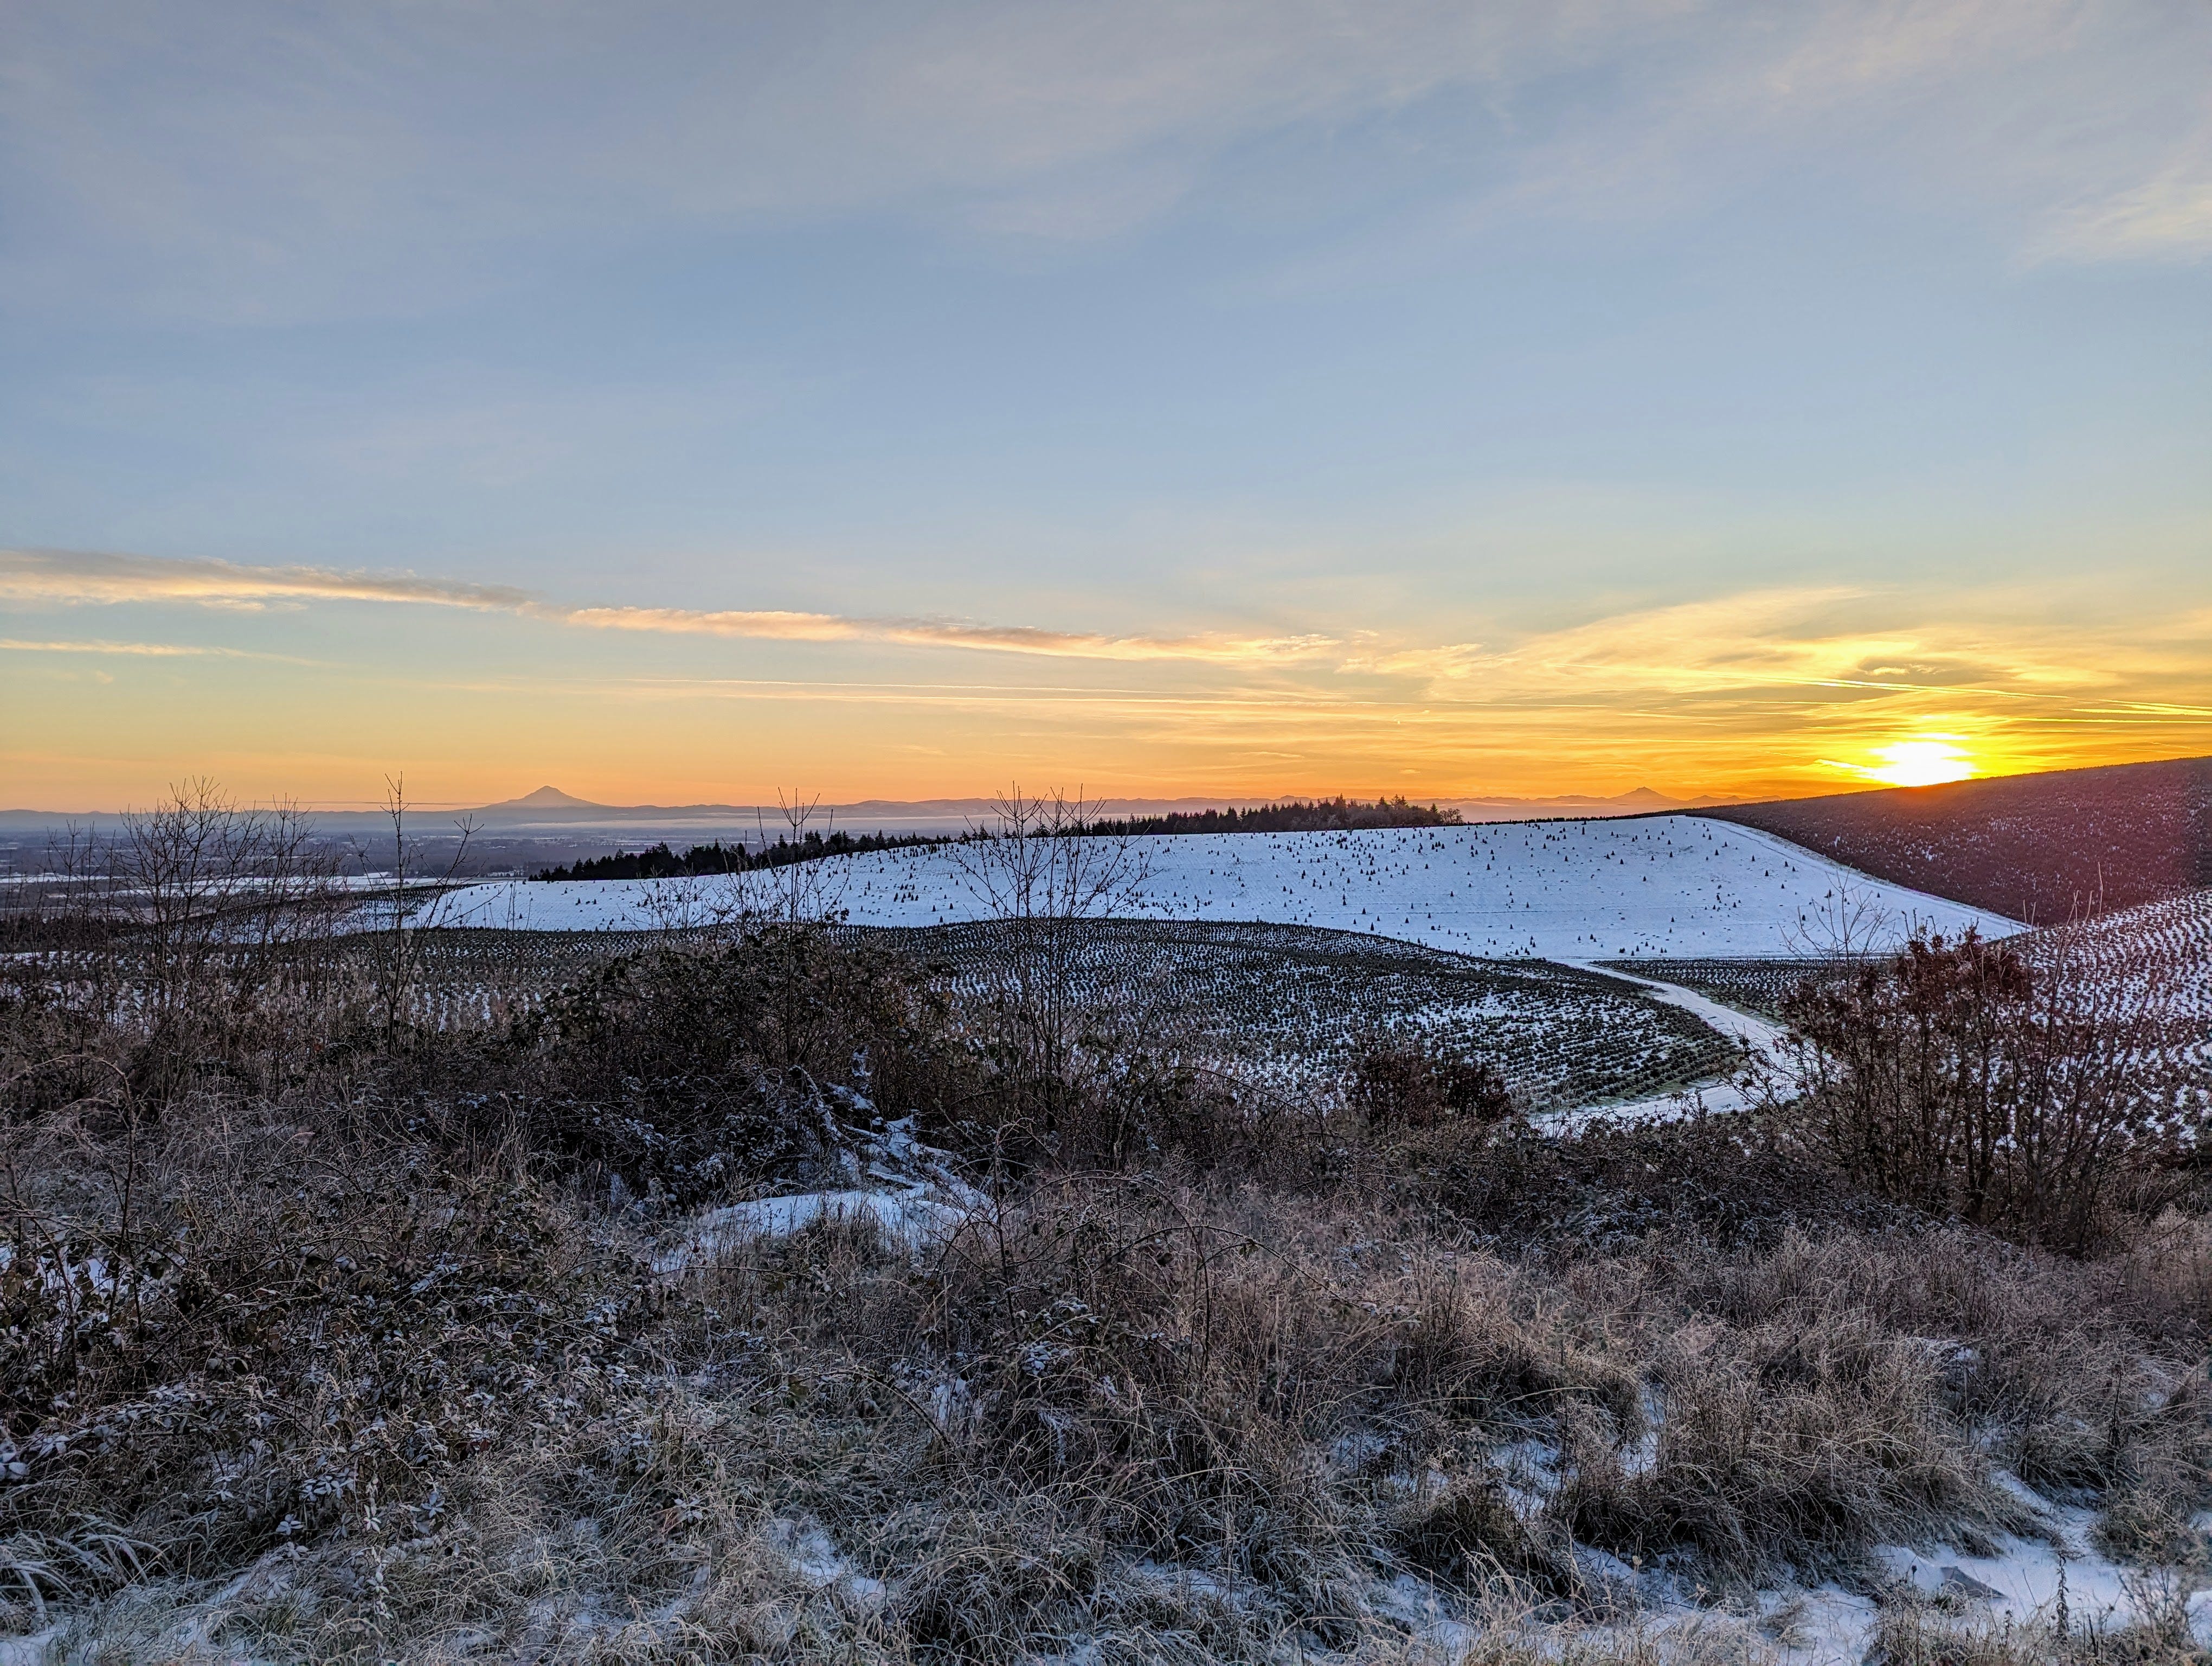
Wow, it’s been an eventful week or so since I last posted. Last Friday afternoon, I received the long-awaited circuit board order from JLCPCB. I also received a nasty winter storm that gave us about 4 inches of snow, which in itself isn’t that bad, but then glazed everything with about a half-inch of freezing rain, which definitely sucked. The temperature stayed well below freezing for about five days. We live on a hill at close to 1000 feet elevation, and the only road to our property has some steep areas that make it virtually impassible when it’s glazed over with ice. It’s doable in a 4WD vehicle when it’s just snowy, but ice makes it nearly impossible to go down without careening out of control and ending up in the ditch or worse, off the edge of a cliff. So we were stuck at home for a week.
We were well prepared with provisions, and miraculously our power never went out, so at least I was able to get a lot of work done here, even though I couldn’t make it into my part-time job this week.
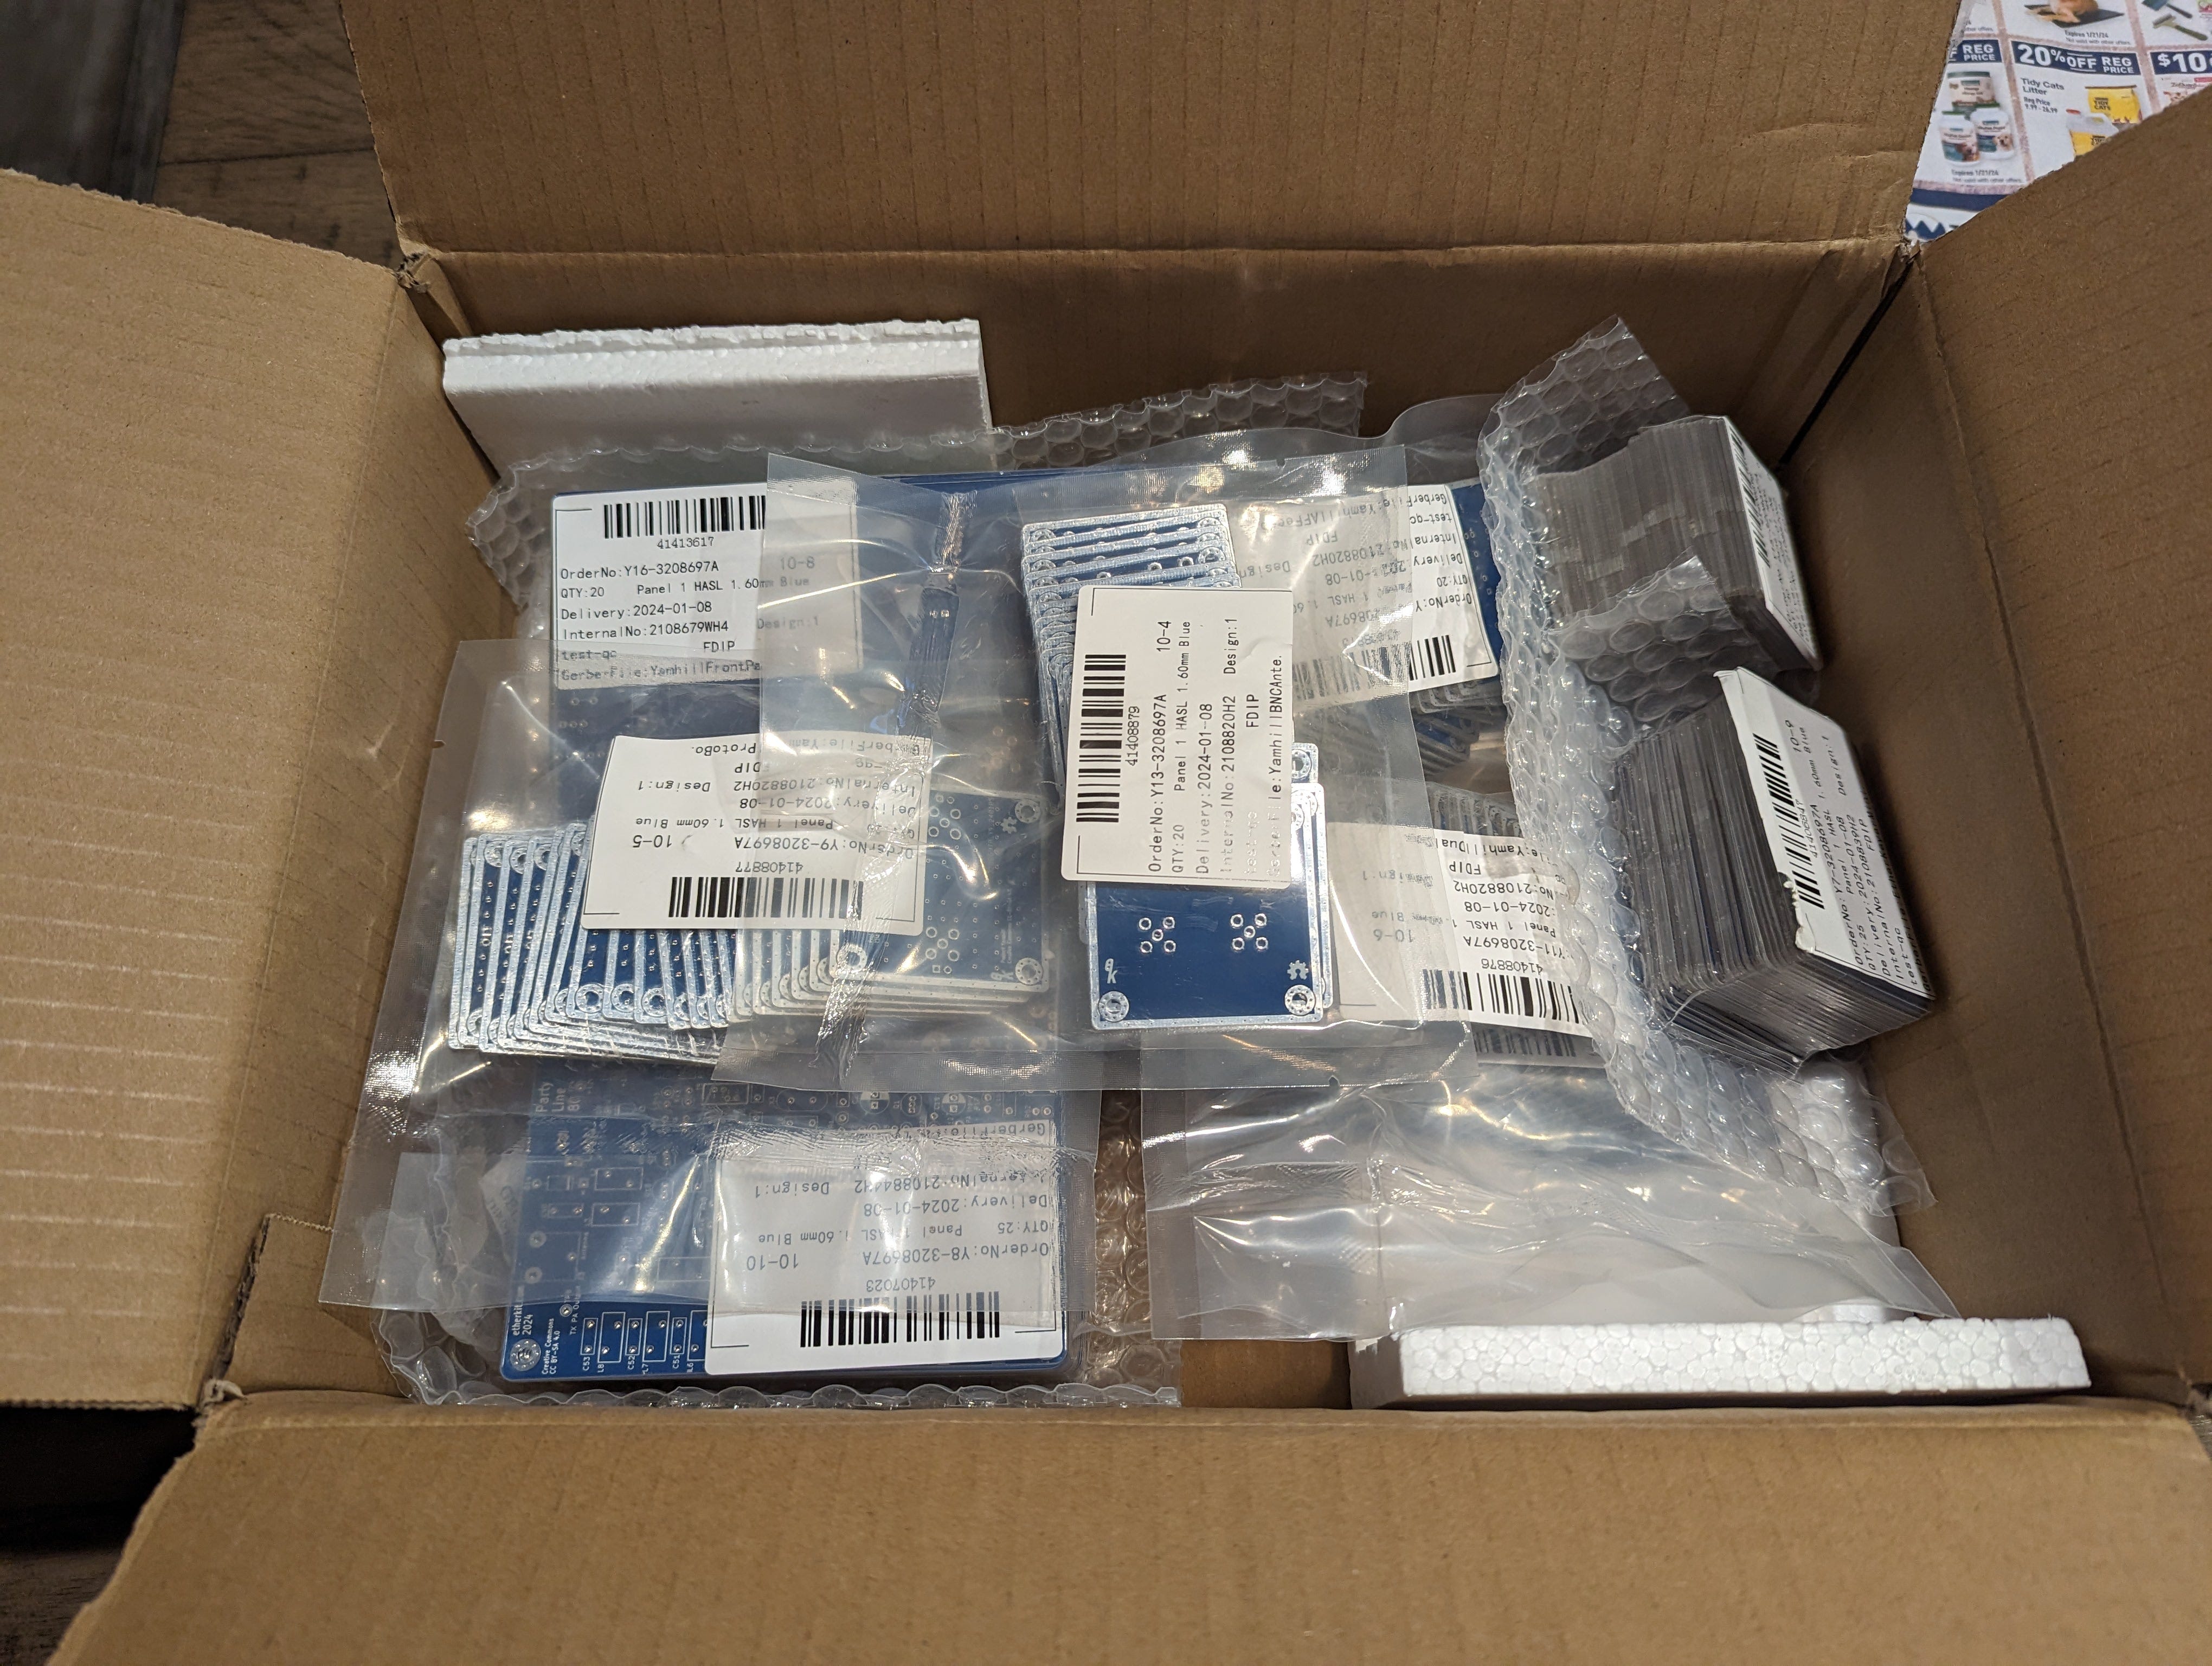
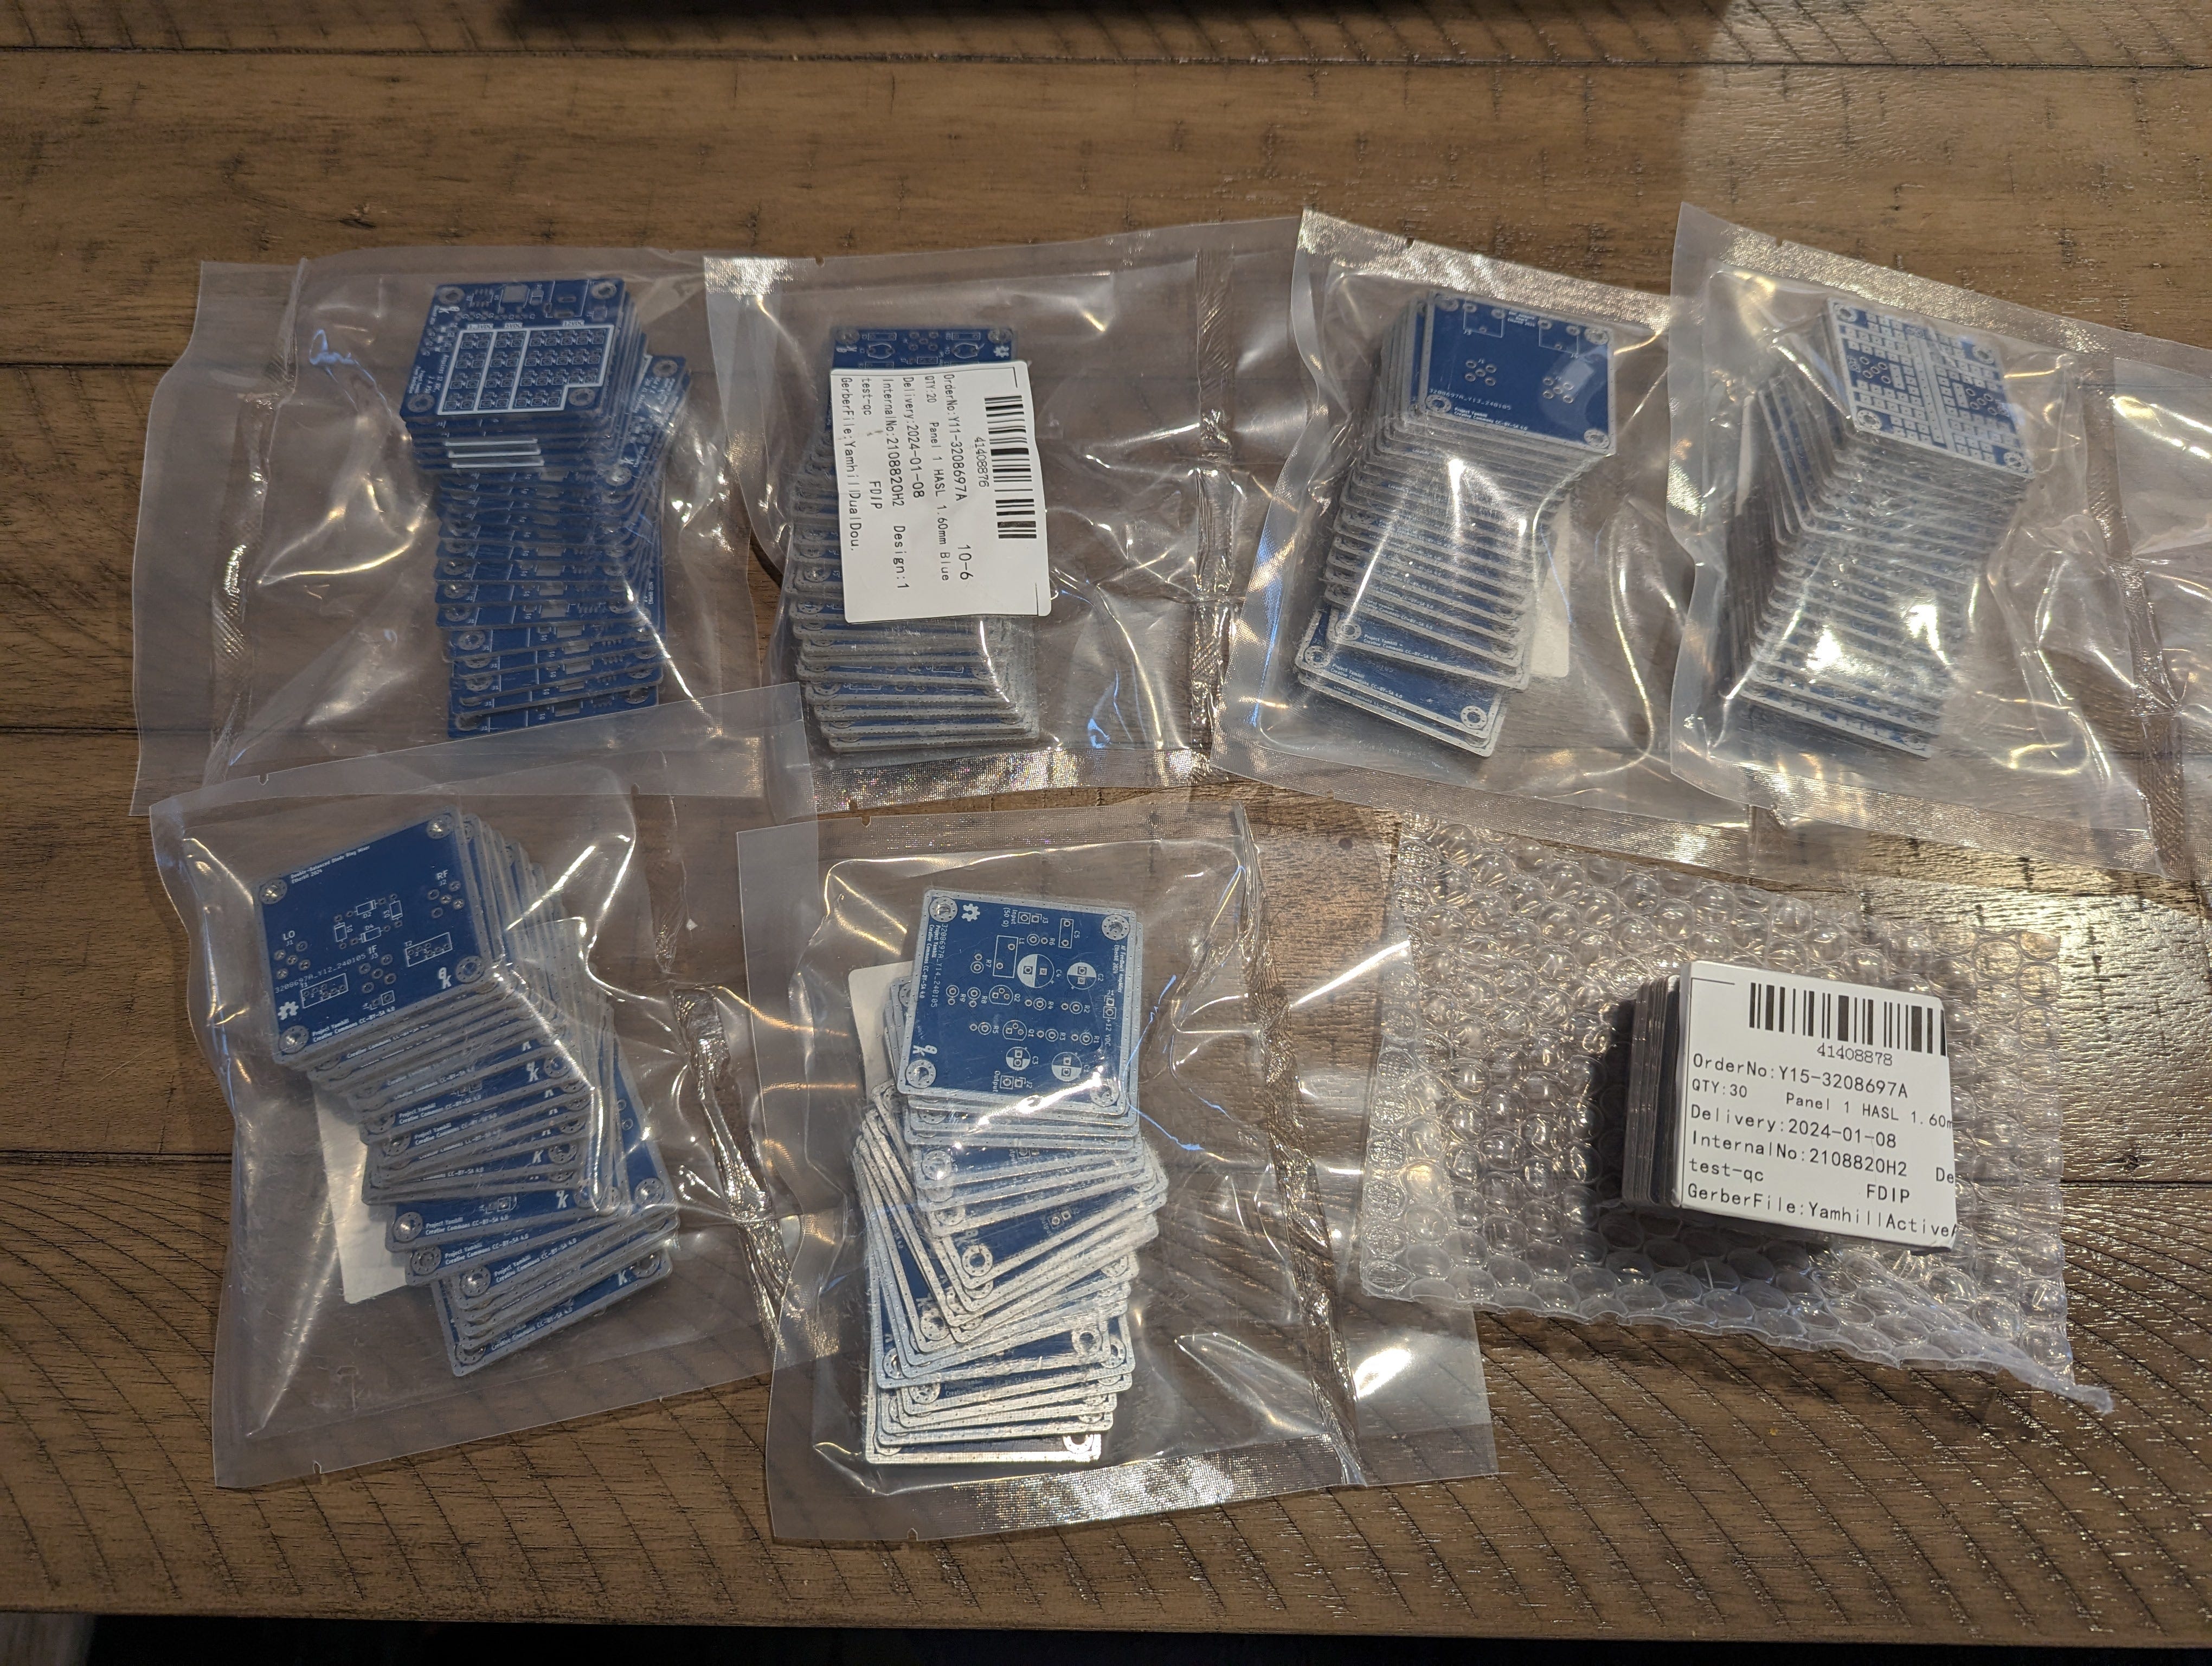
Here’s a look at the box of goodies from JLCPCB:
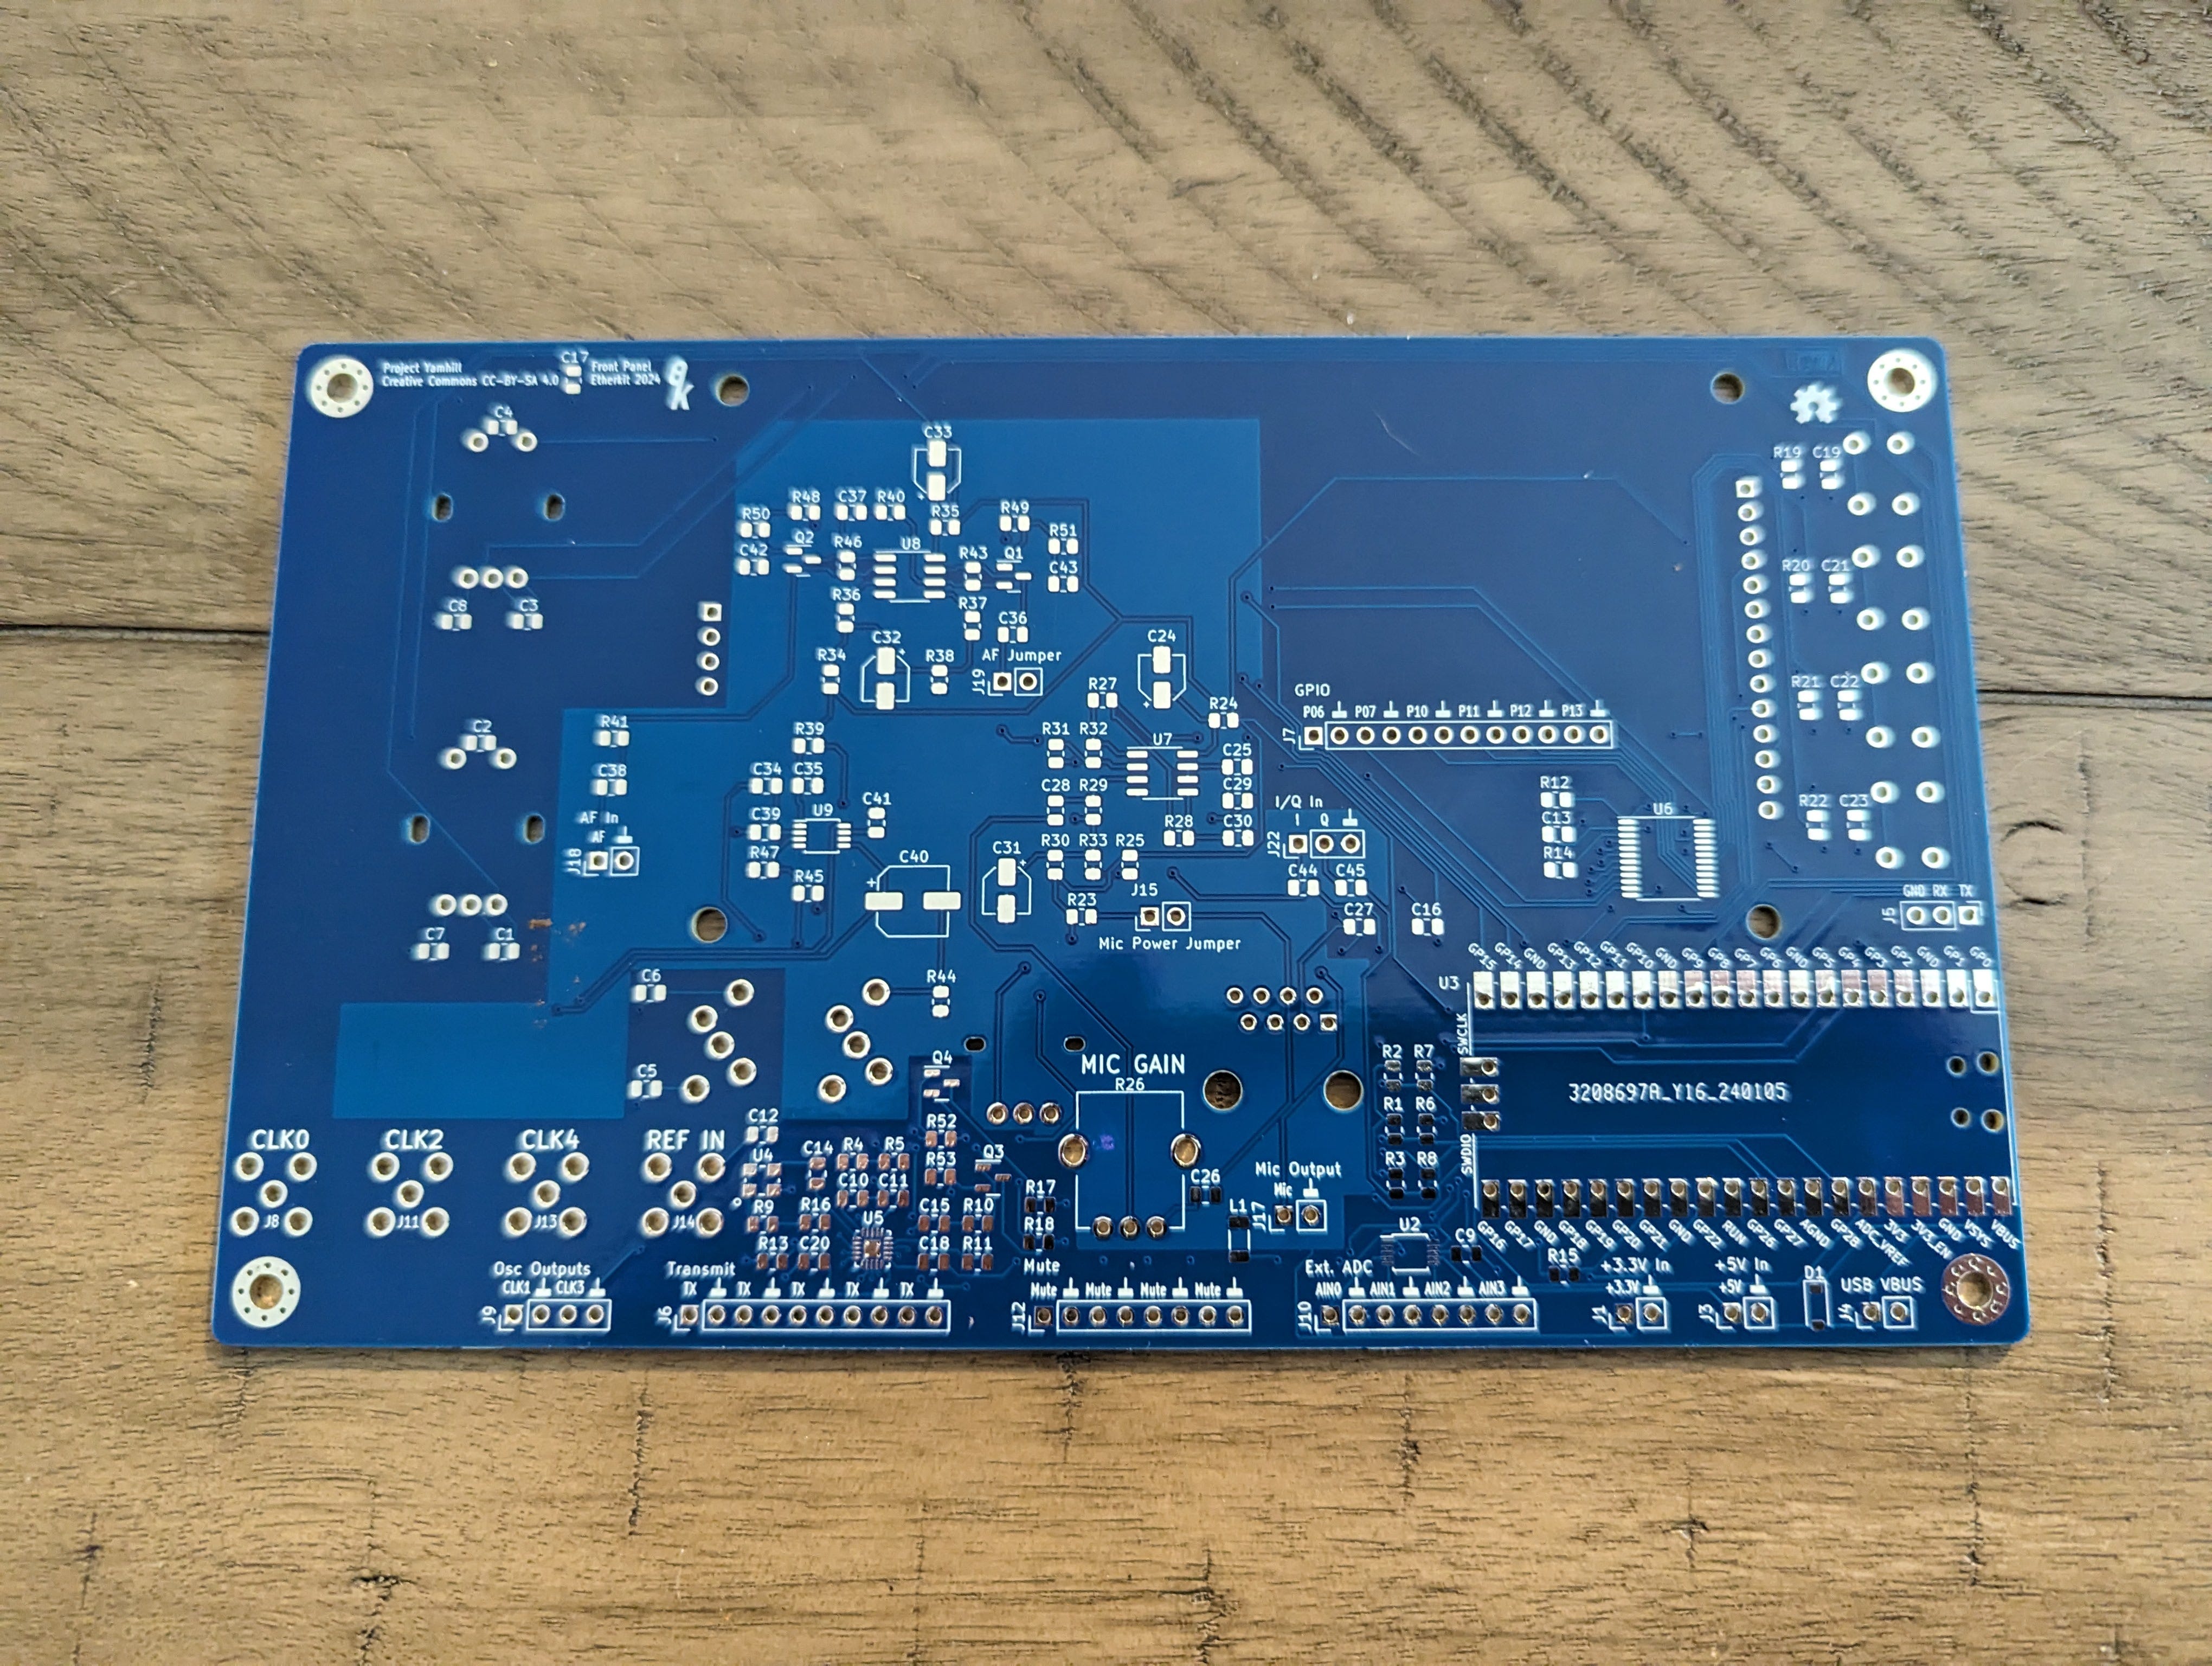
I’m still waiting for a few components to come in for the Project Yamhill stuff, so I decided to work on bringing up the other two boards that I’ve been working on: EtherKeyer Mini and the Party Line 80 CW QRP transceiver.
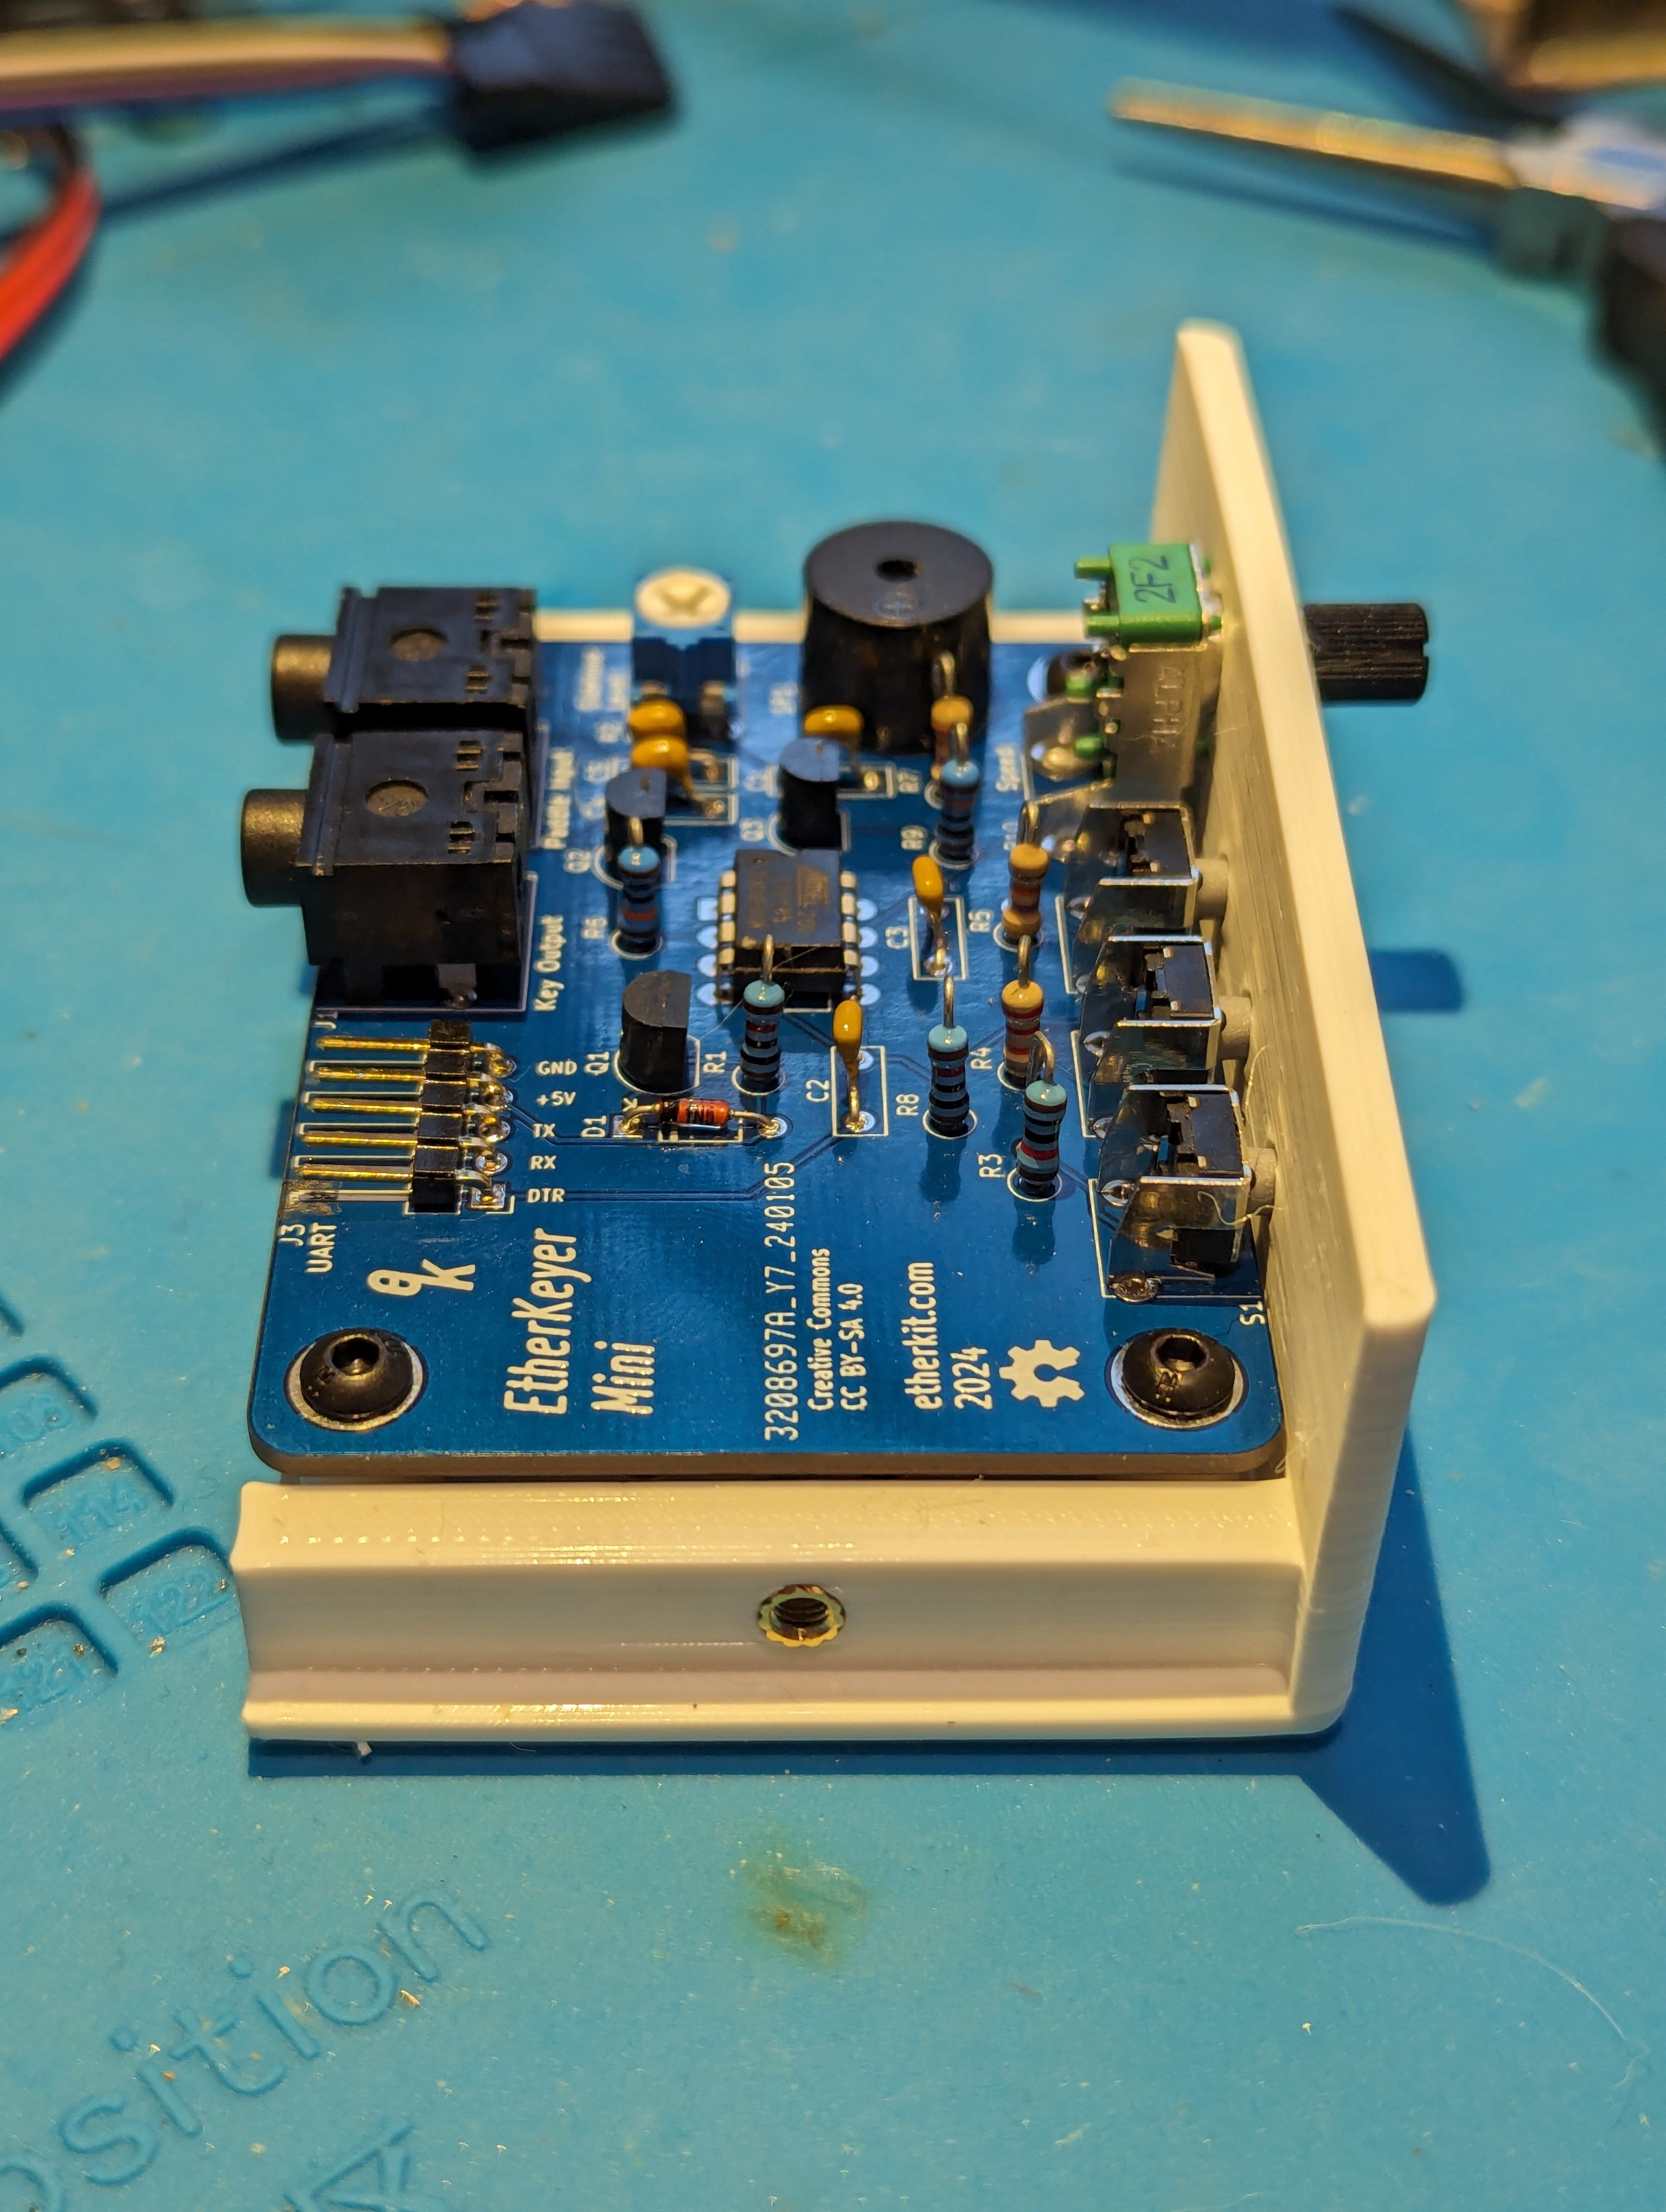
EtherKeyer Mini
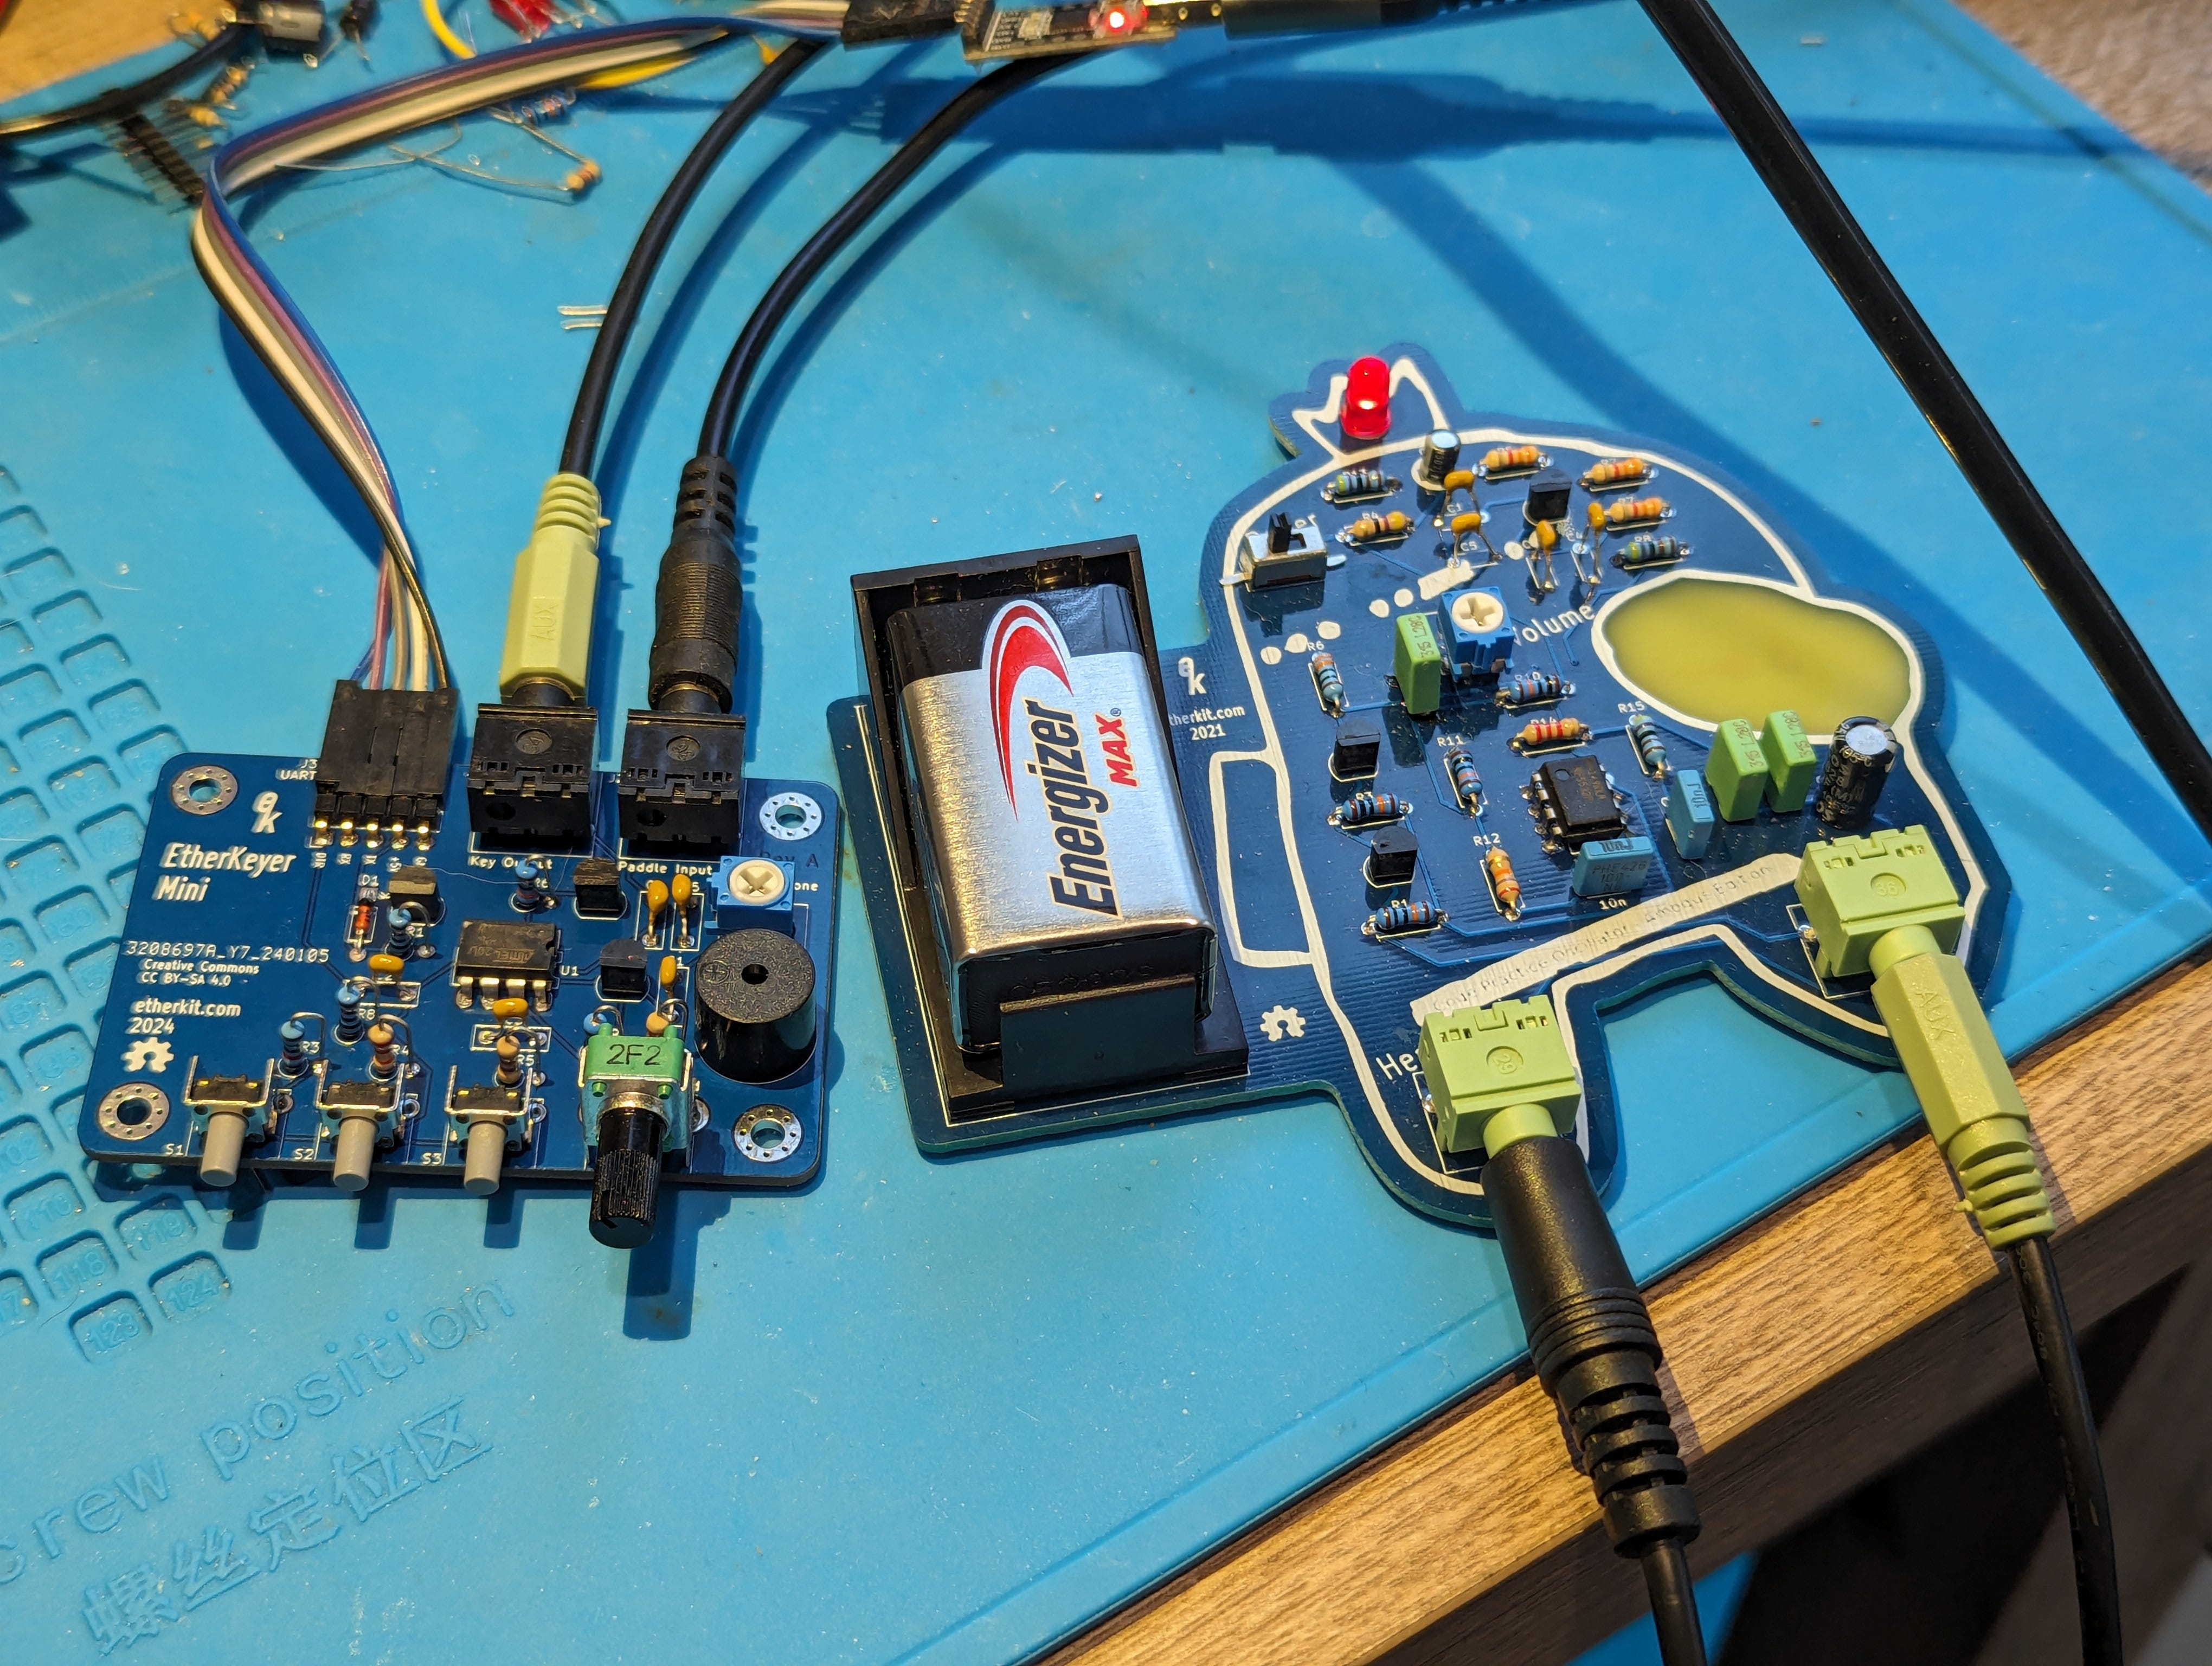
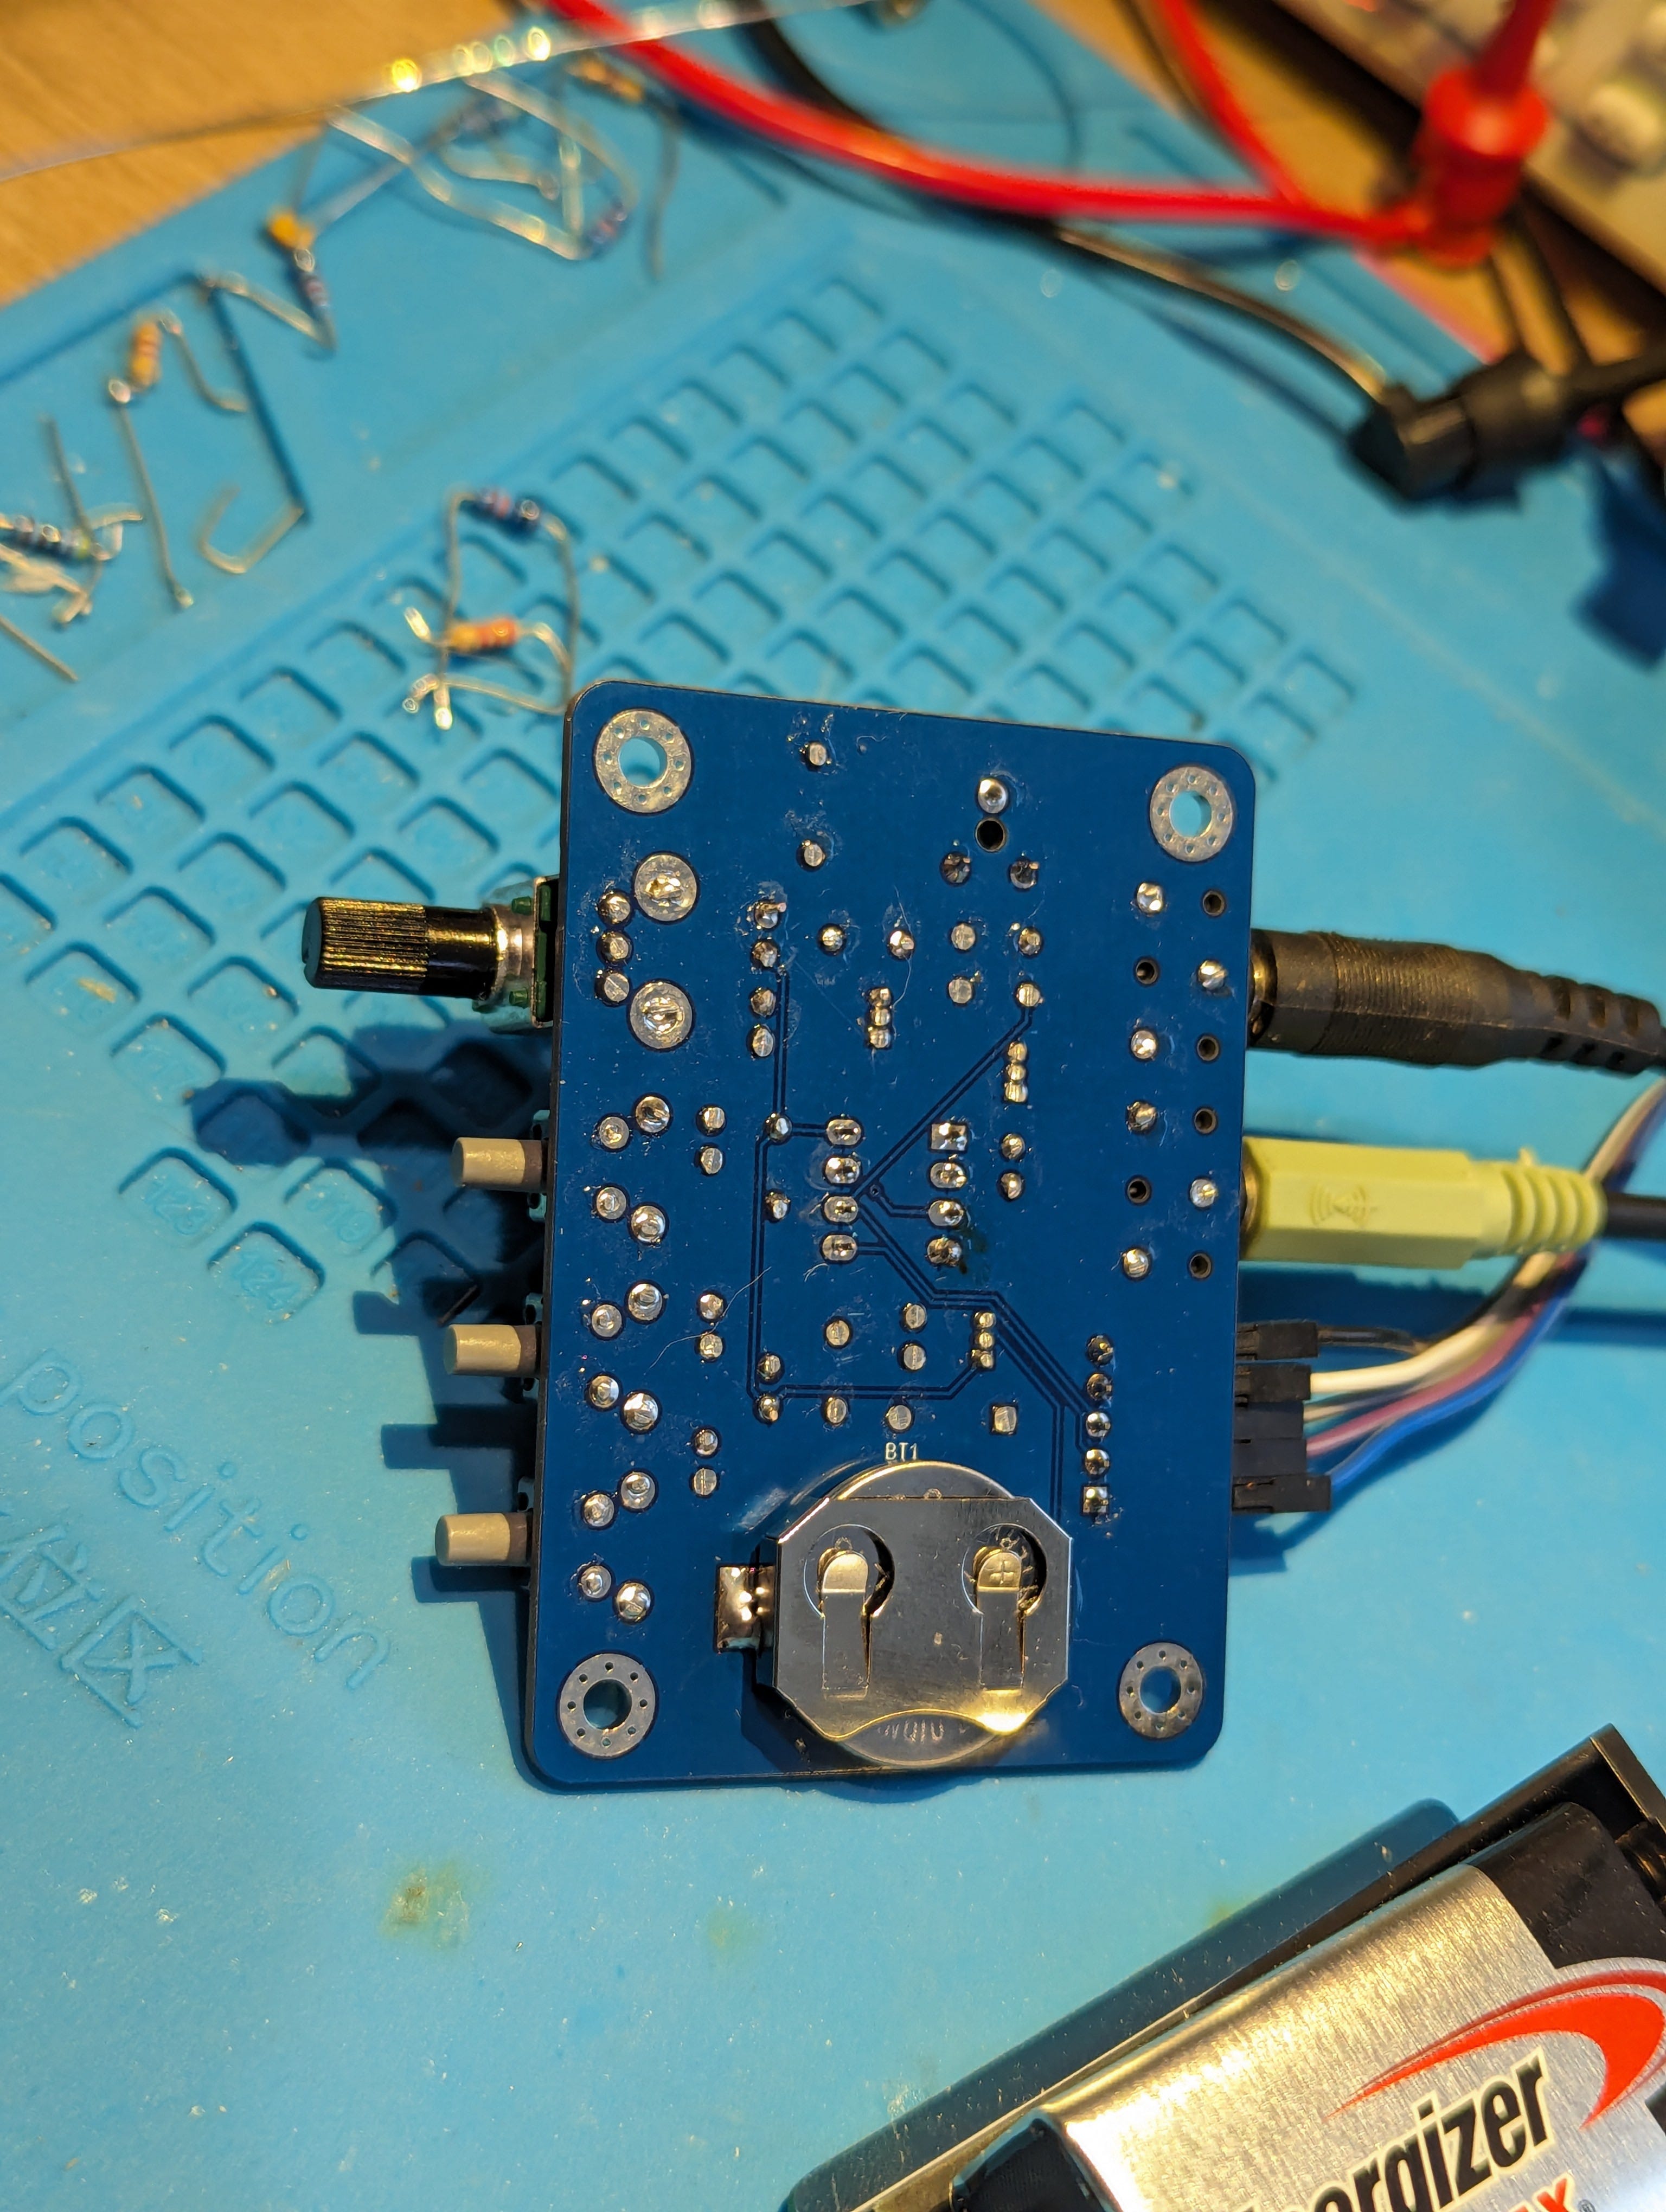
Stuffing the EtherKeyer Mini PCB was about the easiest thing to do, since it’s electrically so simple and has so few components. Here you can see it next to my Twin-T code practice oscillator. The next photo shows the CR2032 coin cell holder that’s placed on the under side of the PCB.
Since I had already breadboarded this entire circuit, I didn’t anticipate any problems in getting the circuit to work on the PCB. Fortunately, I laid out the circuit correctly in KiCad so it worked exactly as I expected. With the current state of the firmware, it does the basic keyer functions that one would expect, with three message memories, and a speed control potentiometer. I got the microcontroller sleep code in place, so it should now consume very little power when not in use, allowing for a coin cell to power the keyer for many months if I’ve set everything up correctly. Stupidly, I ordered a bunch of the wrong microcontroller voltage grade ICs, getting the ones that only work to 2.7 V, instead of the 1.7 V parts. Once I get a fresh shipment of the correct microcontrollers, I should be able to do some long term testing (“eating my own dog food”) to ensure that everything works as it should over a long interval. If you would be interested in beta testing one of these for a very affordable price, then contact me and I can hook you up in the near future.
In the mean time, I knew that I wanted to offer a matching enclosure for this product, as well as the Party Line 80, and other future projects, so I set out to level up my meager FreeCAD skills over the weekend. After diving into a lot of tutorials in YouTube (what an amazing learning resource, right?), I managed to create a new parametric enclosure design with a separate bottom/front and top/back. For those unfamiliar with the term, that means that I can now just change numbers in fields in a spreadsheet in FreeCAD and it will redimension the enclosure to fit the PCB size that I request. After I have that, I can then copy and paste the objects into a new document and then add the holes for the controls and jacks, and add raised text labels.
I designed the enclosure to have PCB mounting studs that accept brass heat-set screw inserts, as well as a couple of the same inserts to secure the top of the enclosure to the bottom. This was my first time using such heat-set inserts and they are highly satisfying to install. Even though these fasteners don’t provide high-strength, the PCB mounts quite securely with them, so they’re perfect for this role.

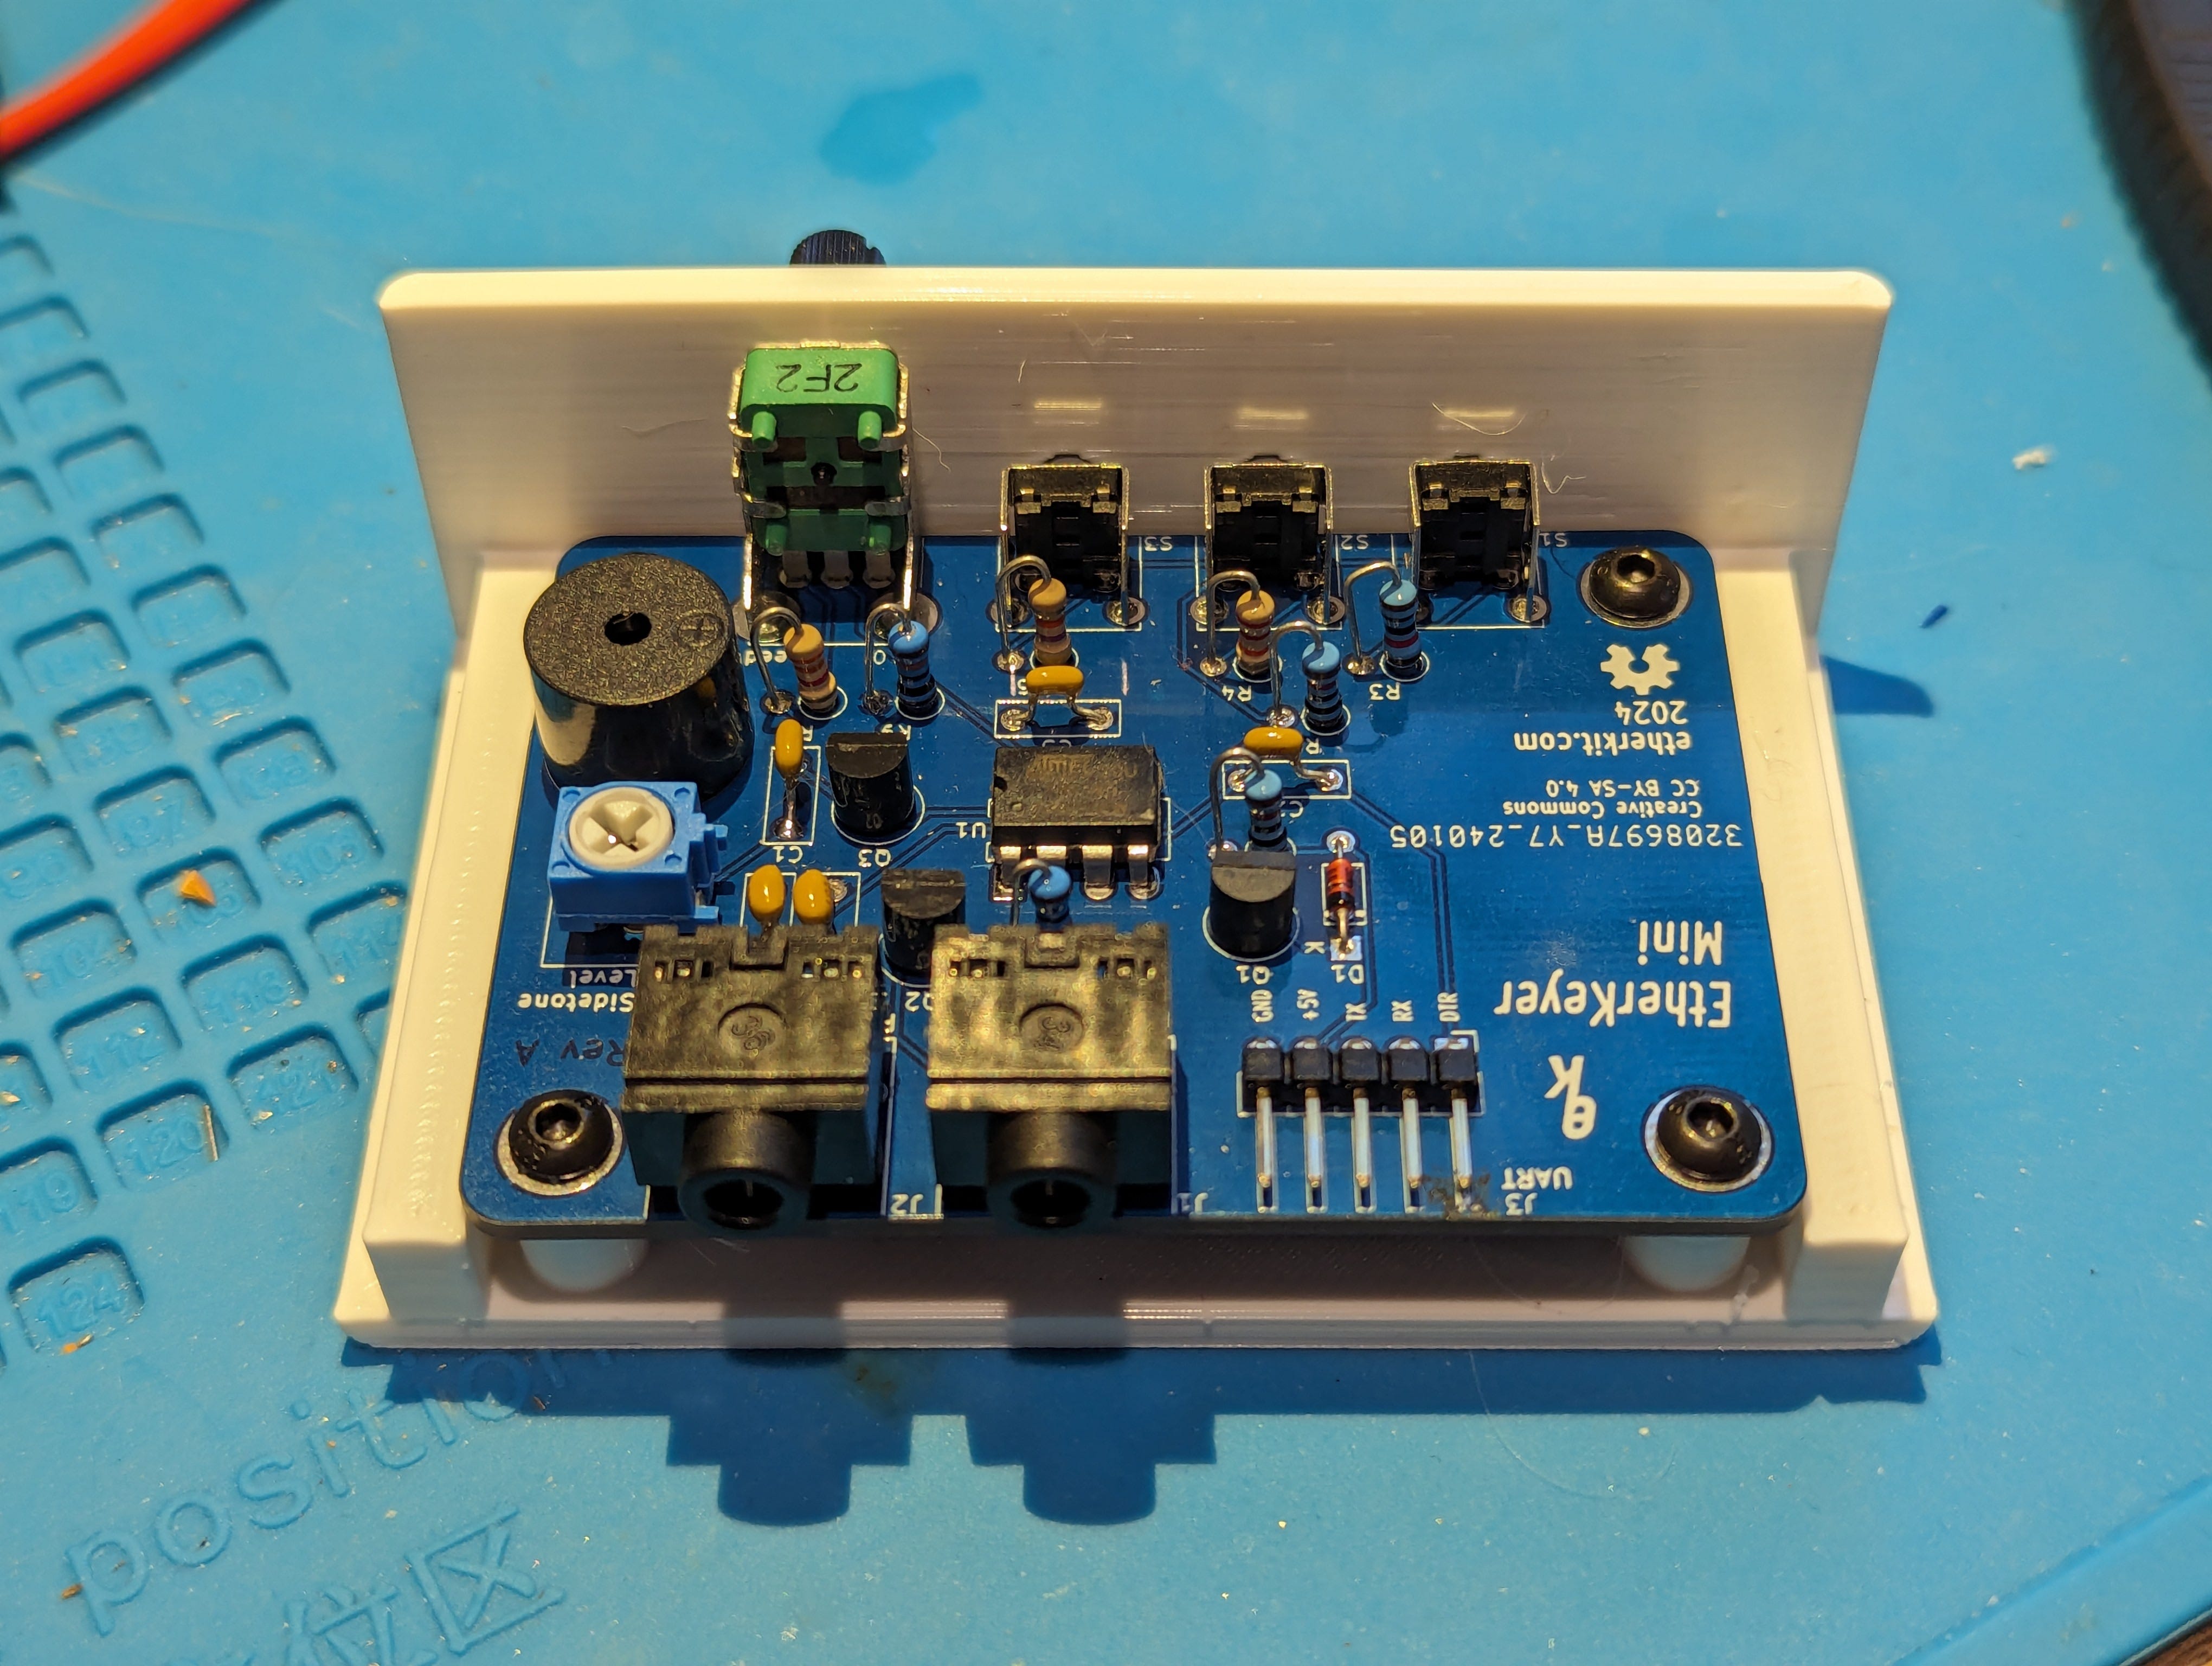
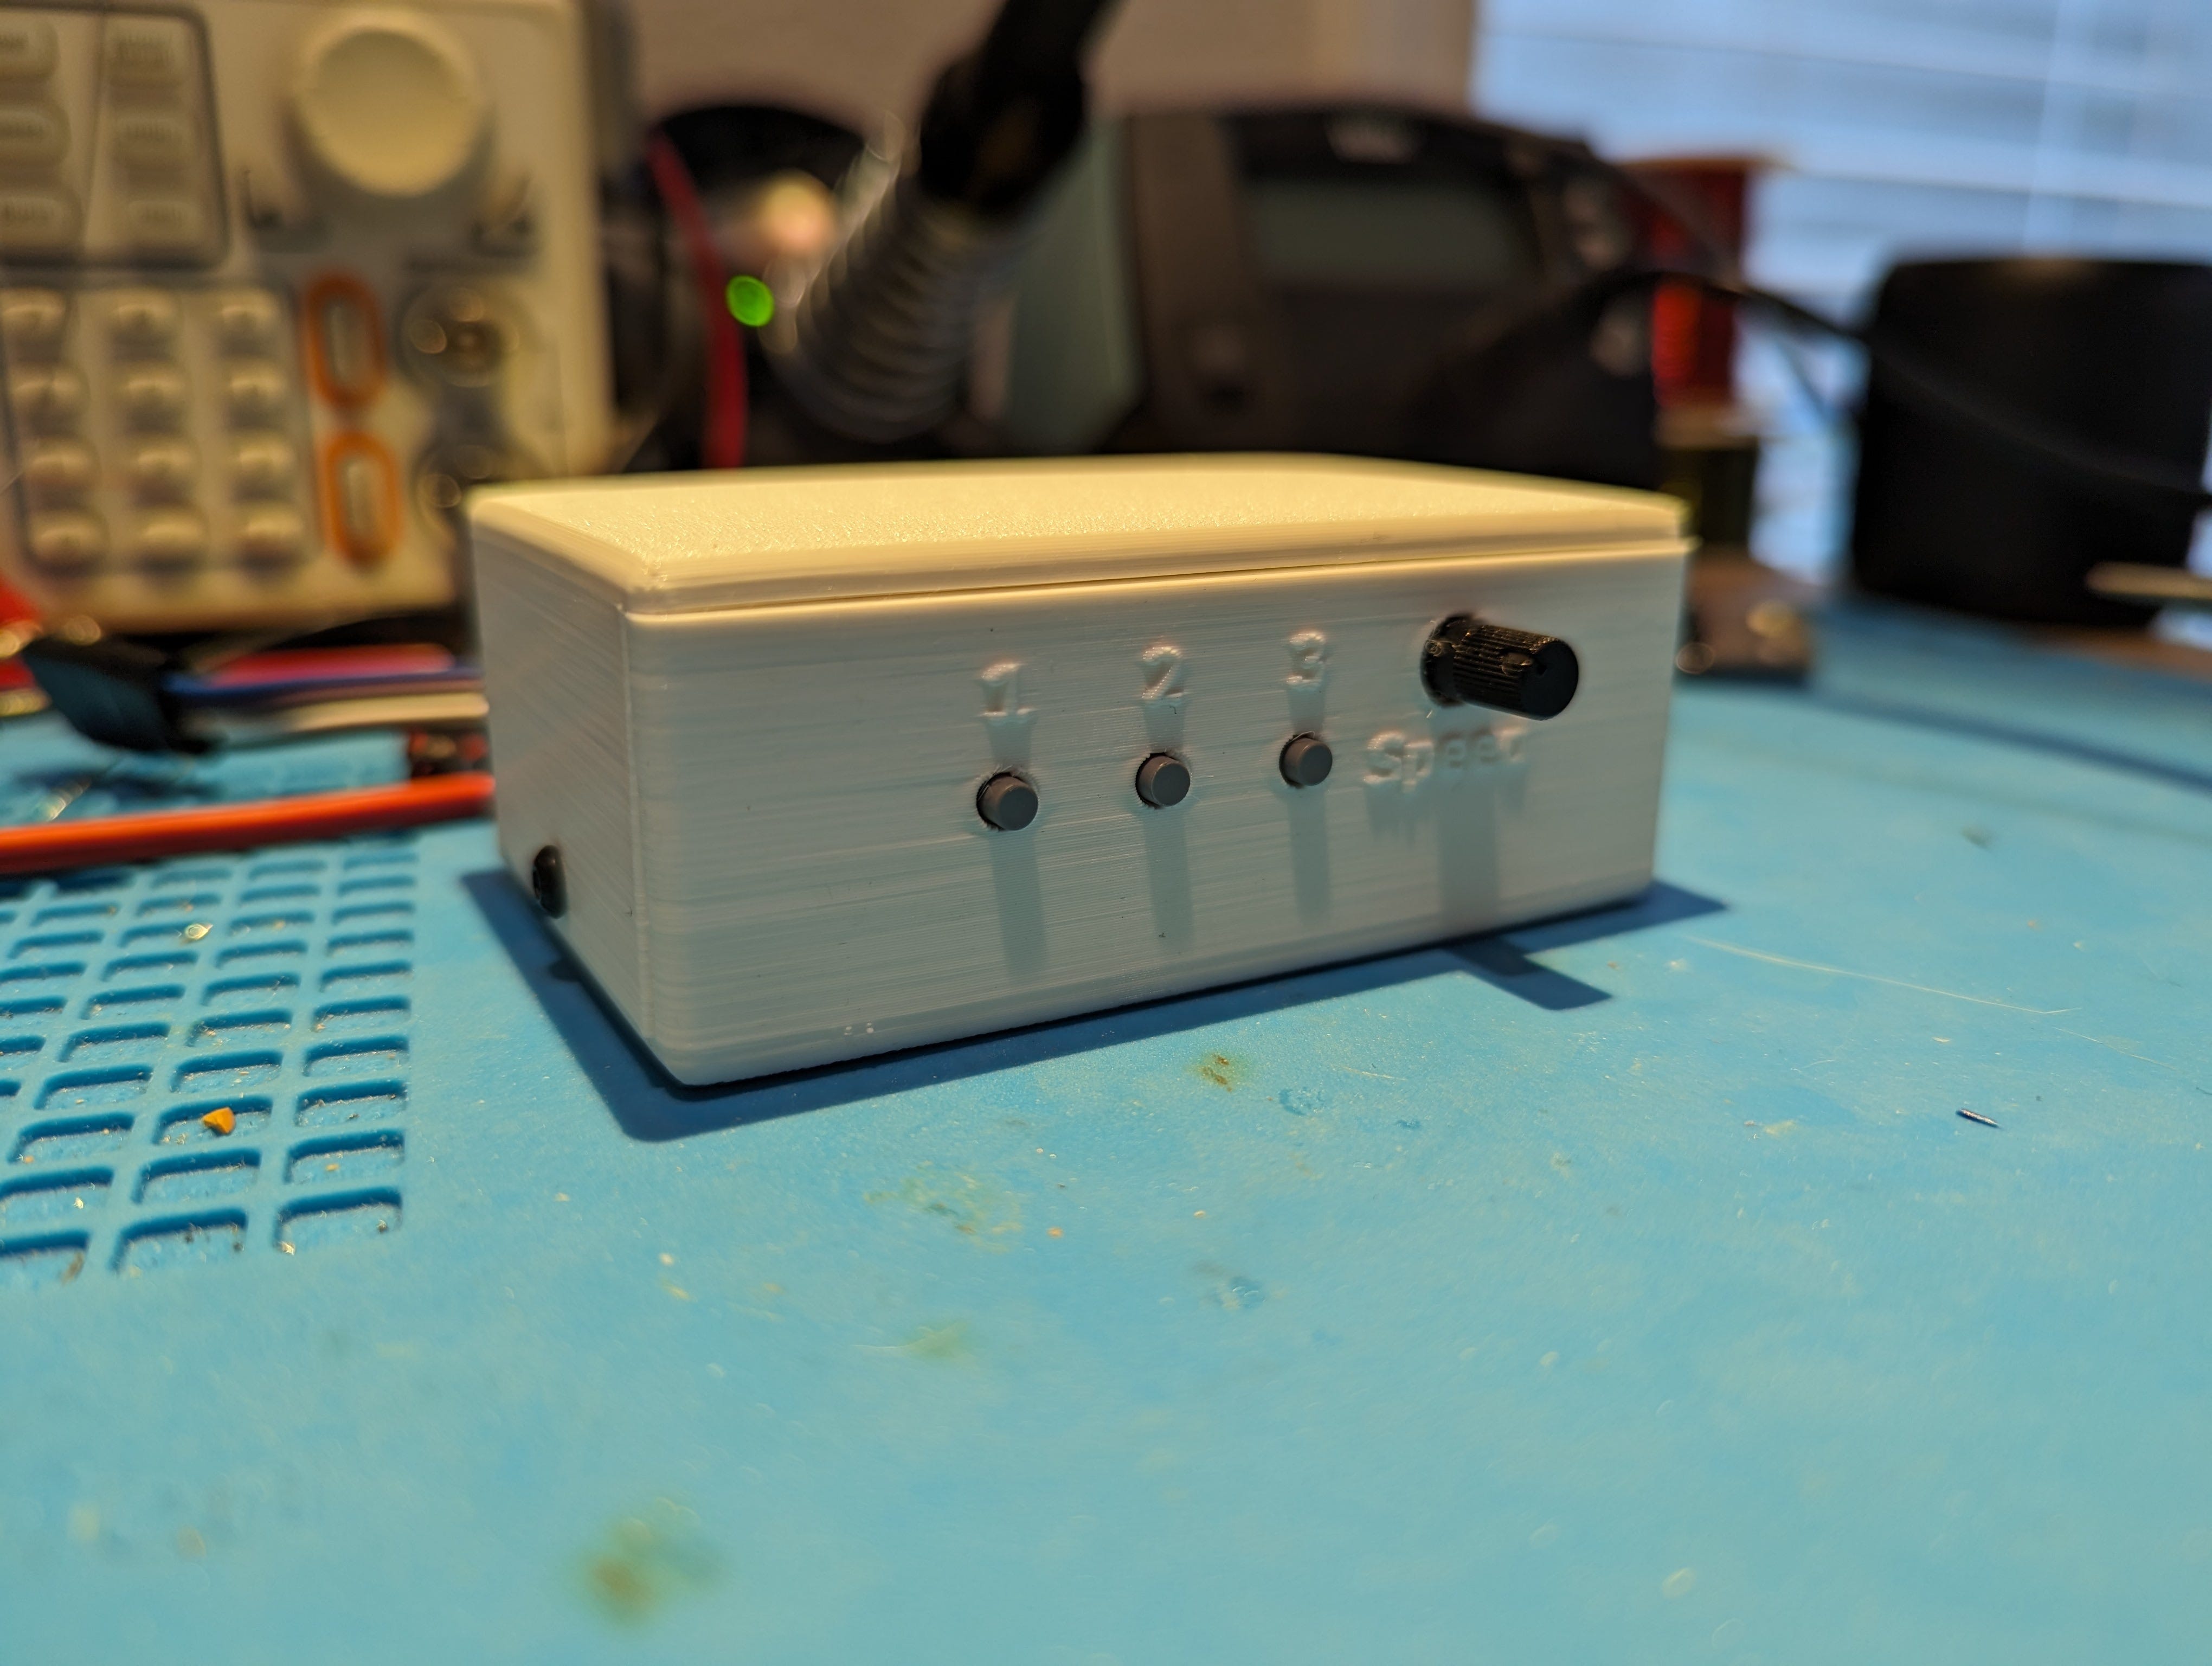
The above enclosure print is in PLA, and was printed in “draft” quality, so it looks a bit rough, but it definitely fits correctly. I’m thinking that production enclosures will be printed in PETG, but I’m wondering if a different type of filament might be a better choice? Maybe one of the CF filaments? Let me know in the comments if you have any suggestions.
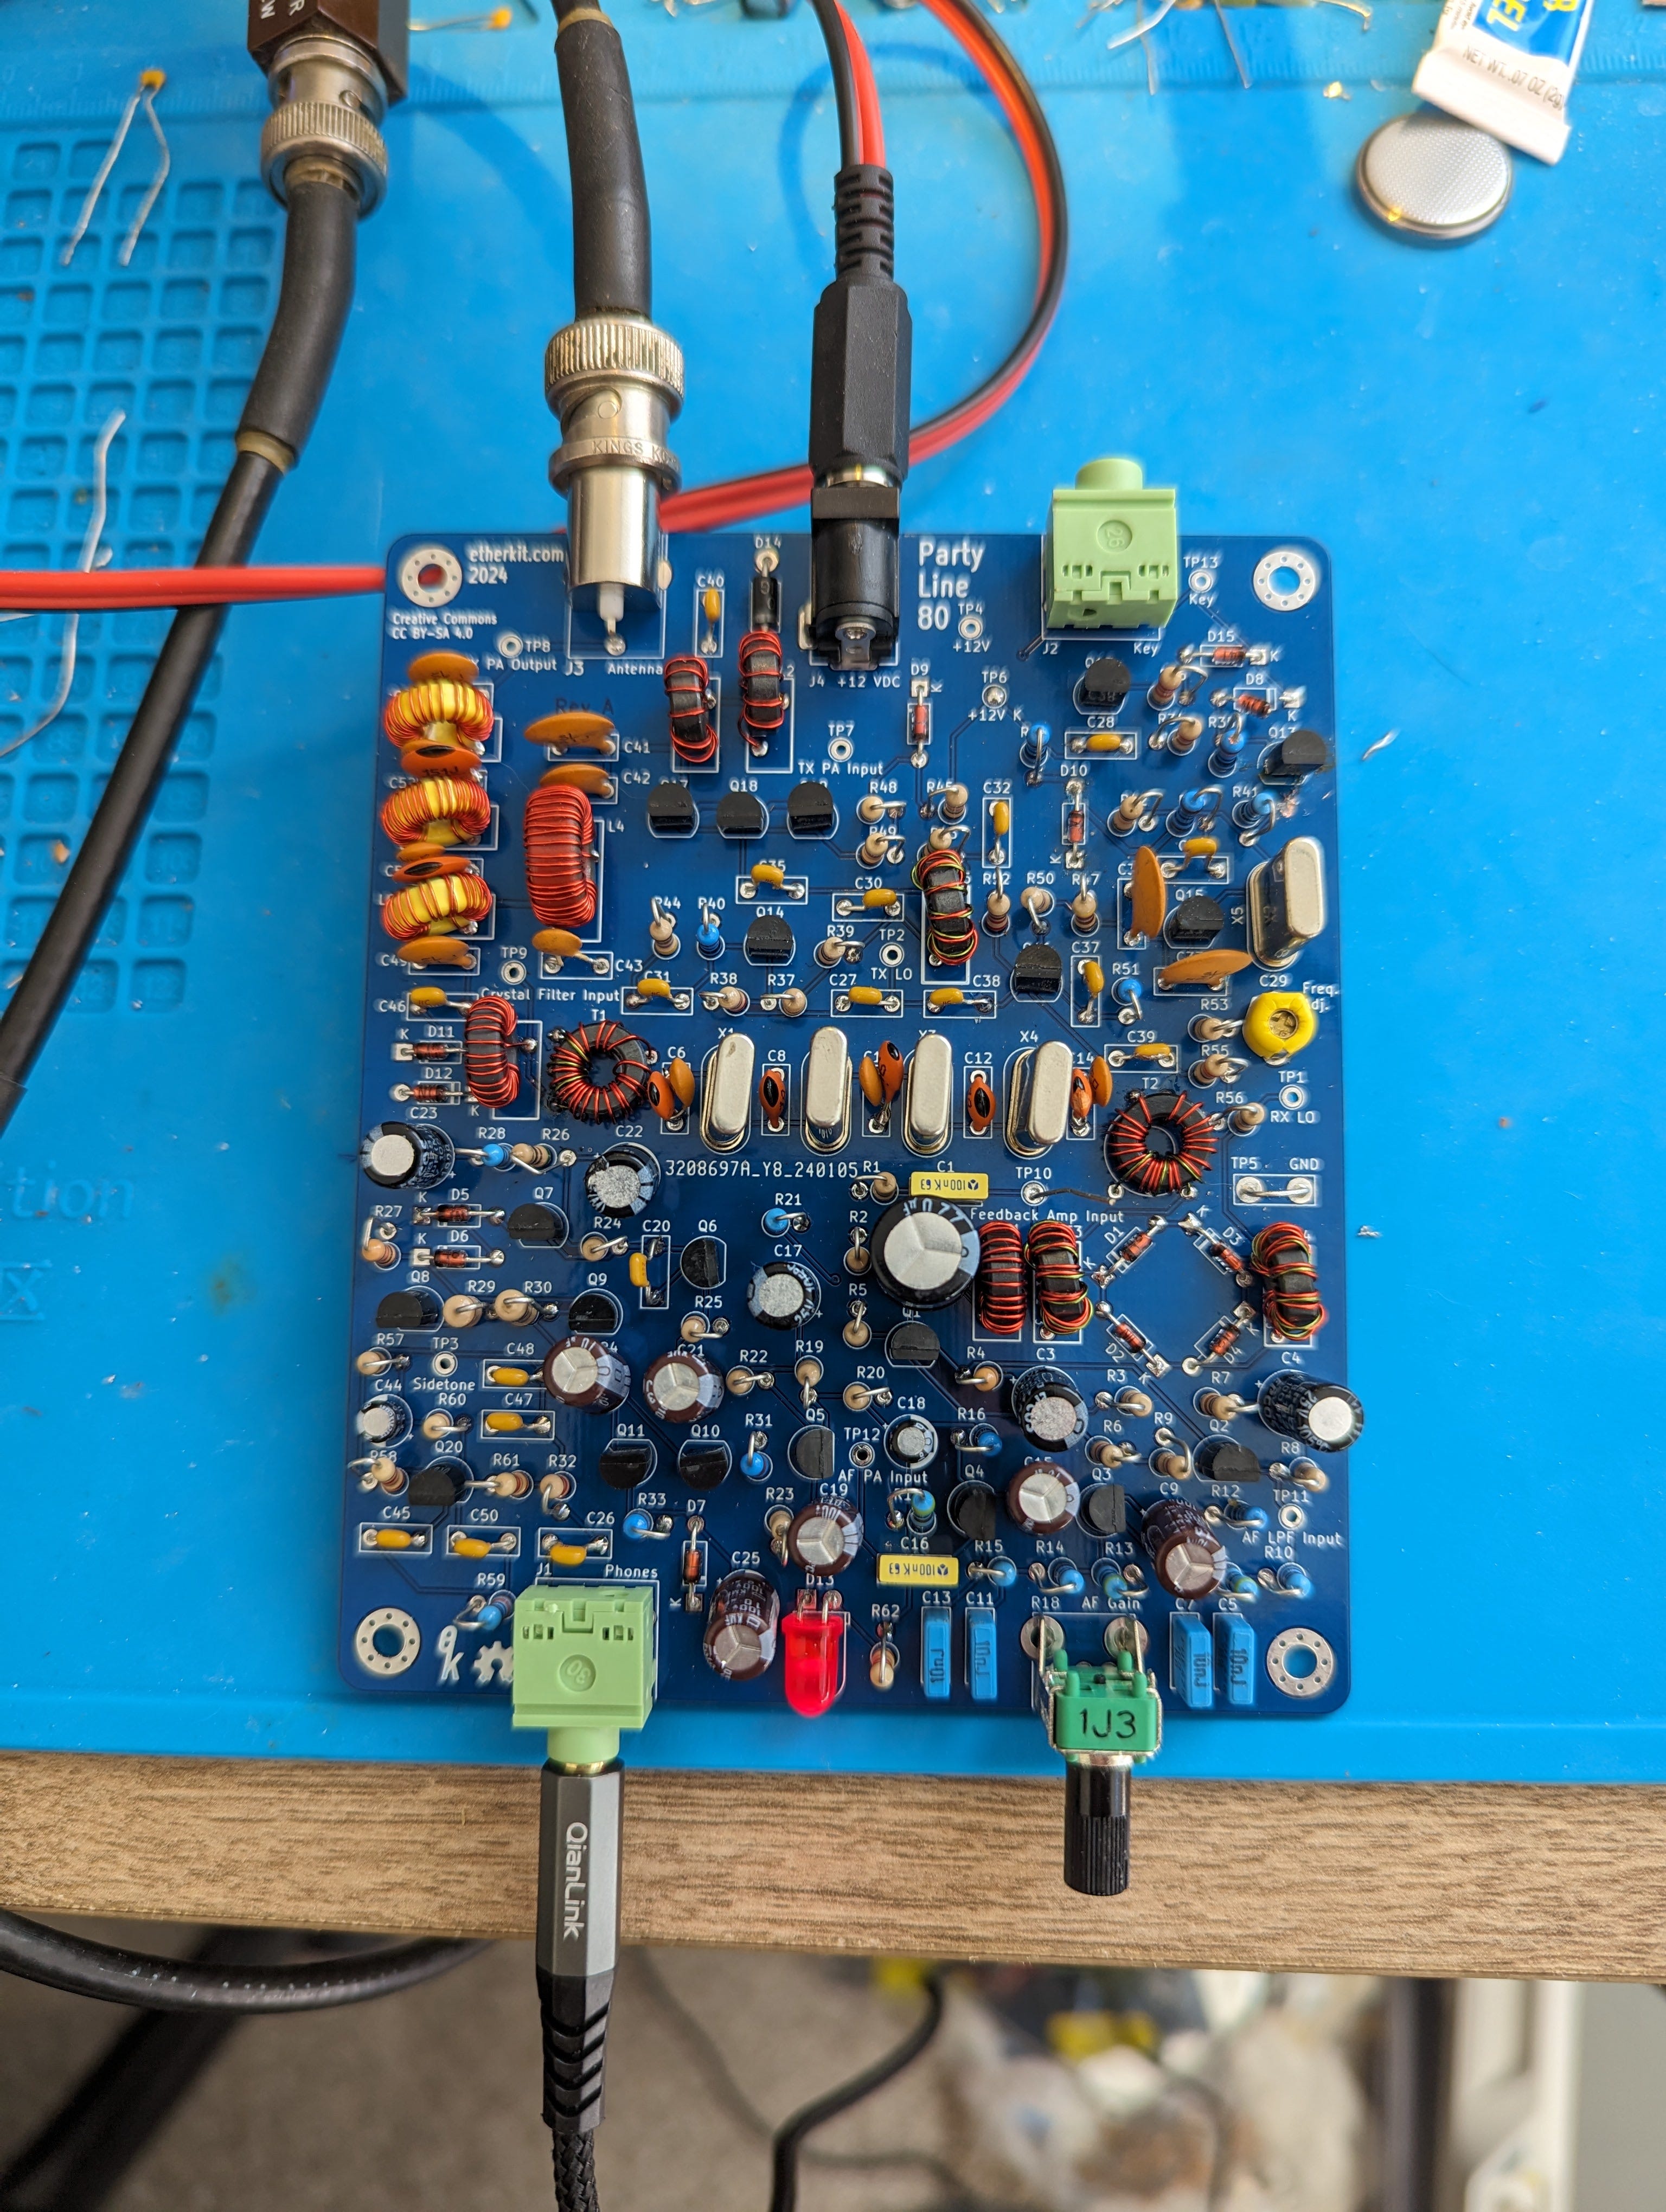
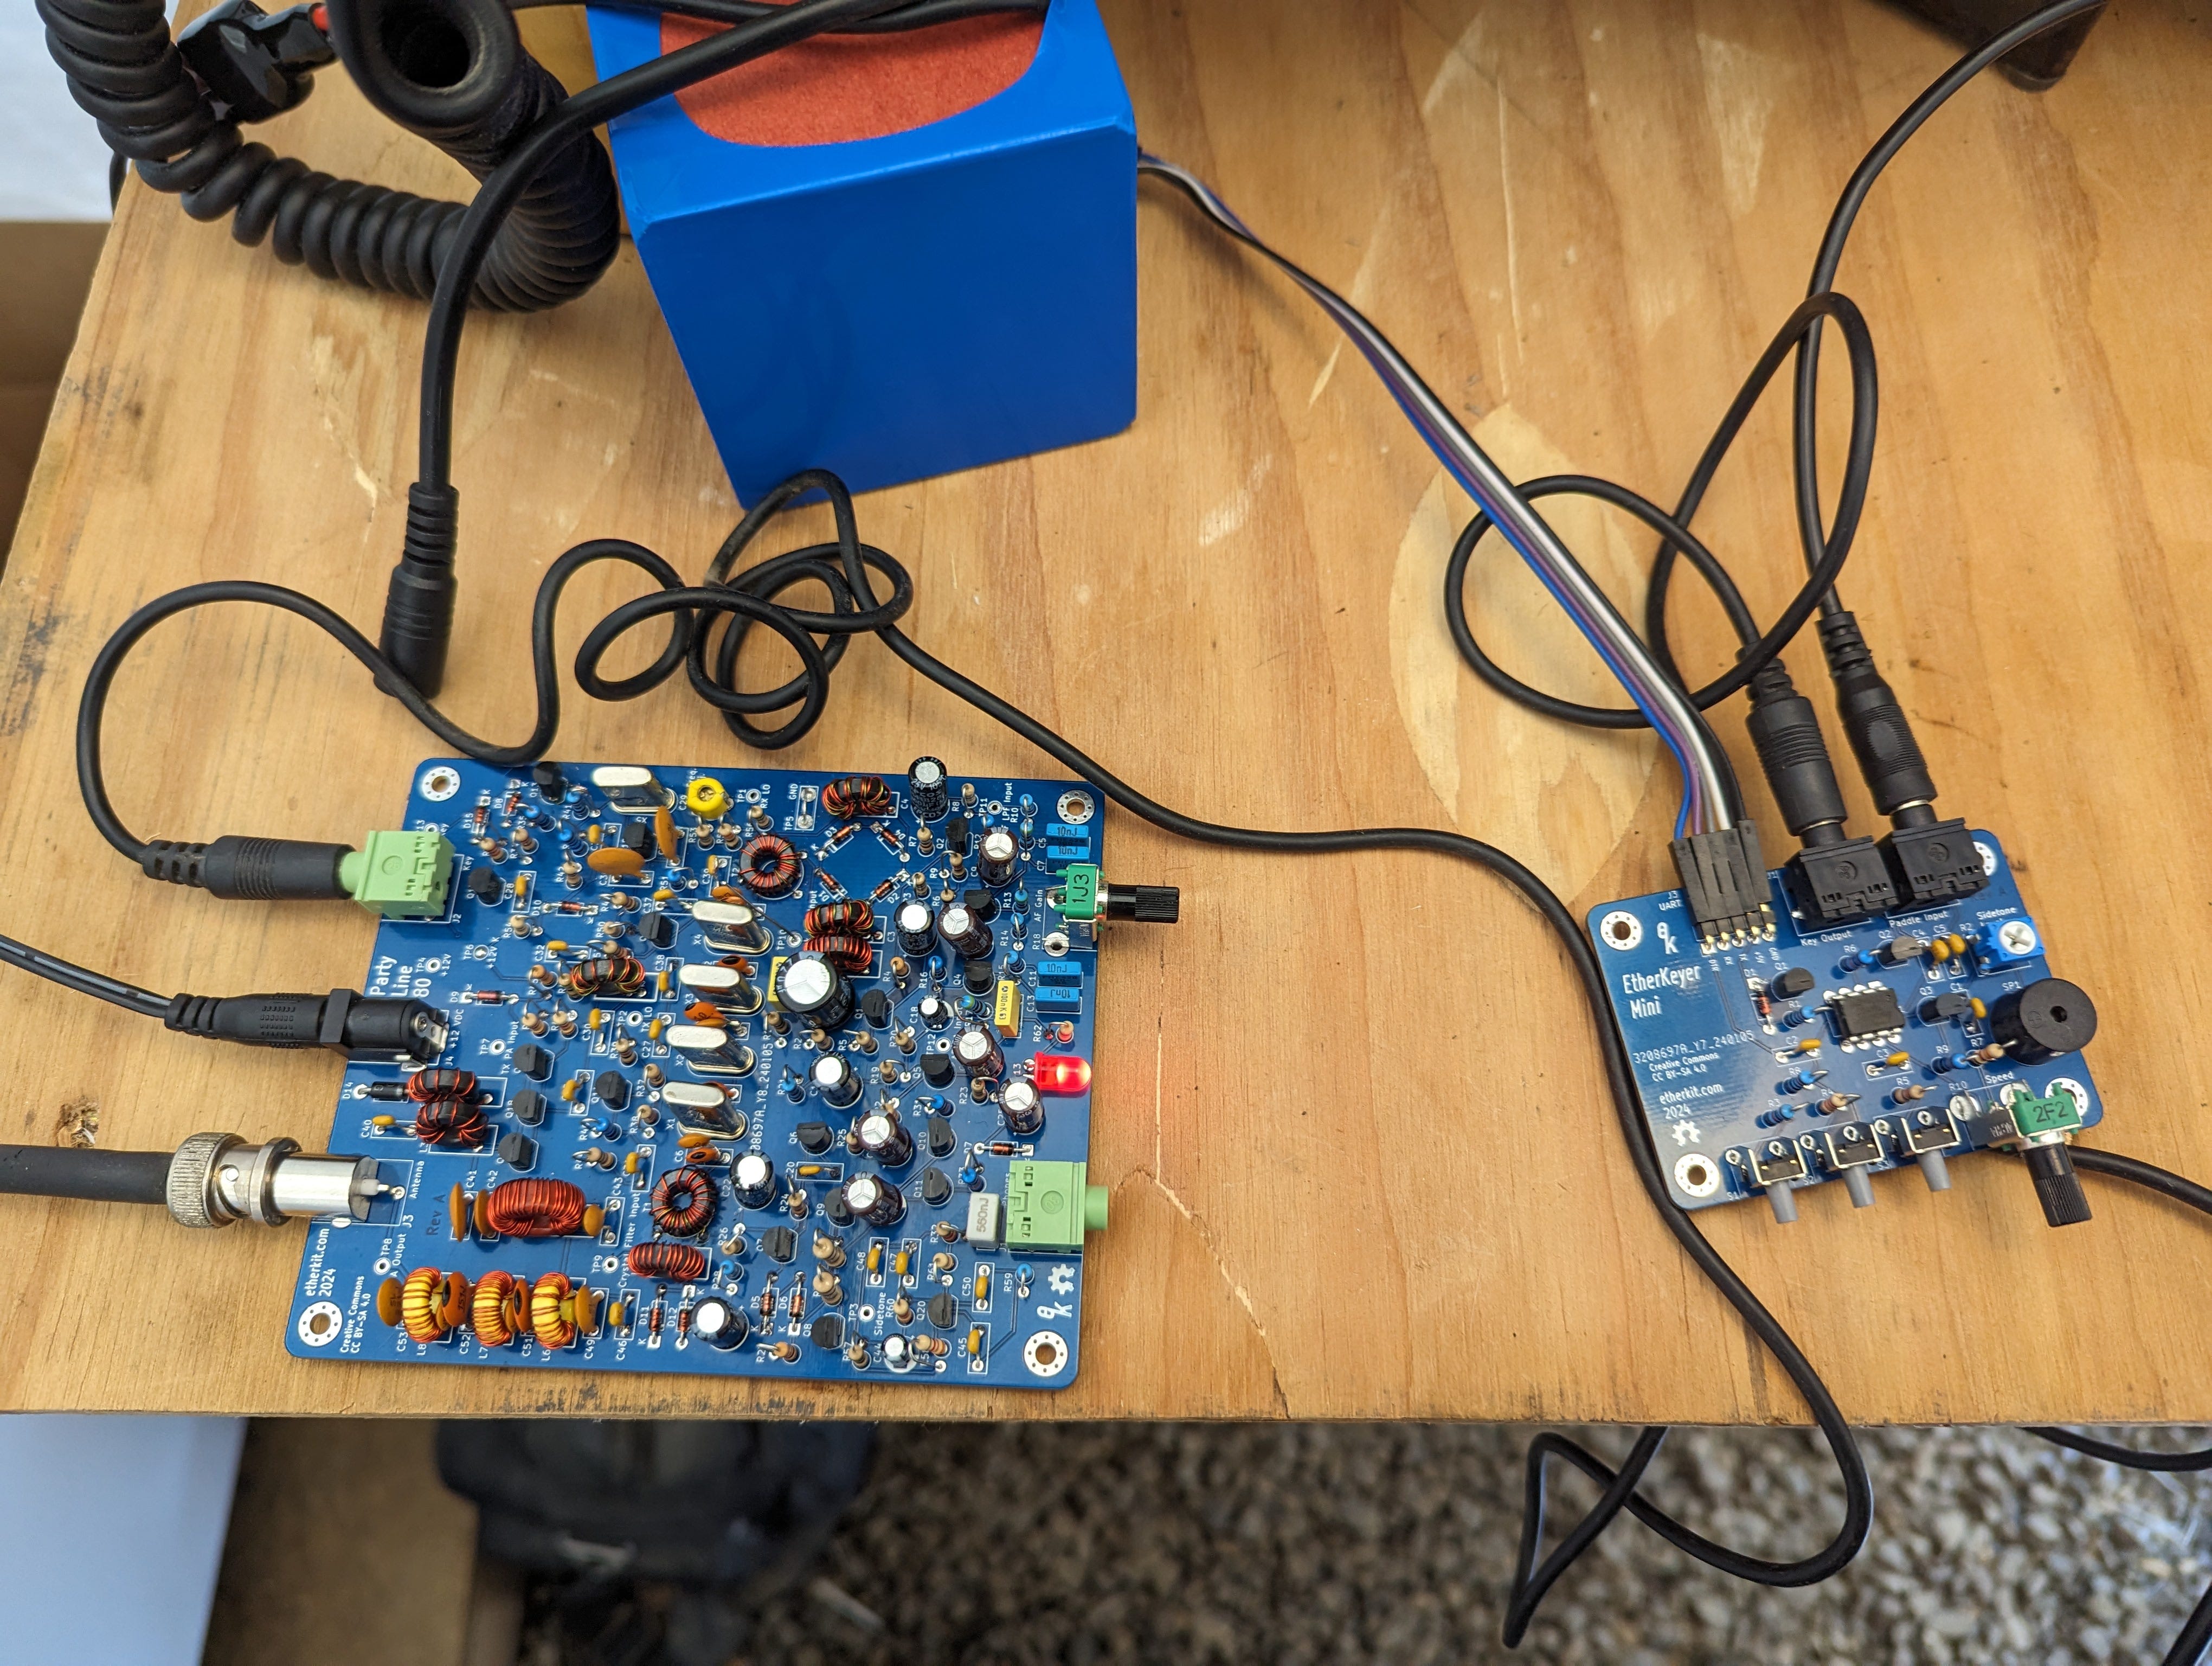
Party Line 80
The Party Line 80 board has quite a few components to stuff (since the entire point of it is to make an all-discrete rig), so it took a good portion of a work day to place all of the components on the PCB, documenting my build order and stopping to test each section on the way.
Unfortunately I made a couple of schematic errors on this board, and it took me a little while to figure out why the radio wasn’t working as expected. However, it was nothing major, and after cutting some traces and adding some bodge wires, the rig fired up as expected. Everything worked as it did on my prototype conglomeration of boards, with the exception of the muting, which is showing some of the thumping that I had problems with earlier. I may have written down some incorrect values in my notebook, which then made it into my KiCad schematic. So I still need to do some investigation into that.
Otherwise, I’m eager to get it on the air and make an inaugural QSO with it. My current ham shack is in one of those temporary shed structures, and it has been so bitterly cold that I really haven’t wanted to spend any time out there at all. Now that the ice is finally melting and the milder temperatures are back, I expect I should be able to be QRV with the radio pretty soon.
What’s Next
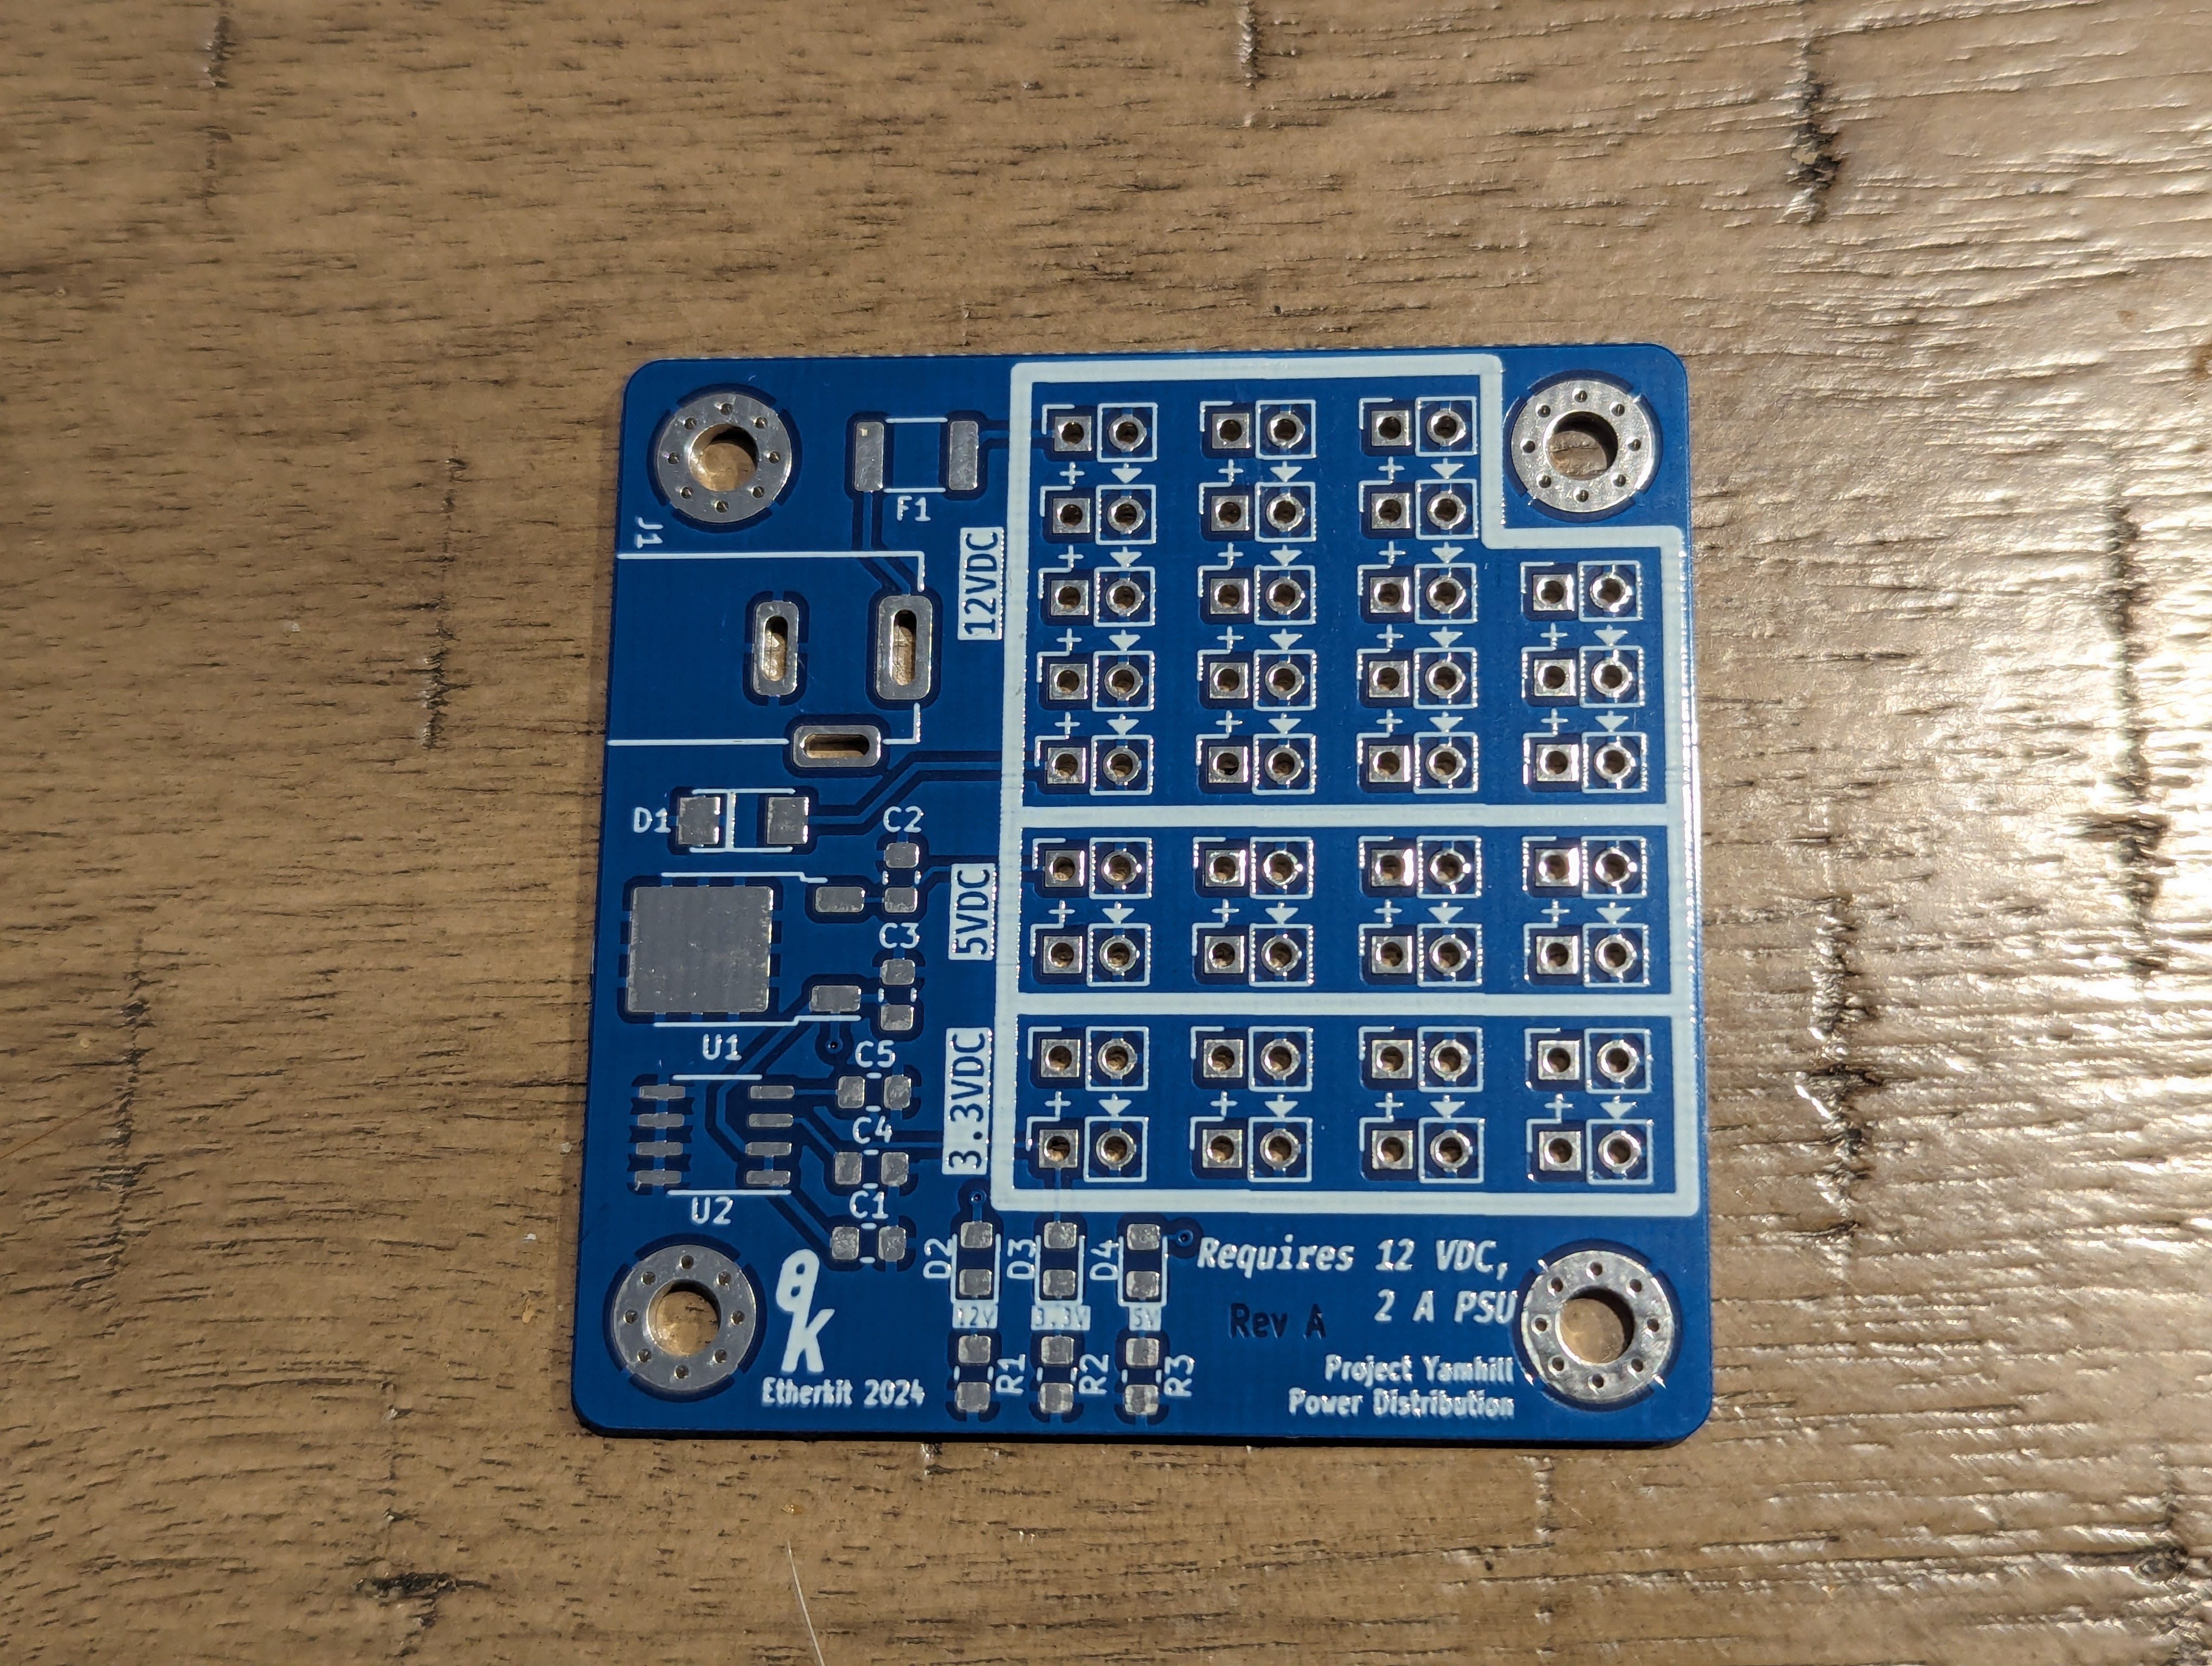
Even though I ran into a few problems, things mostly work as I expected, so I’m reasonably satisfied so far. Next up will be the initial build of each Project Yamhill module (starting with the power distribution board) and the Front Panel board. The next post may be a bit more than a week out, because I have to make up time at my “day job” that I missed from being unable to get out of here, but perhaps I can give you a short status update late next week. Thanks for following along so far!
Nice write-up and progress Jason!