As Project Yamhill nears actual physical implementation, it’s time to start building some more real-time, two-way communication. We’re starting to get some beta testing and discussions going! If you’d like to participate in Project Yamhill chat, please click on the link below. Thank you!
One thing that’s been a bit frustrating about what I’ve been working on is that there is a ton of foundational work that I have to get done before I can get to the point where I have releasable products. I have been putting in quite a bit of work into Project Yamhill and my other Etherkit products, but there’s not as much that I can show you as tangible progress. For example, a few weeks ago I had to spend a few days rebuilding my testing setup for the Si5351A Breakout Board. This last week I decided to revamp my 3D printing processes, so I made the switch from Cura to OrcaSlicer, which meant tweaking all of the stock printer and filament profiles until I got a good process back in place. All of this stuff is necessary but doesn’t make for splashy headlines, unfortunately.
With that said, I’m happy to be getting to the point where a lot of that background work is nearing completion and starting to pay off in tangible results. Today’s first section is a great example of this.
EtherKeyer Mini Ready For Beta Testing
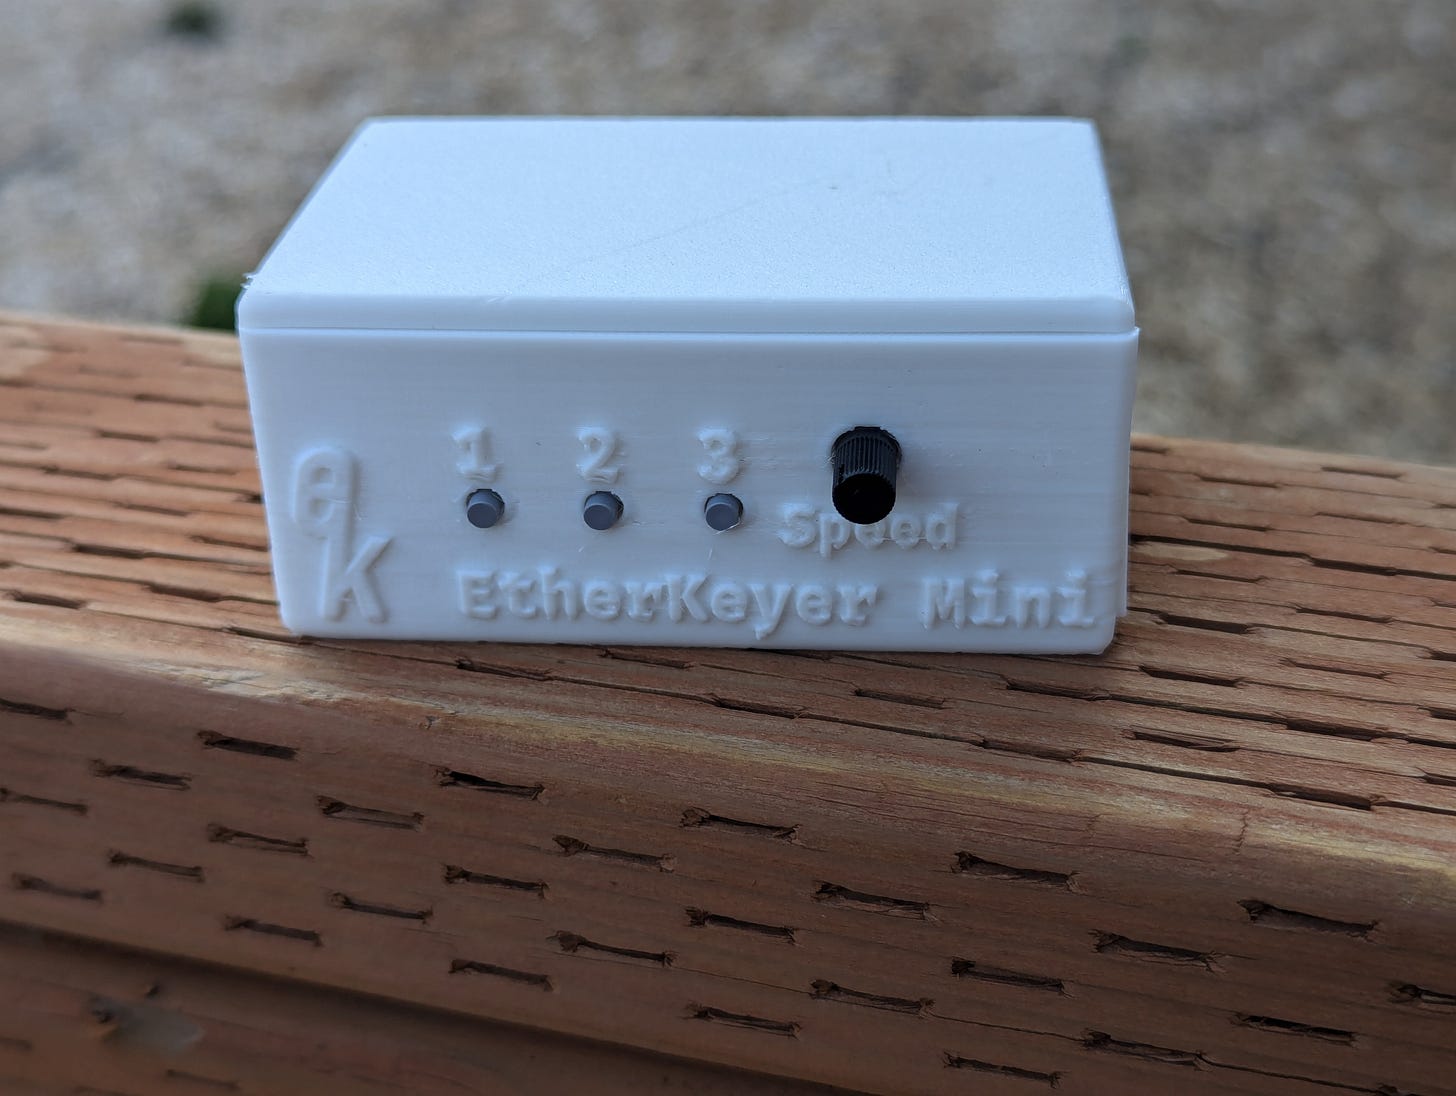
The EtherKeyer Mini project started as a “simple” way for me to get my head back in the game of making a complete, new product from start to finish. A bit of a “slump buster”, in other words. I knew I was going to need keying functions in many of my upcoming projects, and wanted to write code from first principles to achieve this. A cheap and cheerful keyer platform for this code would be a great way to implement it to start, then I could port the code over to my other projects as needed, since most of it should work on just about any microcontroller that can use the Arduino IDE. In the case of EtherKeyer Mini, I chose a very cheap ATtiny85V microcontroller that can also run at low voltage and has a sleep mode that can make it quite power efficient, good enough to run off a small coin cell for quite a while. The worst drawback of using the ATtiny85V is that the flash memory size is only 8 kB…which can fill pretty quickly if you’re using an abstraction layer like Arduino and its libraries.
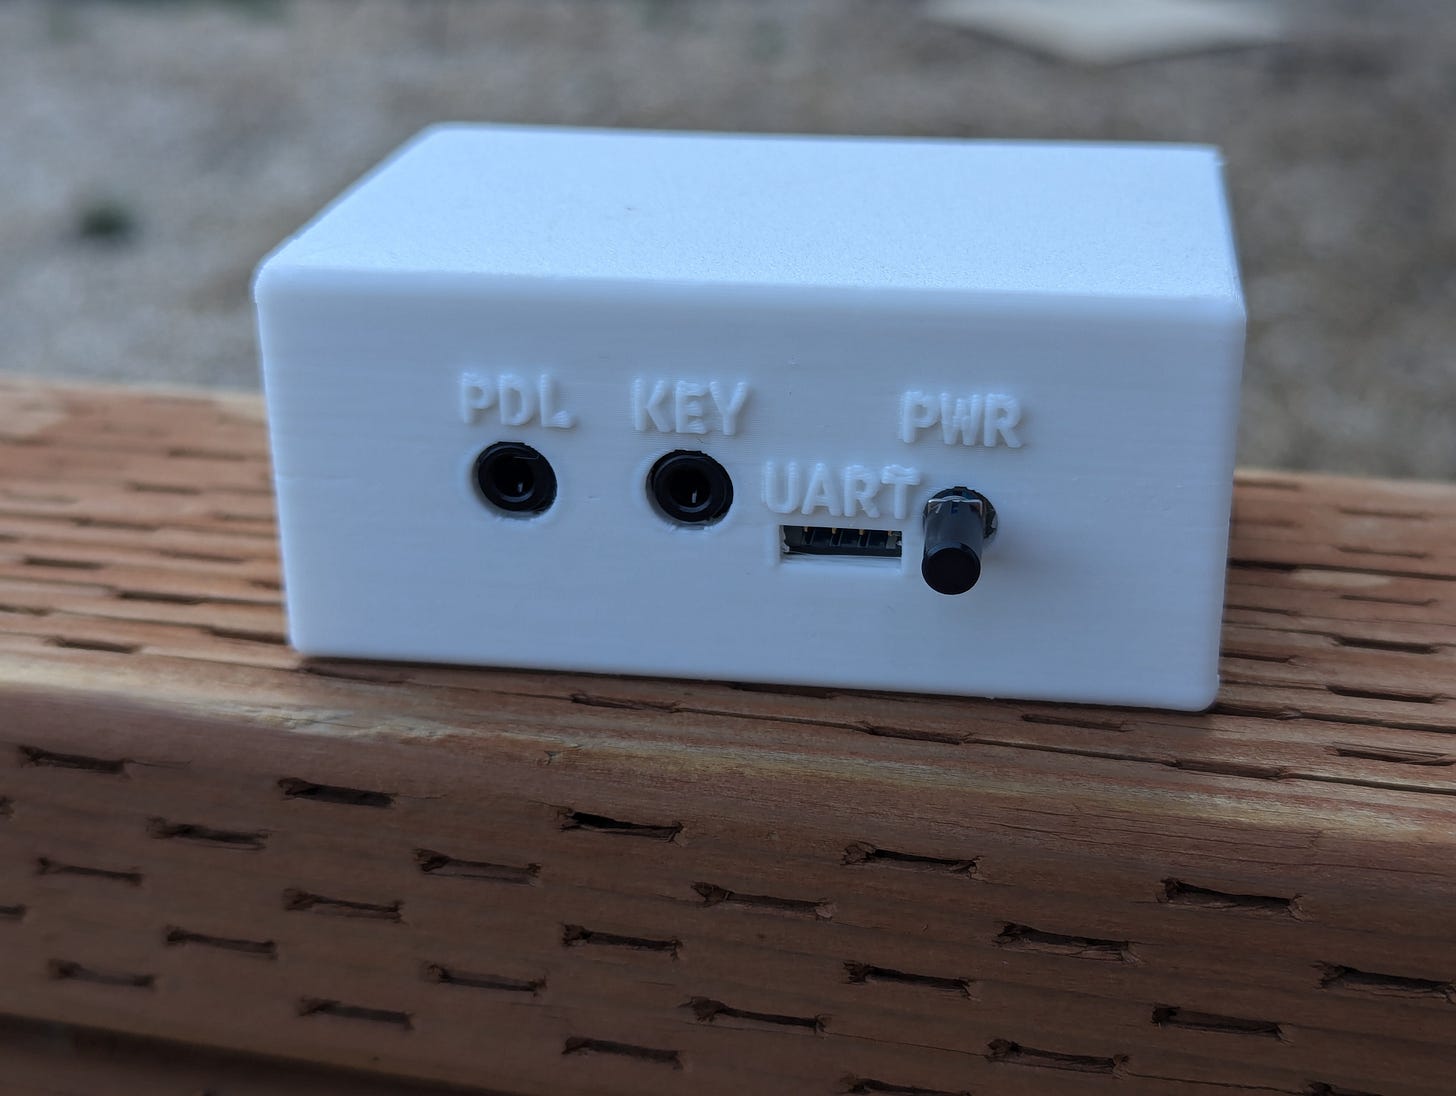
After various fits and starts of trying to get the firmware for EtherKeyer Mini working well and fitting within that limited 8 kB of space, I’m happy announce that I now have code I feel is good enough for wide beta testing. I think I literally only have a couple of free bytes left, but it fits and it works. I have all of the basic features now in place, which includes Iambic A and B keying, three 40-character message memories (programmable via UART), tune function, power-saving sleep, and a piezo speaker sidetone you can turn on or off.
I also got my FreeCAD enclosure model for EtherKeyer Mini tuned up and tweaked for the Rev B board, and the printing process in good shape so that I can print out decent quality enclosures in PETG. So at this point, I’m looking for a handful of beta testers who would like to put the device through its paces. I need CW ops who are at least somewhat experienced (you don’t need to be an expert, but at least comfortable operating CW), who wouldn’t mind putting EtherKeyer Mini to work in some real-world operating conditions with a solid-state rig. Since the keyer uses a serial port for programming the message memories and setting some alternate settings, as well as flashing new firmware, being comfortable with these things is also necessary (again, you don’t need to be an expert, I will give detailed instructions). If this sounds intriguing to you, get in touch. You can DM me here, or better yet, join the chat as instructed at the top of the post and let me know in the Etherkit chat room. I’m looking forward to working with you!
POTA Camping Trip Cut Short
As I mentioned in my last post, our family recently took a camping trip to the Oregon Coast, and the campground that we were staying in was also a POTA park. I was looking forward to being able to do some POTA activating from the comfort of our own camp spot.
While this was somewhat successful (I certainly got enough QSOs for a valid activation), we ran into a couple of snags that made things less than ideal. Never having been here before, I wasn’t exactly sure what to expect regarding the ability to operate, but I figured I should be able to run the Gabil GRA-7350T antenna. It’s a good thing that I planned for that, because after arriving there at the yurt that we rented, I realized that there was no way to deploy any kind of wire antenna into the trees. The camp spots were very close together, and using a throw bag to get a line into the trees would have likely ended poorly.
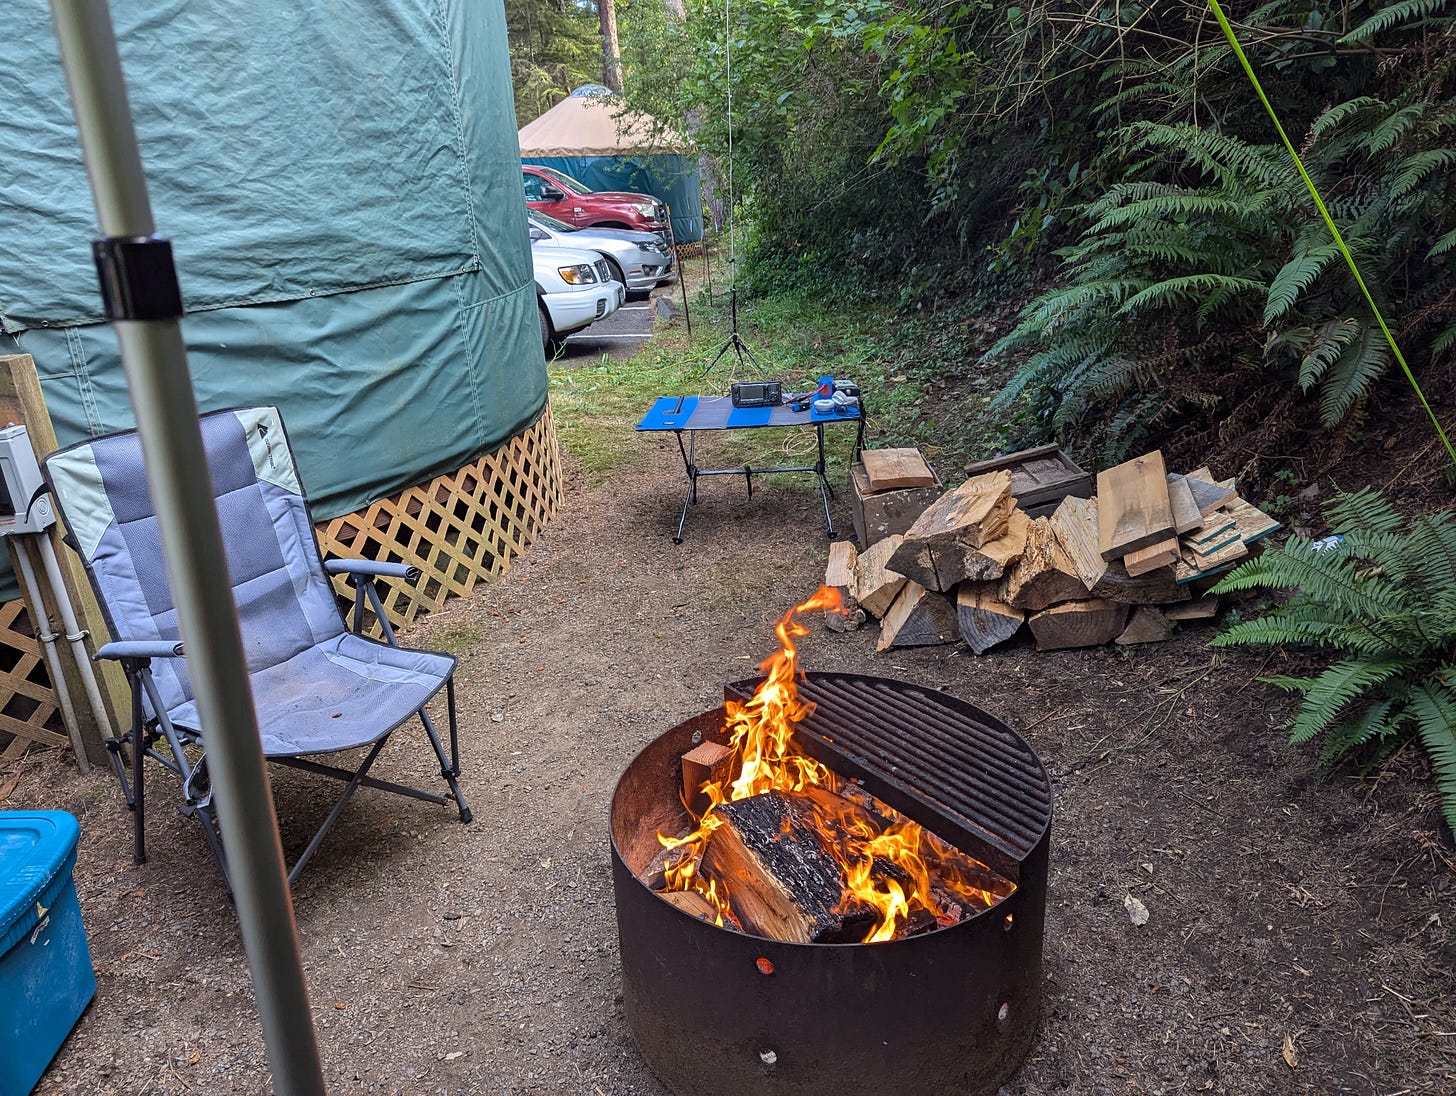
The tent camping spots were decently enough sized, but the yurt spot that we reserved ended up being very compact. There was very little room to deploy the GRA-7350T with the ground radials in a decent pattern, and worse yet, right next to the only real spot for the antenna, there was a small parking lot filled with vehicles and then a hill on the back side of the lot (see photo above). Clearly, not very good conditions for a ground-mounted vertical antenna.
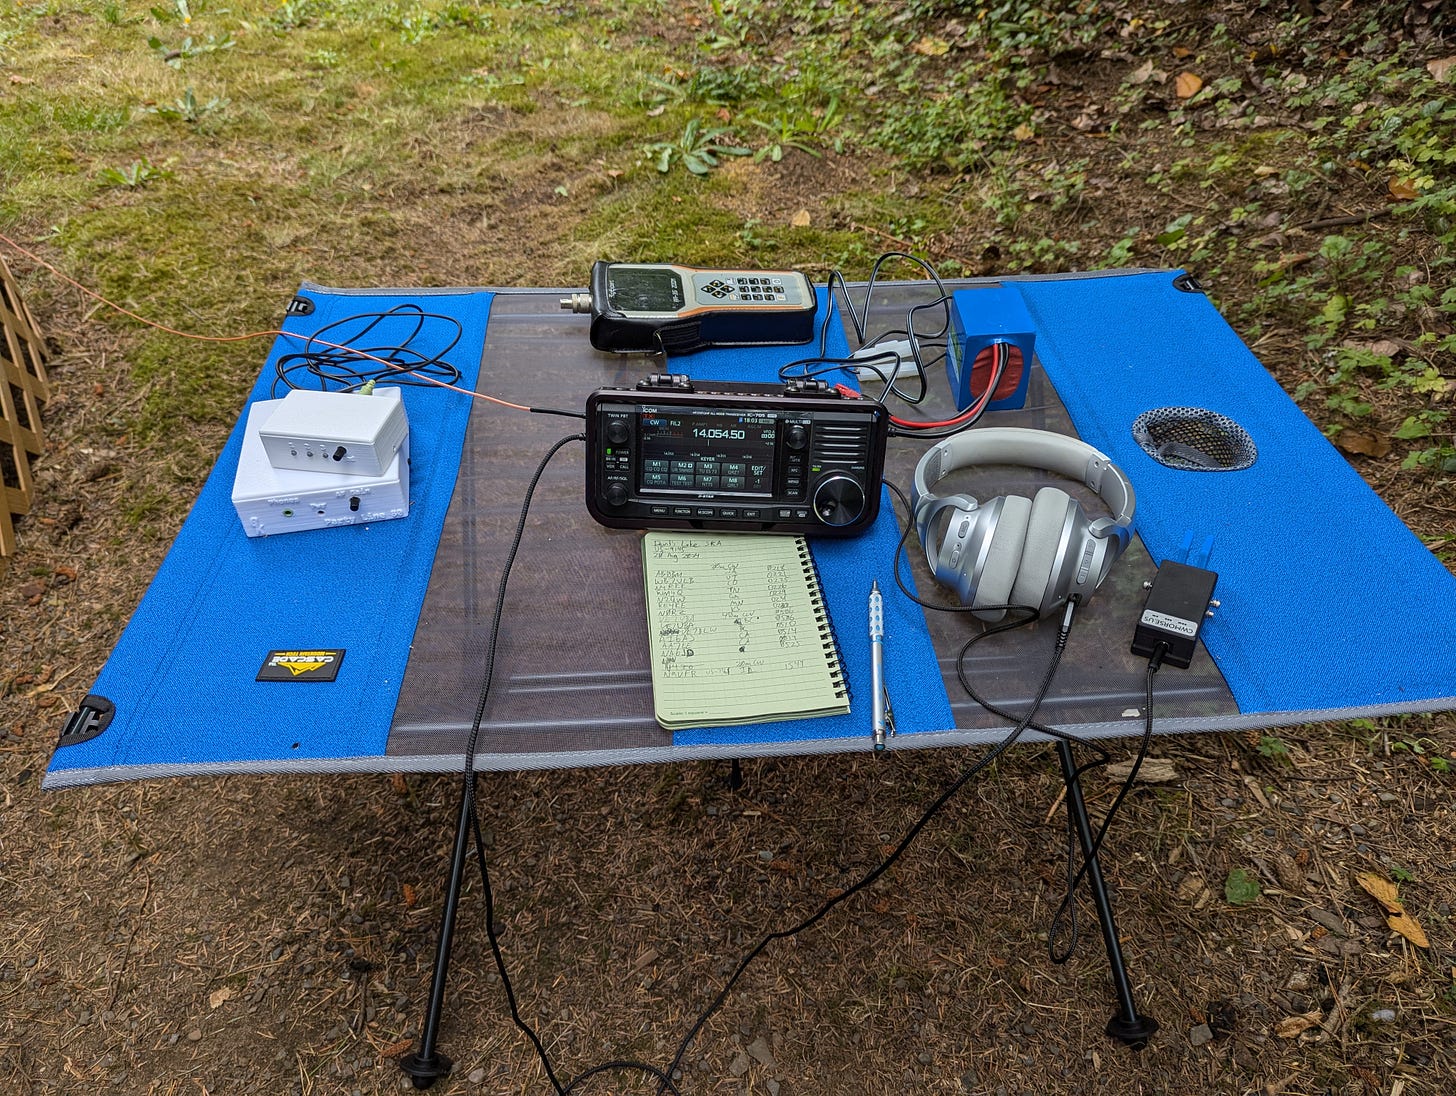
Regardless, I was determined to press on and activate. I got the GRA-7350T in the best position that I could given the limited circumstances, and ended up making a handful of CW QSOs on 20 meters. Later on in the evening, I re-tuned the Gabil for 40 meters and was able to make another handful of contacts, including one with my friend AA7EE, which really made my night. At this point I had enough for a valid activation, so I was pleased with that.
As the evening grew later, I set up the GRA-7350T for 80 meters operation by adding the extra coil, and got the Party Line 80 out, hopeful that I could at least get a QSO or two. Alas, although the antenna did tune up to a usable SWR of 2.0, I never did get any replies to my CQs, nor even any hits on the RBN. I think that between the compromised antenna location and the very compromised antenna (I really needed longer radials, I think), it just wasn’t in the cards to work out this time.
We were supposed to stay for two nights, but ended up calling it quits after the first night because the mattresses provided in the yurt were so uncomfortable that none of us got any significant amount of sleep. I did manage to get some more QSOs on 20 and 15 meters before we left in the afternoon, so all-in-all, it wasn’t the worst time. But still, I was hoping for a bit more. Regardless, we had fun (other than the sleeping thing) and I got to play radio, so that’s a win in my book.
Trying Out a New Antenna
One of the ham radio YouTube channels that I subscribe to is a relatively new one called Coax and Campstools, operated by Jason KC3JRW. His channel hits the sweet spot for ham radio content that I love, which is portable QRP(ish) CW ops. He recently released a video demonstrating an antenna he made based on a mod to the K6ARK Antenna Winder.
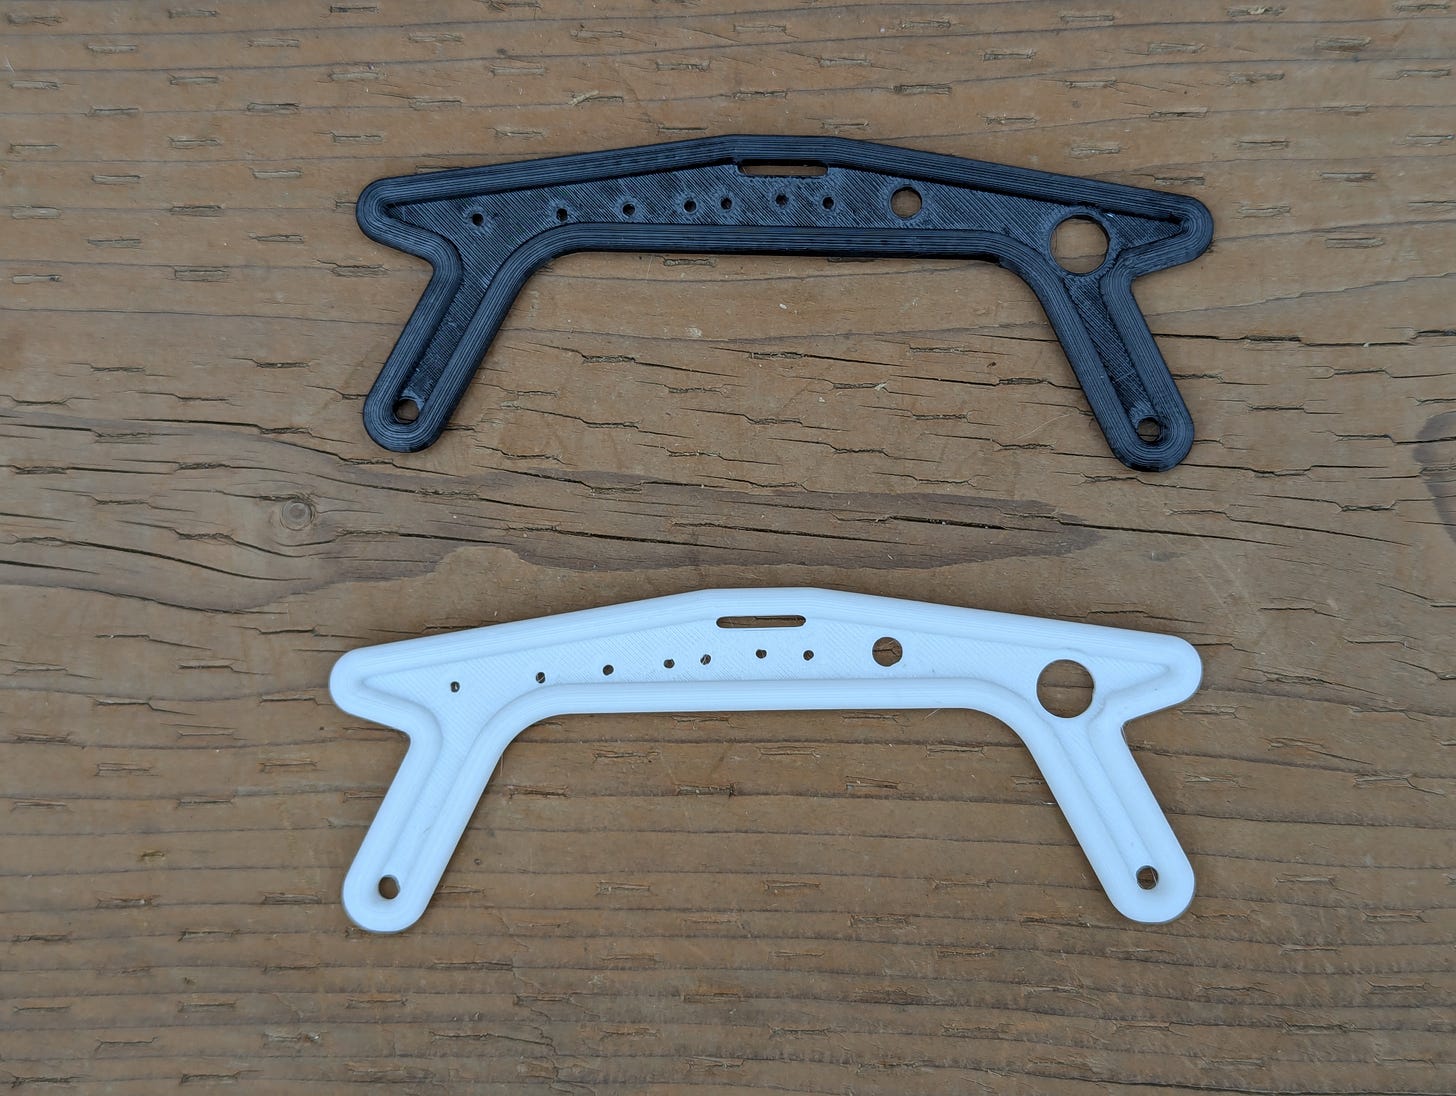
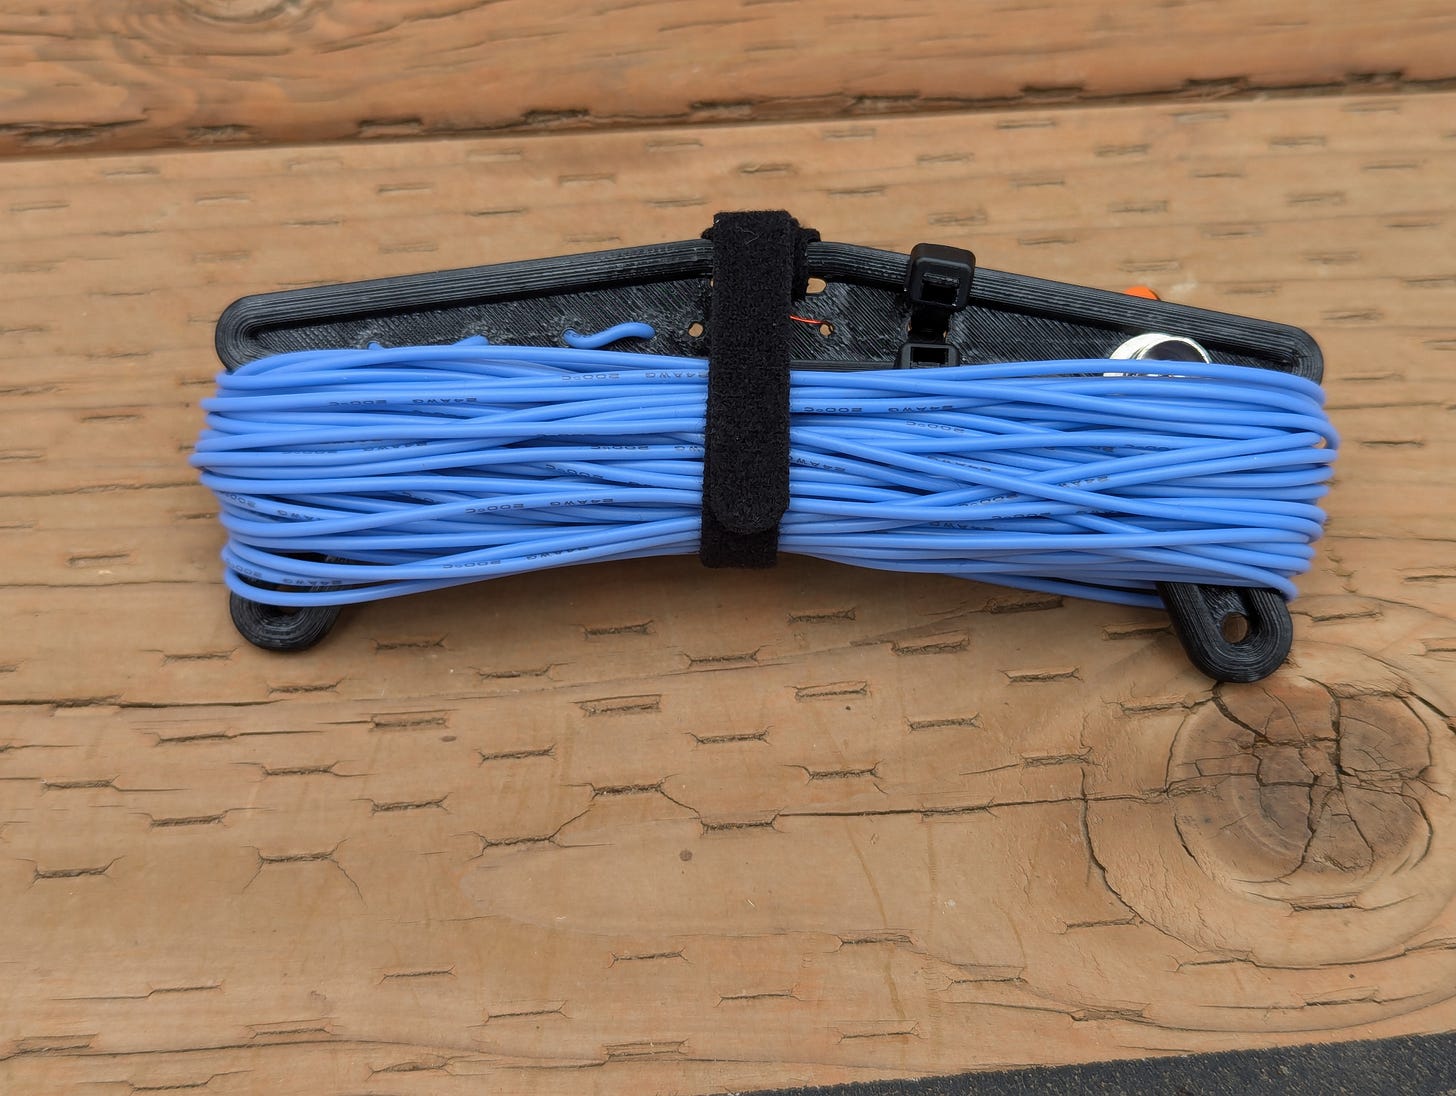
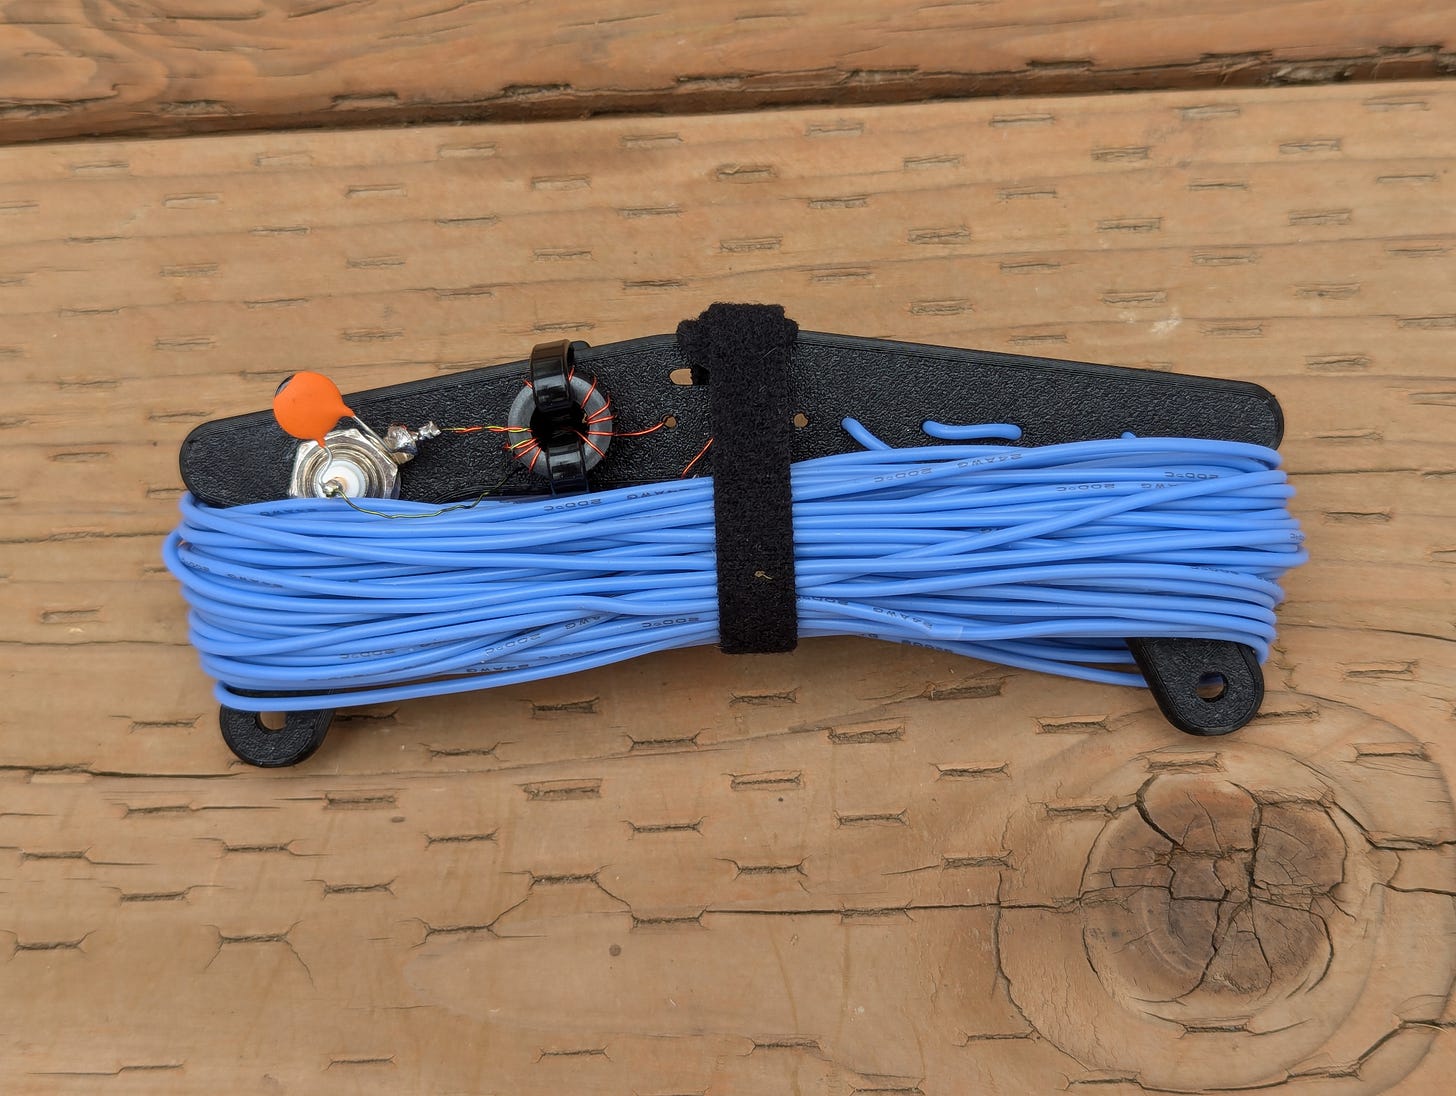
Jason’s modification adds holes to the K6ARK winder to allow for the components of an end-fed half wave antenna to be mounted onto the winder, along with strain relief holes for the antenna wire to connect to the unun. Jason dubs this the WinderTenna, and you can see his video about it here:
Since I’ve been thinking that I need to add an EFHW to my portable station loadout, and I already had most of the parts on-hand, this looked like the perfect opportunity to try one out to see if I could get it to work. I printed quite a few of the winders in PETG, trying to get my printer’s settings dialed-in, mostly to eliminate as much stringing as I could. Once I had some satisfactory prints of the winder, I constructed an unun with a stack of two FT50-43 cores, with the traditional 150 pF cap across the primary winding of the transformer.
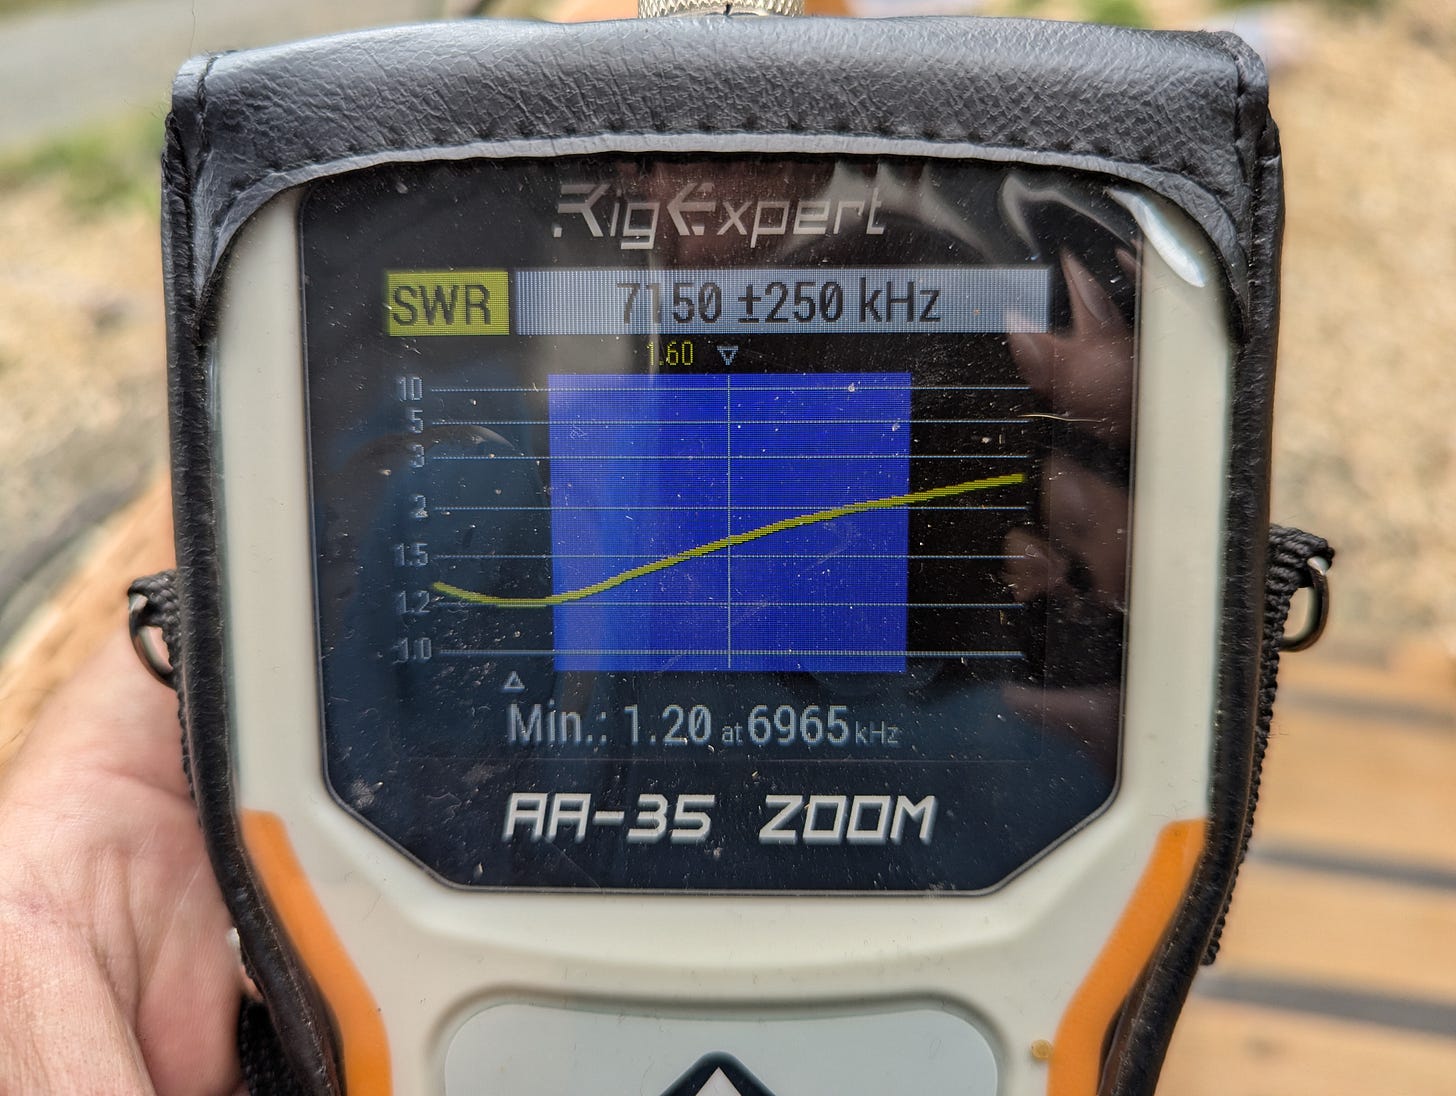
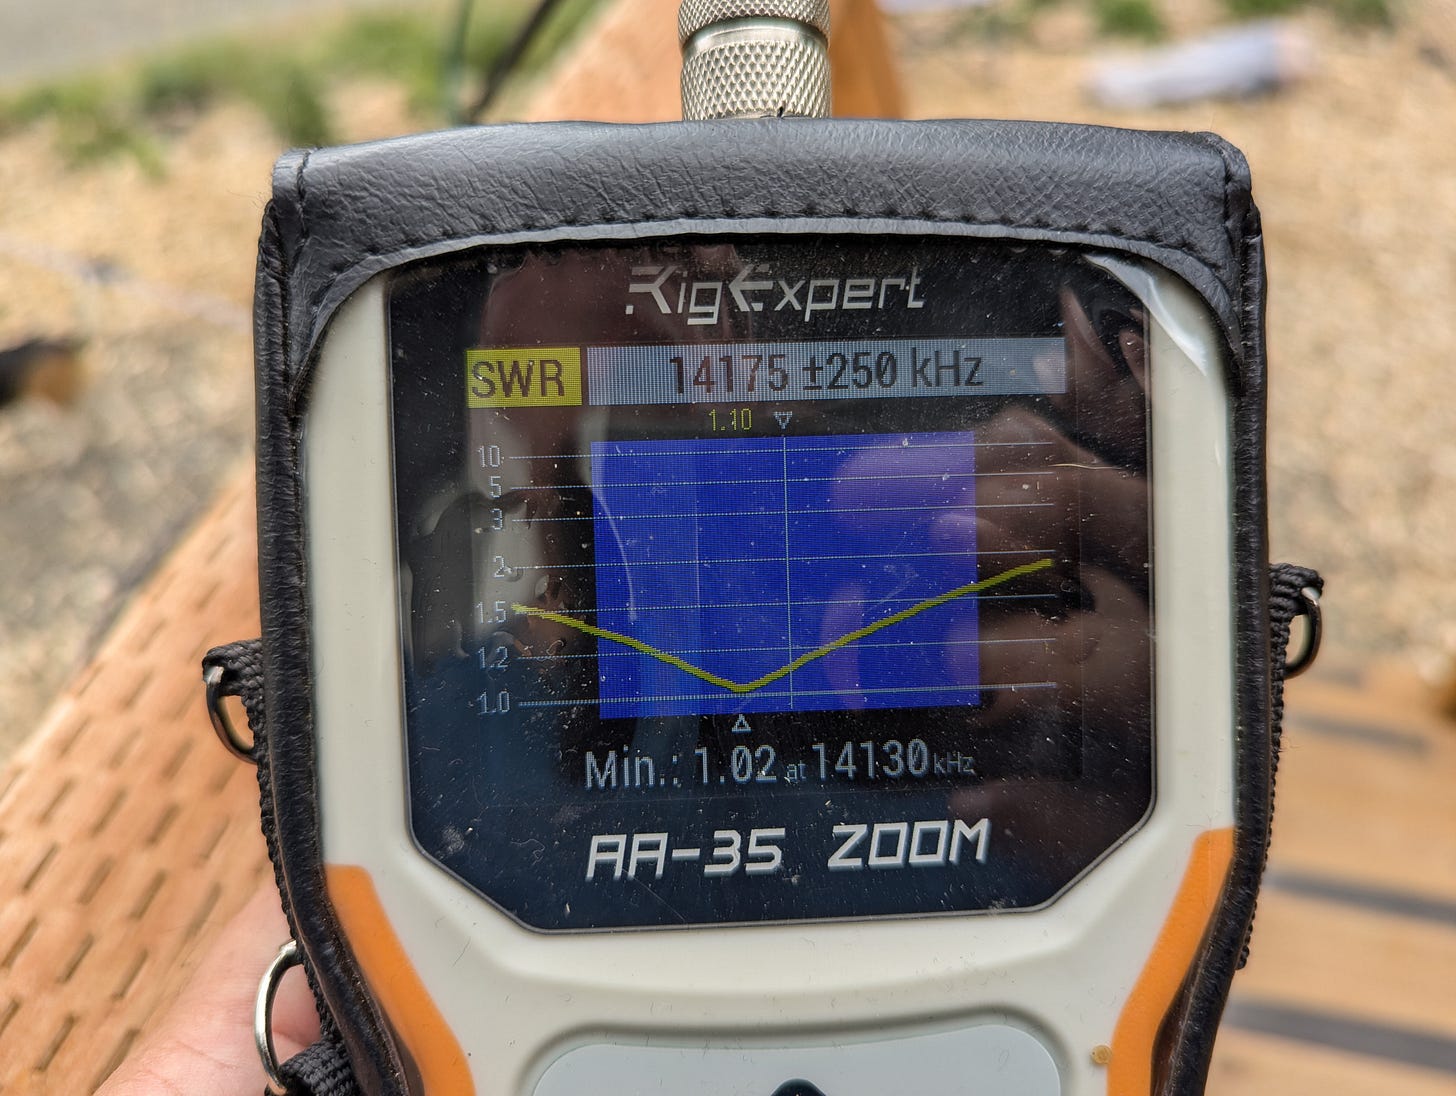
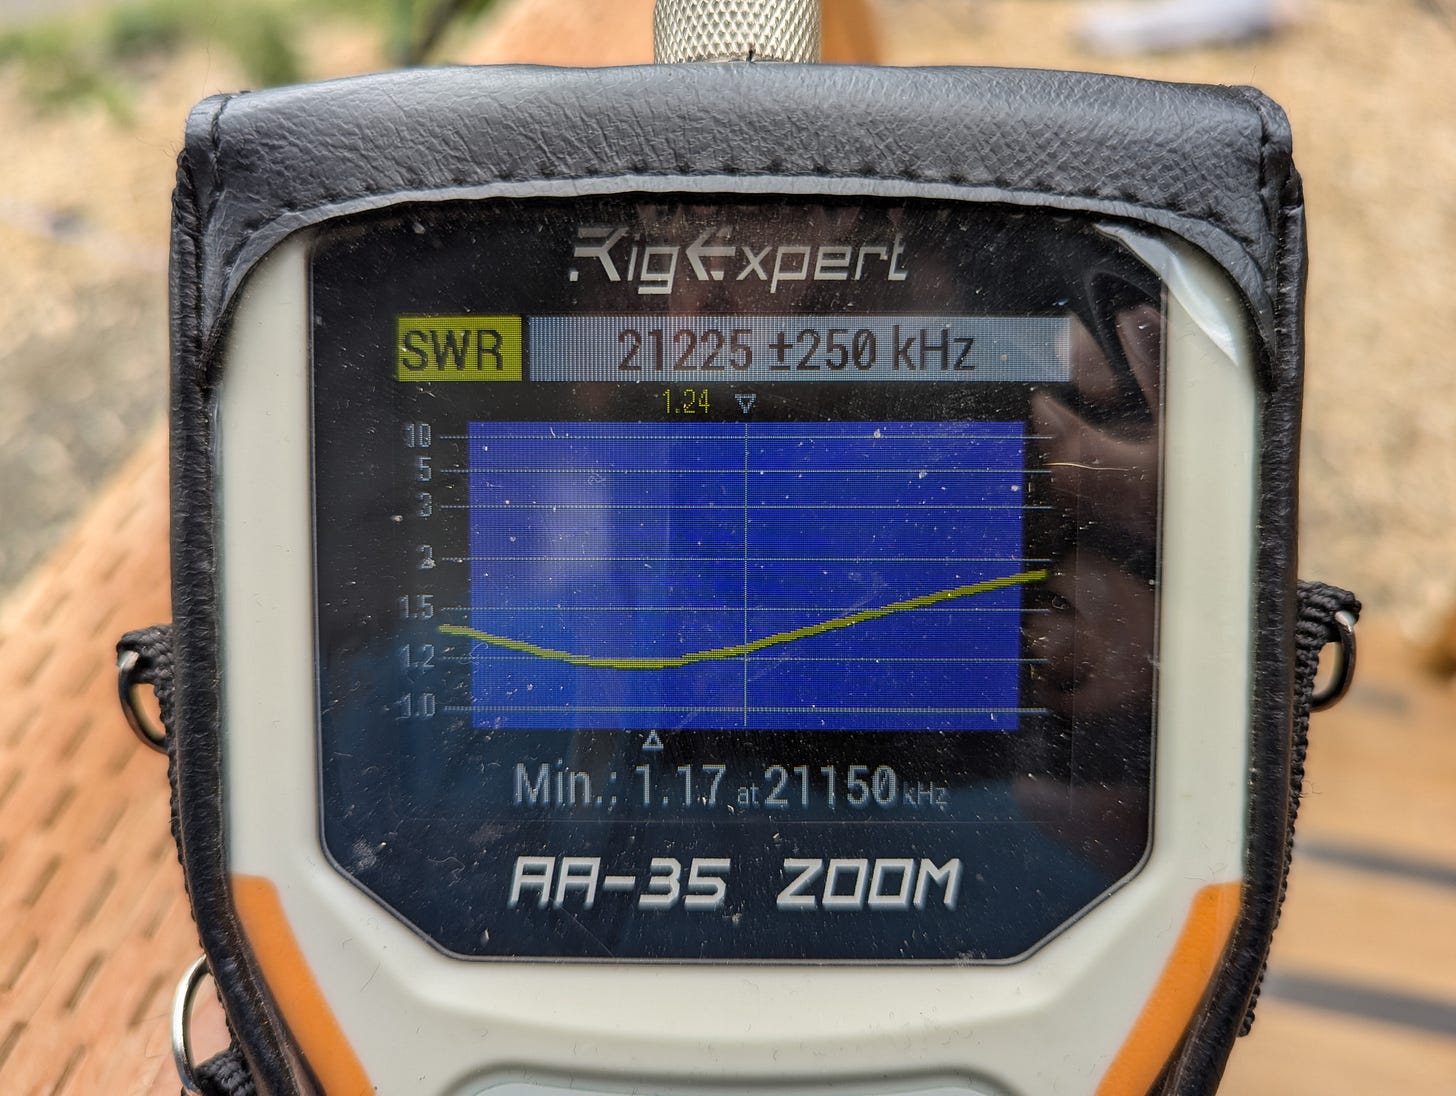
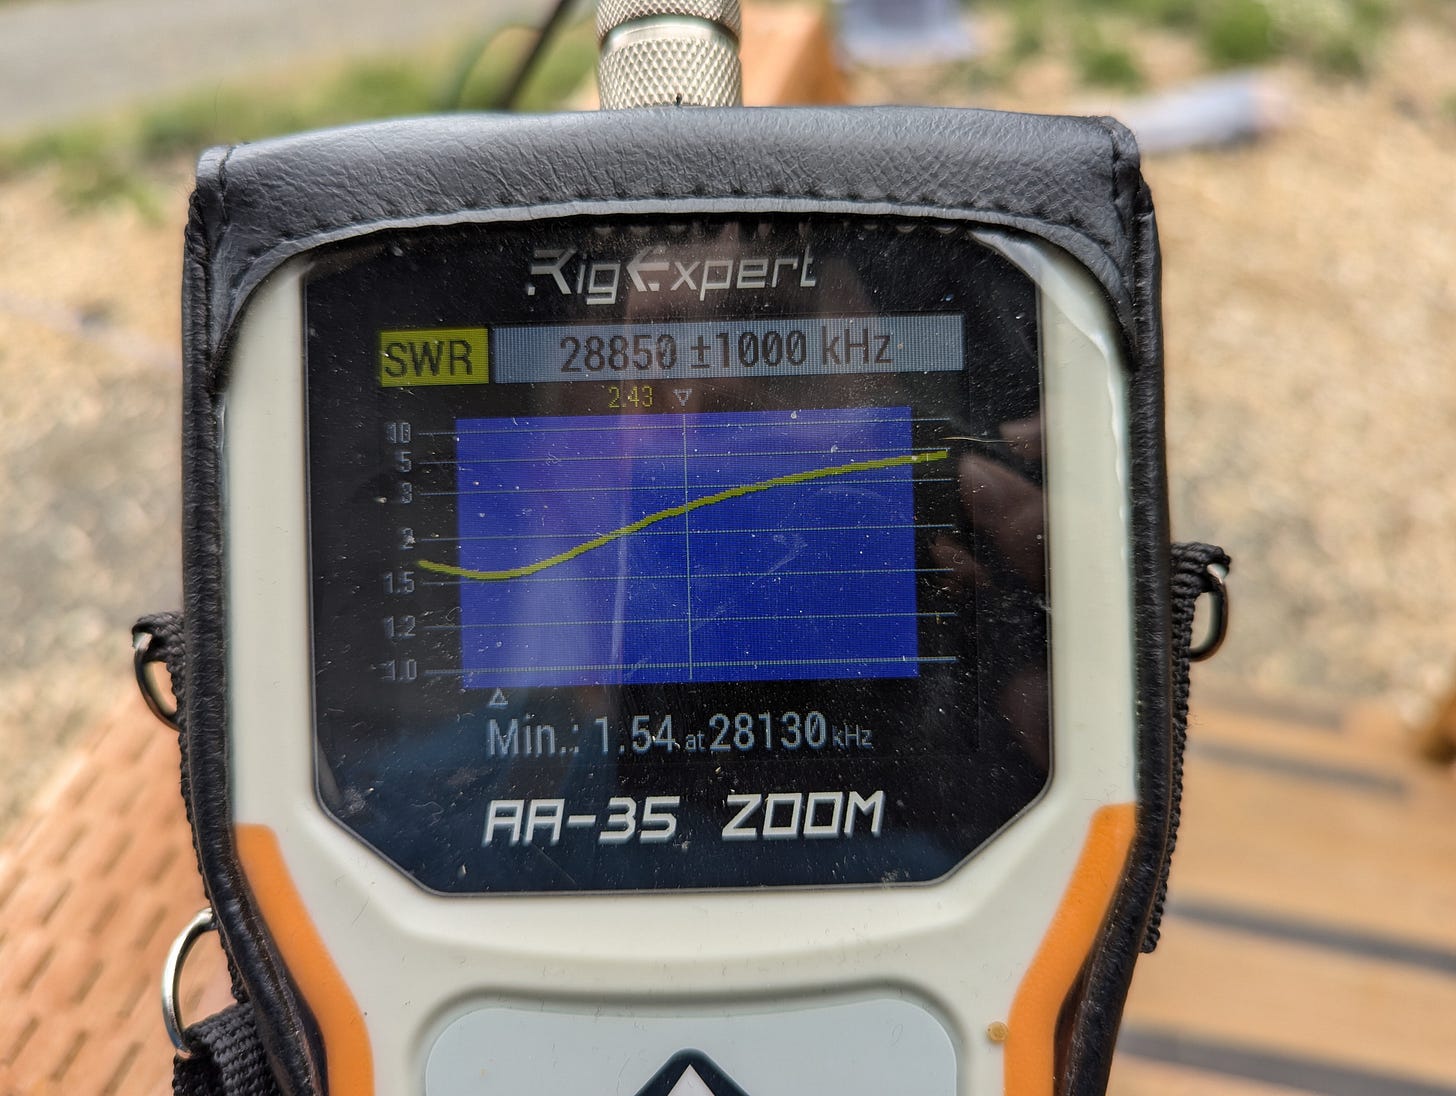
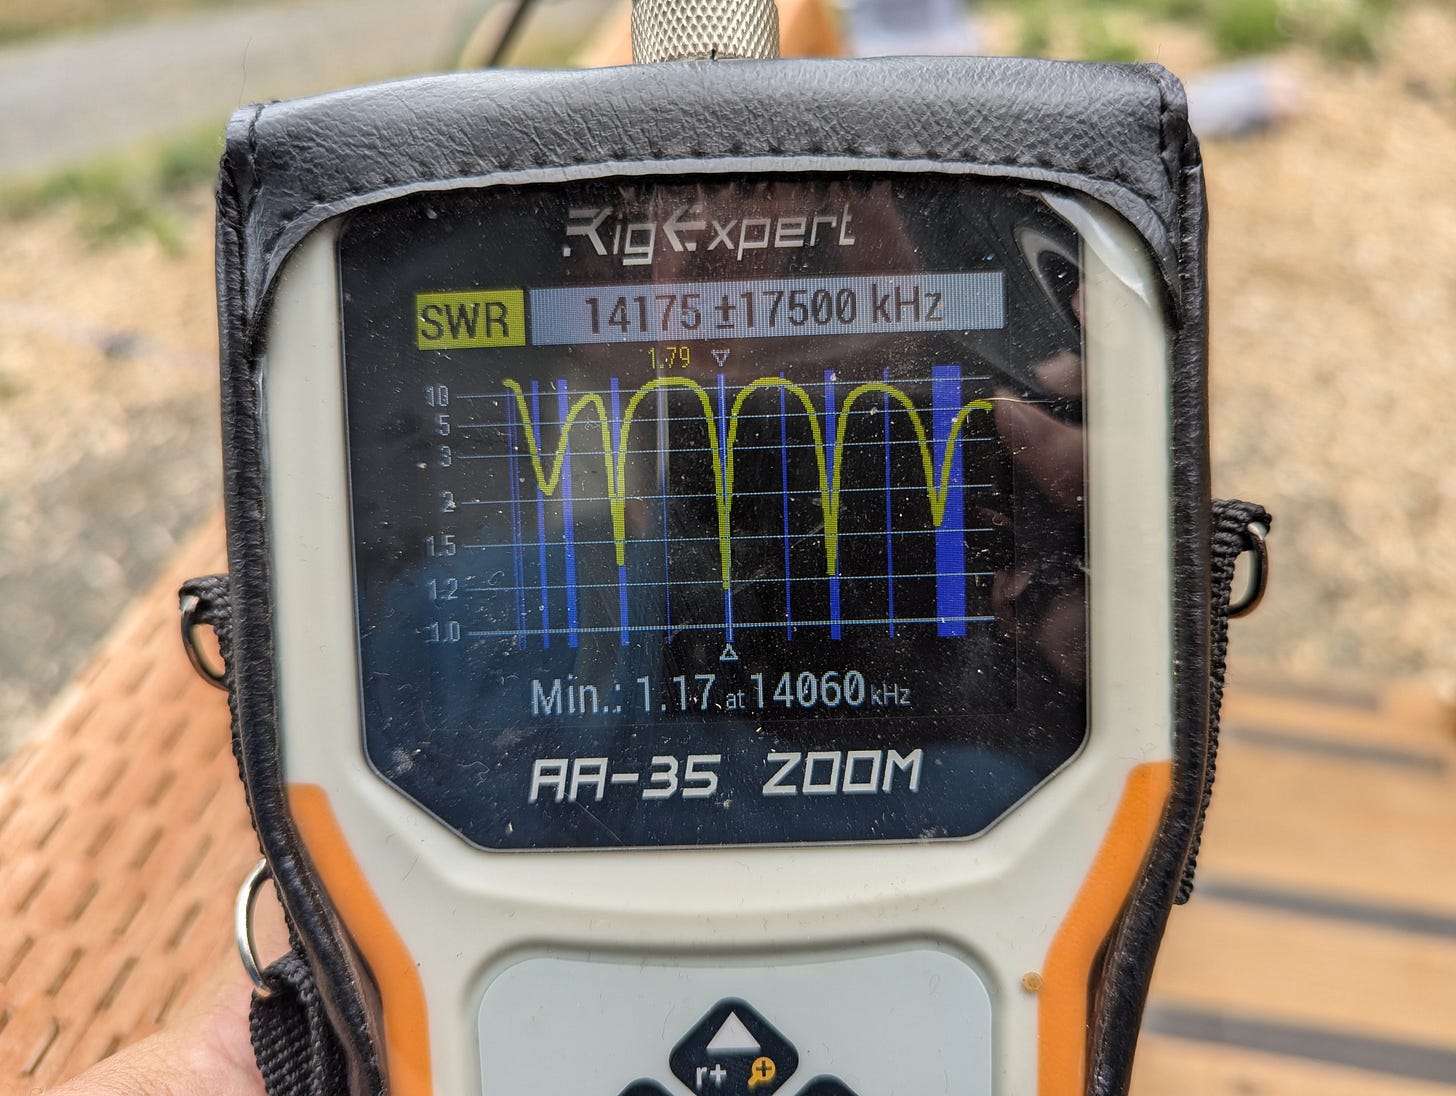
I did have to purchase some more wire in order to have enough for the type of antenna that I wanted (an EFHW cut for 40 meters), so I ended up going with the same 24 AWG BNTECHGO silicone wire that KC3JRW specified in the video. I’ve used this brand of wire before, so I knew I would like it, and it didn’t disappoint. I cut the radiator to 66 feet in length, and got the end up in the tall oak tree by our house in order to measure and trim. After about five iterations of that, I got a really nice looking response on the 40, 20, 15, and 10 meter bands!
Excellent! I’m looking forward to giving this a try soon, probably at Maud Williamson, where I know that wires up in trees are OK per the park rangers.
I’ve got quite a few of the winders left over from my printer testing, and most of the components in order to make more of these antennas. I don’t have any desire to sell them, but even if I did, it’s not my design and that would not be ethical. So I’m thinking about doing a giveaway with them. It would be a kit with everything but the antenna wire provided. I imagine a few of you may be interested in that. Let me know if you are, and I’ll see what I can come up with as a way to get these out to the readers.
What’s Next
Our boys will be heading back to school next week, so we’ll be preparing for that here. I’m looking forward to getting EtherKeyer Mini in the hands of some testers, so that I can verify that they work as expected, and prepare them for sale. In that regard, one of my next big tasks is to file the paperwork to officially relaunch Etherkit LLC and then get started on rebuilding my web store, so that I can get those Si5351A Breakout Boards and hopefully EtherKeyer Mini kits on sale in the near future. After that, I’m going to be working on reworking the Project Yamhill audio section and more with making the MAX2861 into a product detector so that it can be used in some upcoming radios!


Enjoyed reading about and seeing your campsite Jason. I was getting notifications from the HamAlert app while you were on the air. Glad you had fun, well, except for the mattresses that is. 🙂
Great update. thanks for all of your hard work. Best! ---- for it's PSL time indeed
Todd